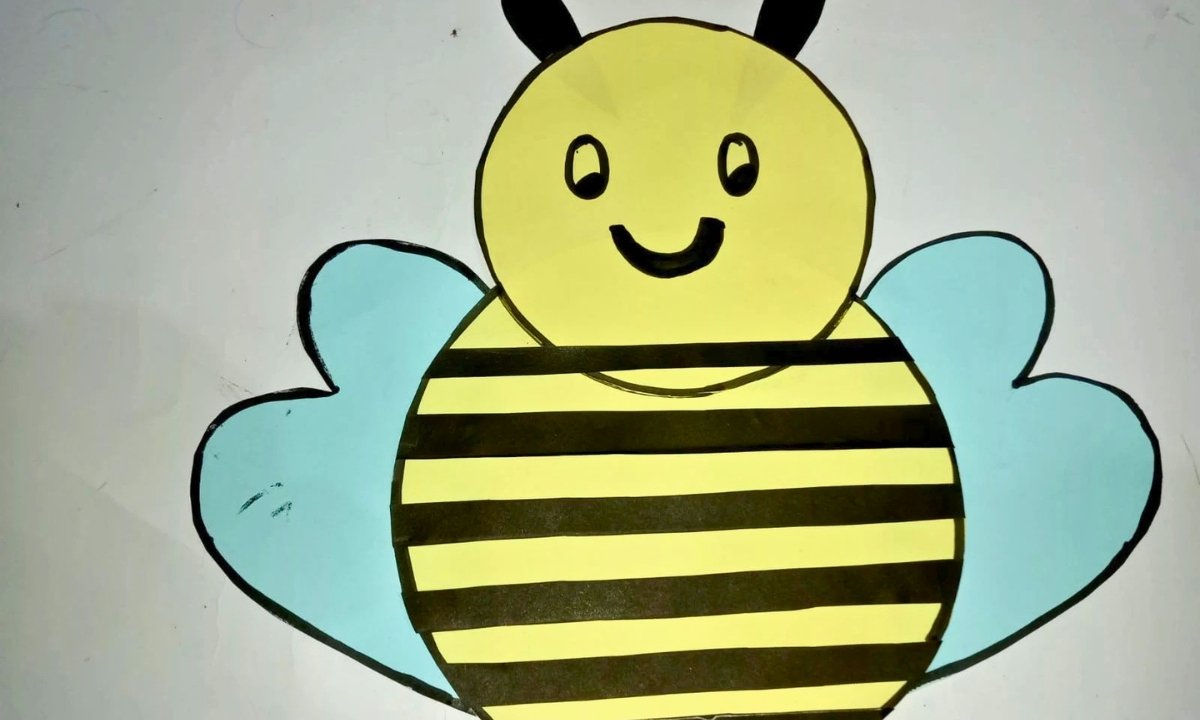
Simple paper crafts bring back memories of those lazy, cozy evenings right away, especially when you’re crafting something as cute as a little bee.
On a random afternoon when we were all looking for something fun but not too dirty to do, I tried this bee paper craft and it was a huge hit.
What I like best? You don’t require sophisticated tools or hard-to-follow steps. You can make a cute bee.
That will buzz around your craft table with just a few colorful sheets and some time. This is a great project for beginners that want something easy to do.
Let’s jump in!
What is the Easiest Way to Make a Bee Paper Craft for Beginners?
If you’re new to bee crafts, the best method to make one is to keep it basic and not think too much about the design.
I know what it’s like to attempt to make something “Pinterest-perfect” and wind up with a kid who is upset and glue all over the place.

Using simple shapes like circles for the body and pre-cut strips for the stripes worked best for me.
It makes things easier and more fun, especially for kids. You don’t need any sophisticated instruments; colored paper, scissors, and glue will do.
Materials Needed:
- Yellow sheet
- Black sheet
- Blue sheet
- Pencil
- Scissors
- Glue
- Marker
Step-By-Step Guide
1. Gather all your supplies first
Before you start cutting, make sure you have everything you need. I would save a yellow sheet, a black sheet, a blue sheet, scissors, glue a pencil.
And maybe a small round item to trace circles for this bee paper craft. I discovered that when everything is already on the table.
The craft is a lot easier and less messy. It also helps youngsters stay focused because you don’t have to get up every two minutes to find scissors or glue.
2. Draw the main bee body on yellow paper
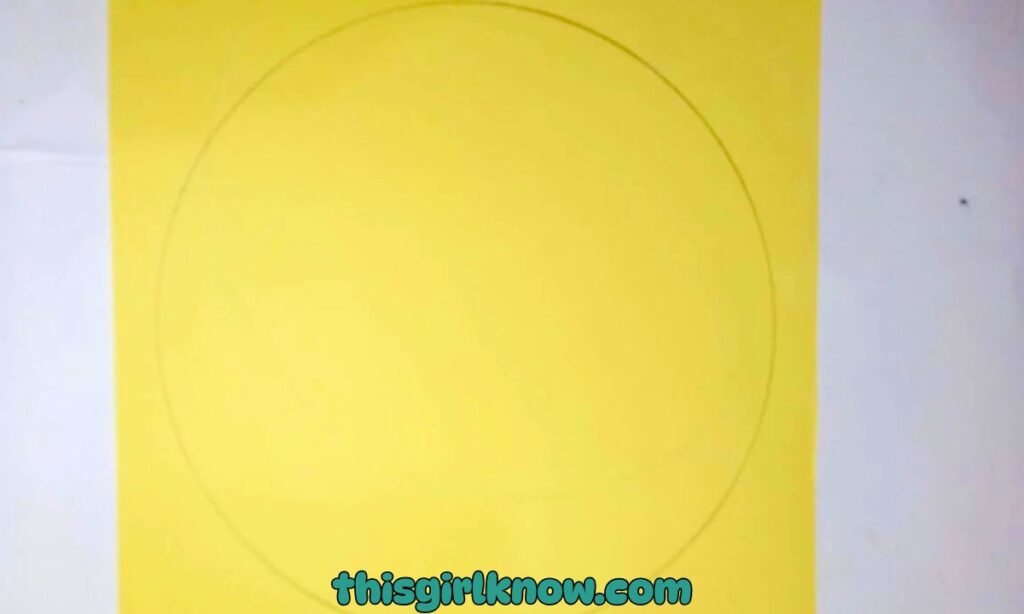
Put your yellow sheet flat on the table so it doesn’t move around while you draw. Now draw a huge circle for the bee’s body.
You can draw it freehand, but if you want it to look better, trace around a cup, bowl, or lid.
Draw one big circle and one mini circle since your bee body needs both sizes. The small difference in size helps the craft look layered without making it too hard.
Don’t worry if the circles aren’t completely round. To be honest, once everything is glued together, the small flaws don’t show up very well.
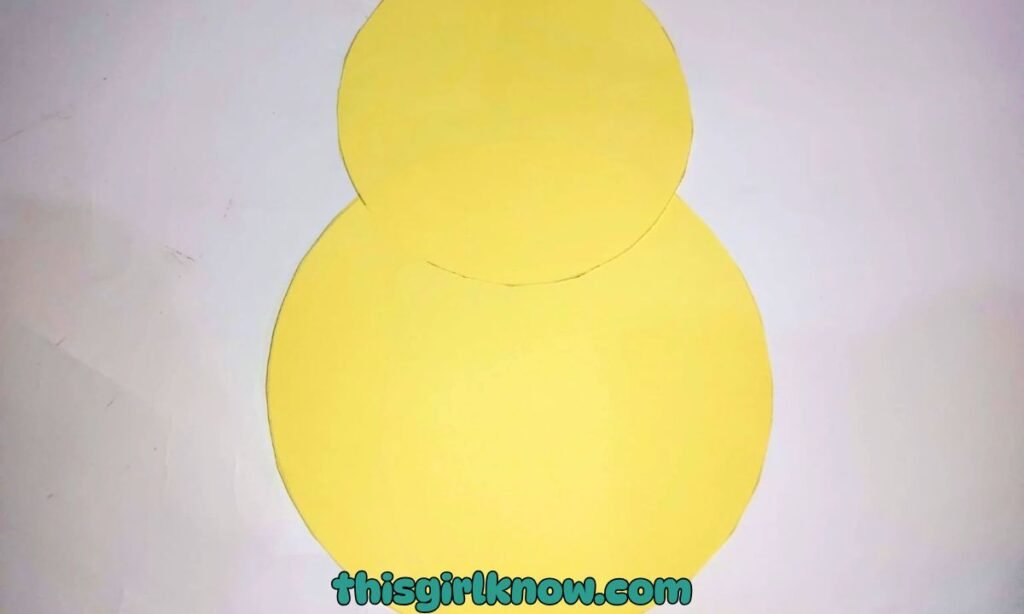
3. Carefully cut out both yellow circles
Now you can cut out the two yellow circles you just made. This phase is easy, but it’s important to cut slowly.
Especially around the curved edges, so the body appears nice. This might be the part where little kids need a little more help.
Instead of moving the scissors around too much, I usually turn the paper as I cut. This makes it easier to cut rounder shapes.
After cutting both circles, put them next to each other and check their sizes. The bigger one can be the primary body.
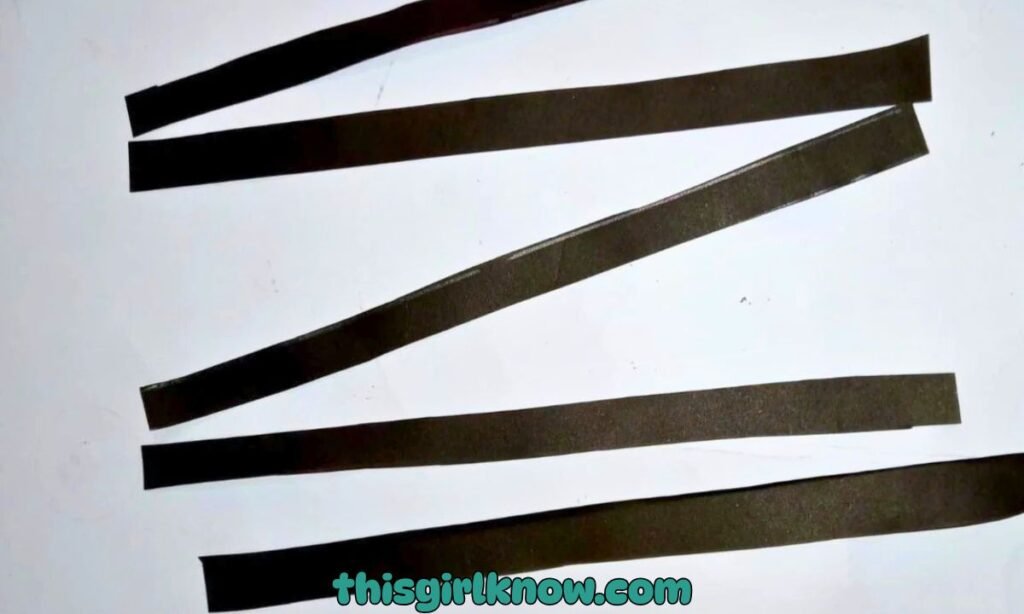
4. Cut long thin black strips for the stripes
Next, cut your black sheet into long, thin pieces. These will be the bee’s stripes, so try to make them quite even.
But don’t worry about making each strip the same width. When a homemade craft has a little individuality, it always looks better.
I normally cut a couple additional strips just in case one rips or is too short. It’s easier to bend and glue thin strips onto a rounded body shape.
After cutting them, put them on the table so you can choose the ones that look best before you glue them down.
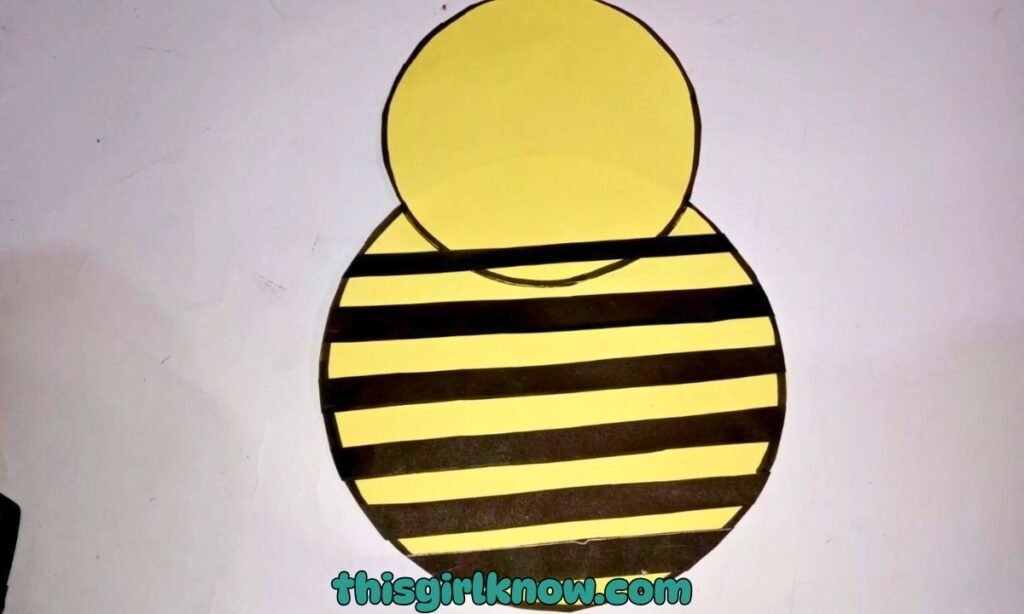
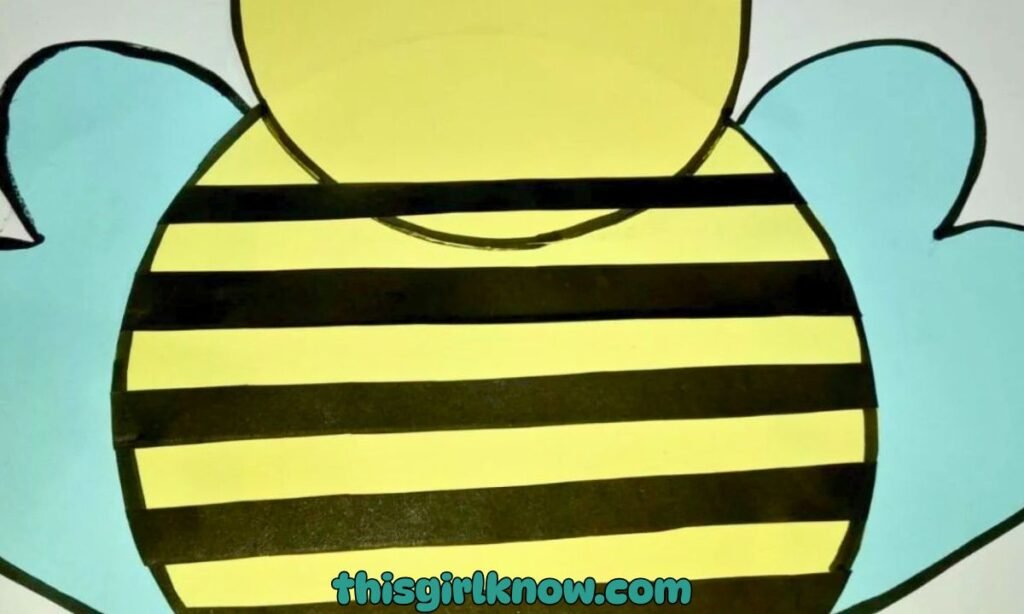
5. Glue the black strips onto the yellow body
Use the bigger yellow circle to make your bee stripes by gluing the black strips over it. This is the time where the bee truly comes to life.
Evenly space the strips and gently press each one down so it sticks. It’s fine if the strips are longer than the circle.
For a cleaner finish, you can glue them together first and then cut off the superfluous ends.
Don’t apply too much glue here, otherwise the paper may get wrinkled. For light paper pieces, a modest amount is generally more than enough.
6. Trim the extra paper for neat, clean edges
Cut off any additional black paper that is hanging over the edges of the striped yellow circular and the black strips are completely joined.
This small step to tidy up makes a significant difference because it makes the bee body look glossy and finished.
Even if the rest of the creation is still fun and handcrafted, I always believe it looks cuter when the edges are neat.
Cut off the superfluous strip ends by following the yellow circle’s circular shape with your scissors.
After cutting, lightly smooth the body with your hand to make sure that every stripe is put down properly and nothing is coming up.
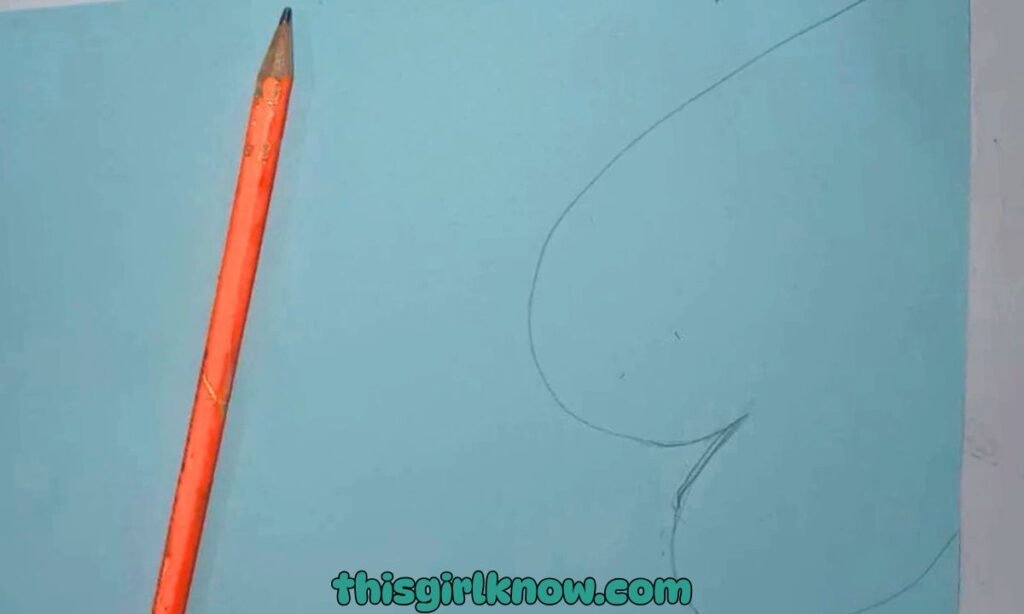
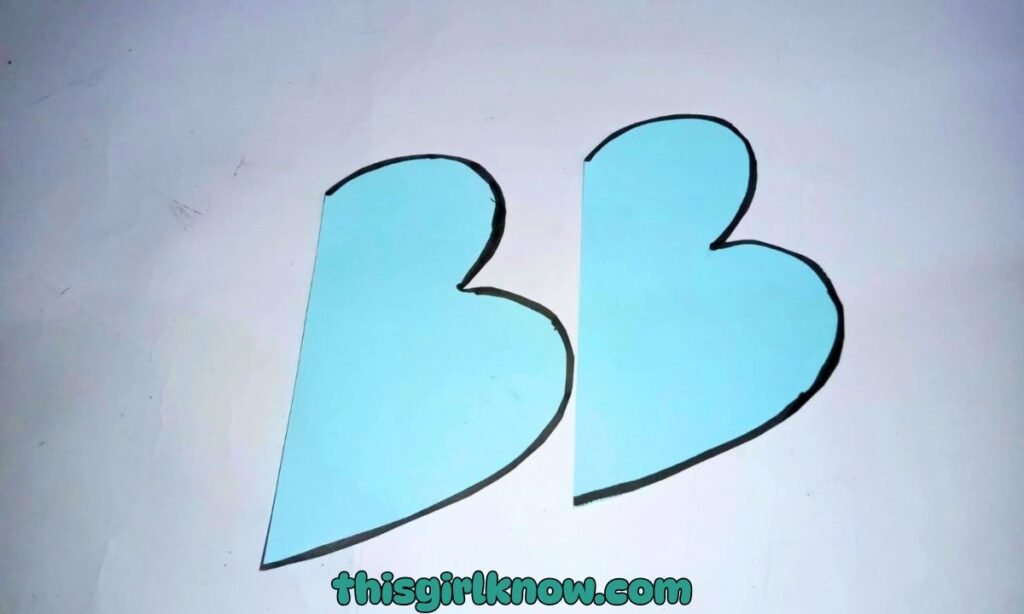
7. Draw and cut out the wings from blue paper
Now take your blue sheet and make two forms for wings. You can make them oval, teardrop-shaped.
Or a little pointy at the ends whatever you think looks best. Try to make both wings the same size.
So that the bee looks balanced when everything is put together. If it’s hard to create matching shapes.
Fold the paper lightly and cut both wings at the same time. That small trick saves time and frequently makes things look better.
Pro tip: Test wing placement behind the body before gluing small adjustments can make your bee look much cuter.
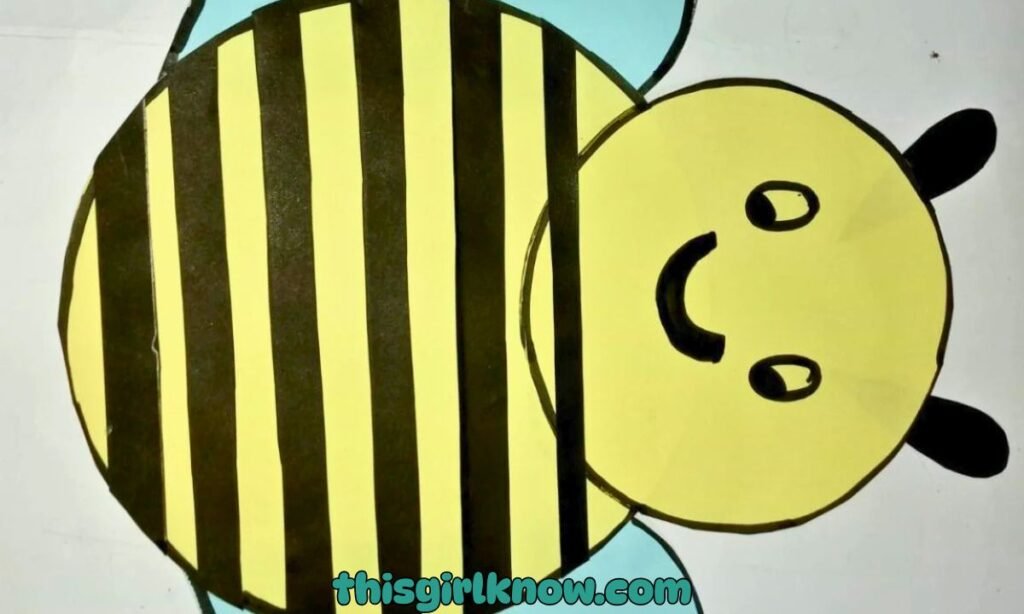
8. Make and attach the head to the bee body
At this point, you can use the smaller yellow circle as the head or change it a little bit if you want the head to look different.
Before you glue it, put it close to the top of the bigger striped body and check how it looks.
This phase makes the bee look more complete and gives you a clear place to add facial elements later if you like.
I prefer to make the head and body touch a little bit so they don’t look like they’re drifting apart.
9. Attach the wings securely behind the body
Now it’s time to stick the wings on. When you turn the striped bee body over, glue the blue wings to the rear so they stick out from both sides.
This keeps the front tidy while yet showing off the lovely wings. Press down lightly where the wings meet.
And let the glue a minute to set before moving the craft around too much. Instead of putting glue all over the wing.
Just add a bit more adhesive to the base if the wings feel loose. That usually makes things cleaner and stronger.
10. Arrange the final pieces and finish your cute bee
The last step is to check closely at your bee and make sure everything is in order so it looks finished.
Make sure the head is straight, the wings are even, and the stripes are straight across the body.
This is also a great moment to add little things like a smile, eyes, or tiny antennae to give it more character.
I love this phase because it’s when the craft stops looking like pieces of paper and starts to look like a real lovely tiny bee.
How Do You Make Neat Bee Stripes Without Messing Up?
This is the part that can really make your bee appear cute or a little untidy I’ve been there.
The key is to keep your stripes simple and not rush things. I like to cut thin black strips first and put them on the yellow circle.
Without glue to check how they appear. This lets you change the spacing before you glue anything down.
Use a little glue and press down lightly so the paper doesn’t get wrinkled. Don’t worry if your strips go over the edges.
Why Do the Wings or Antennae Keep Falling Off My Bee Craft?
Don’t worry if your wings or antennae keep falling off. This happens a lot, especially with paper crafts.
Most of the time, this happens because there isn’t enough pressure when you put the pieces together or there is too much adhesive.
Which makes the paper slippery. I think the easiest way to do it is to put a little adhesive right at the base of the wings or antennas.
Then, for a few seconds, press and keep it in place so that it sticks. Also, putting the wings behind the body.
FAQs
Can I make this bee paper craft with recycled materials?
Of course. This craft is considerably more fun and affordable when you use recycled materials.
Instead of new colored sheets, you can use old magazines, wrapping paper that you have left over, or even packaging paper.
I used scrap paper that was sitting around the home, and it turned out just as cute, if not more unique.
How can I make my bee paper craft more fun for kids?
Letting kids add their own little creative touches is a simple way to make this craft more exciting.
You can offer them stickers, markers, or googly eyes to use to adorn their bee anyway they want.
I see that youngsters have more fun when they’re not trying to make things “perfect” but are just having fun with colors and faces.