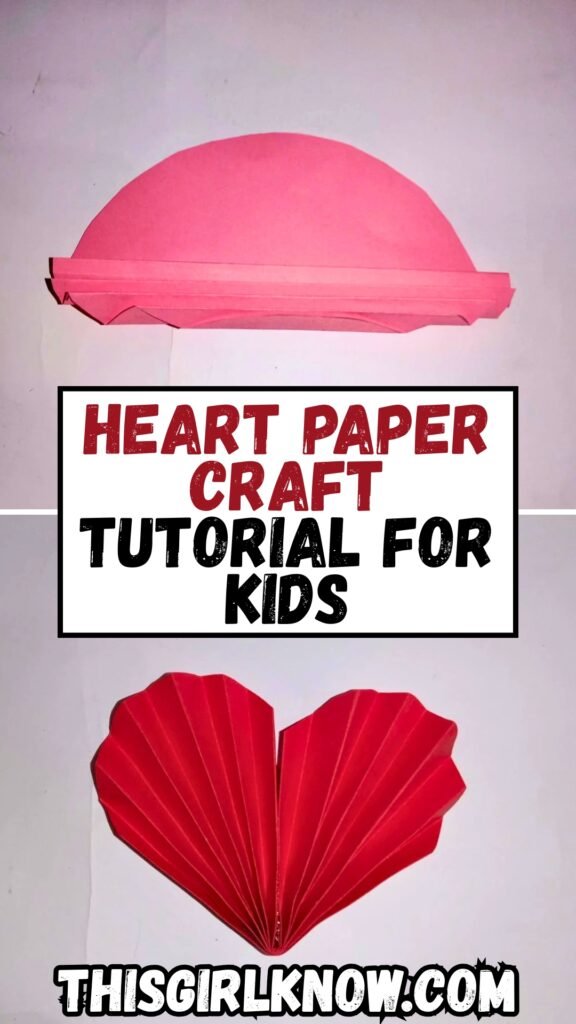
Heart crafts are one of those things that never go out of style. I made this little paper heart on a quiet afternoon.
When I wanted to do something easy and, to be honest, a little relaxing. I didn’t want something too hard.
I simply wanted a cute craft that I could accomplish with things I already had around the house.
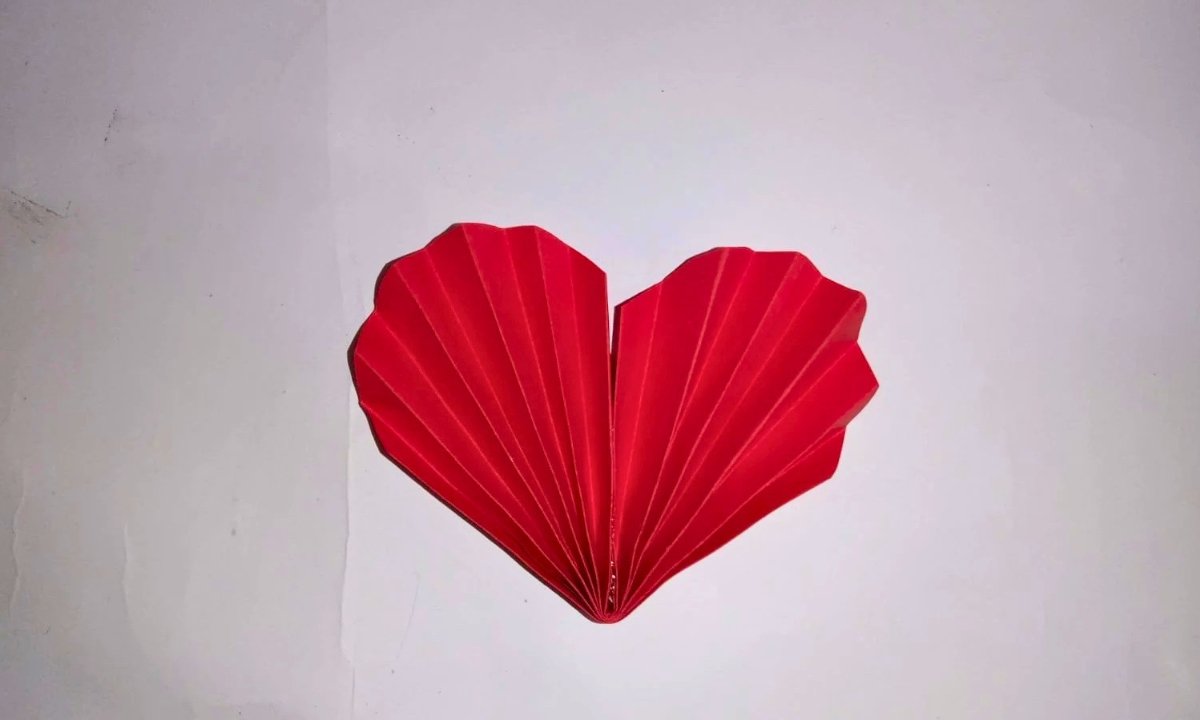
What I enjoy most about this one is how a simple piece of paper can turn into a beautiful heart in the shape of a fan.
Don’t worry if you’ve ever had difficulties filling out documents neatly or having your crafts seem just so.
Why Does My Paper Heart Never Look Symmetrical?
You’re not the only one who has trouble making your paper heart seem right. I experienced the same difficulty the first time I tried this.
Most of the time, it’s just little things like cutting or folding unevenly or not exactly on the line. A small change can make a big difference.
It was really beneficial for me to fold the paper in half before cutting it so that both sides fit nicely.
Also, take your time designing the shape of the foundation in this case, the circle because everything else depends on it.
And honestly, don’t worry too much. Crafts that are made by hand don’t have to be exactly the same.
Materials Needed:
- Pink sheet
- Pencil
- Scissors
- Glue
Step-By-Step Guide
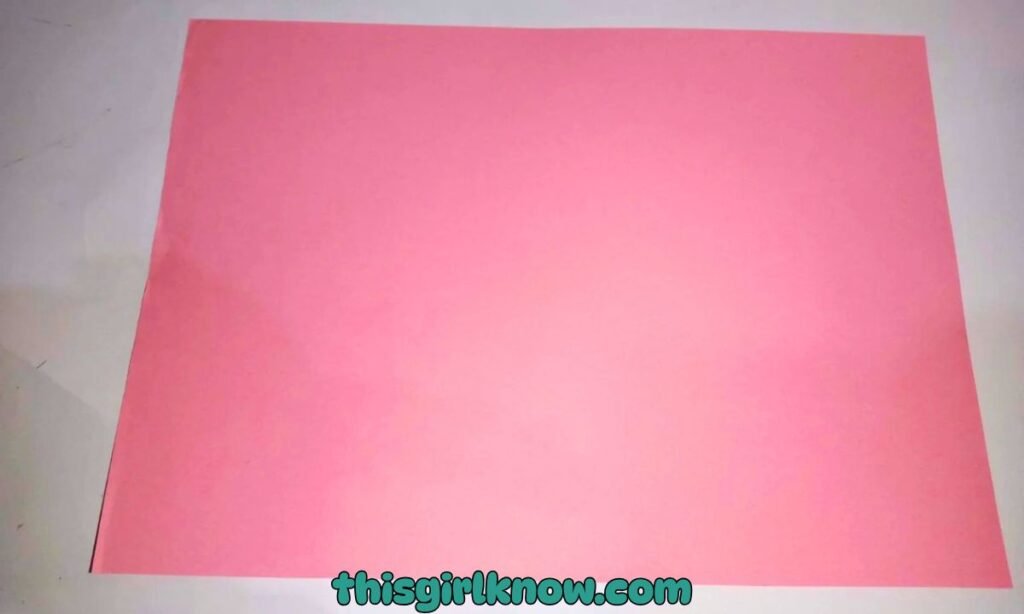
1. Start with your pink sheet
To start, lay a pink sheet of paper flat on your work table. First, use your hands to smooth it out so there are no lumps, wrinkles or curled-up edges.
I like to work on a clean table when I draw and cut since it’s easier. You can hold one side of the paper with your hand.
As you work if it continues sliding around. The paper for this project doesn’t have to be fancy.
It just needs to be strong enough to keep its shape after being folded. You can move on to the following step when your sheet is nice and flat.
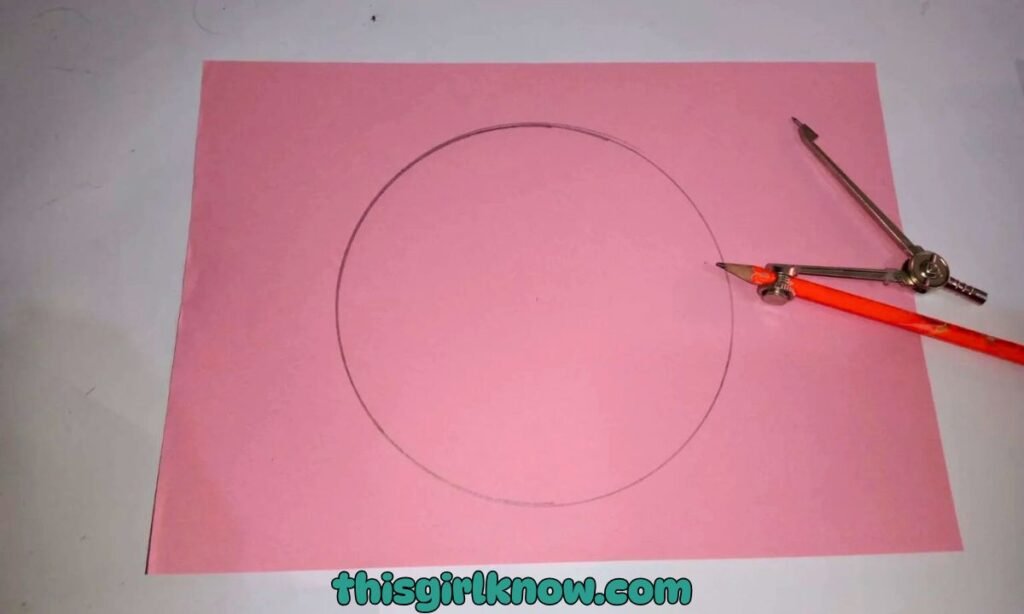
2. Draw a neat circle
Carefully draw a circle on the pink page with a pencil. Don’t worry if you can’t draw precise shapes by hand.
You may always draw around a tiny bowl, lid, or any other round thing you have at home.
Honestly, that’s what makes this phase a lot easier and makes the craft appear better in the end.
Make the circle a medium size so that you can easily cut and fold it afterward. If the line looks too dark or uneven, paint it again carefully before cutting.
A neat, even circle will help the remainder of your heart project come together better.
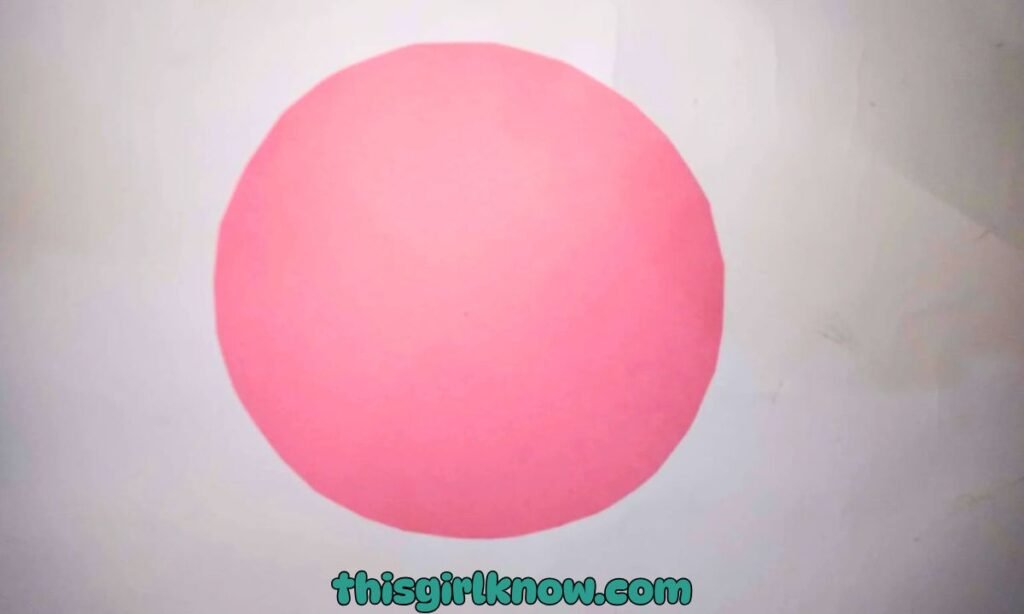
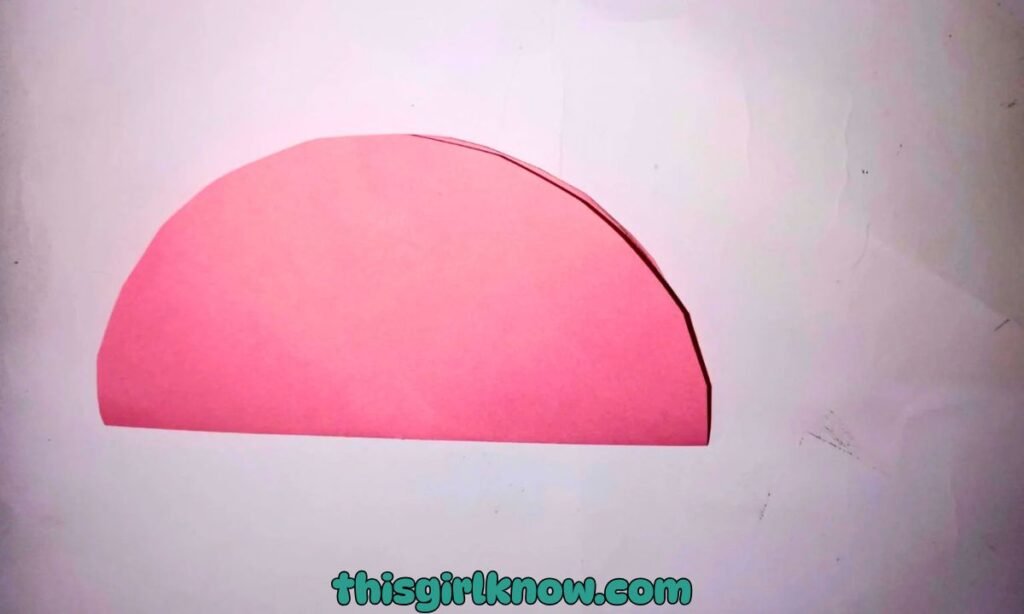
3. Cut out the circle carefully
Use a pair of scissors to carefully and gently cut off the circle. At this phase, you need to be careful.
And take your time because rough or jagged edges could make the heart look less polished.
Instead of making huge cuts, try using small, more precise snips and flipping the paper over as you go.
That usually makes the shape easier to deal with and smoother. It’s okay if your circle isn’t perfect.
Mine almost never is the first time. Check to see that the edges are as straight as they can be. You should end up with a neat pink circle that you can fold.
Pro Tip:If you want extra neat edges, use sharp scissors instead of dull ones. It makes a surprisingly big difference, especially on smaller paper crafts.
4. Fold the circle in half
Fold the cut-out circular in half perfectly. Try to get the edges as near to each other as you can before you press the fold down.
This will help keep the form balanced and even. Run your finger down the folded edge to form a sharp crease after both sides are lined up.
If you need to, you may also push it down a bit more with the side of a pencil or a ruler.
This fold is significant because it makes the bottom part of your heart look like a fan. Stop here and make sure the fold is straight so that the final shape looks even.
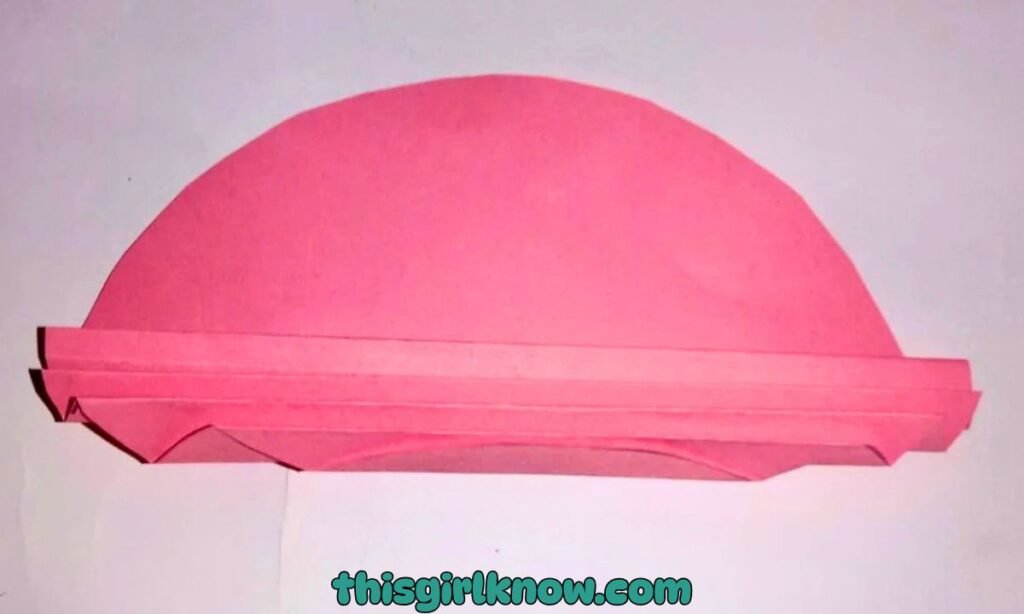
5. Make small fan folds along the shape
Start making little folds in the paper in a fan or accordion shape while the circular is still folded.
Try to keep the folds as straight as you can as you move around the shape. At first, this part could be hard, but it gets easier as you get used to it.
I believed that smaller folds would make the heart look more delicate and pretty when it was done.
Take your time and press down on each fold softly before moving on to the next. Your heart will open up.
More easily in the last stage if your folds are more even. This is when the craft really starts to show off.
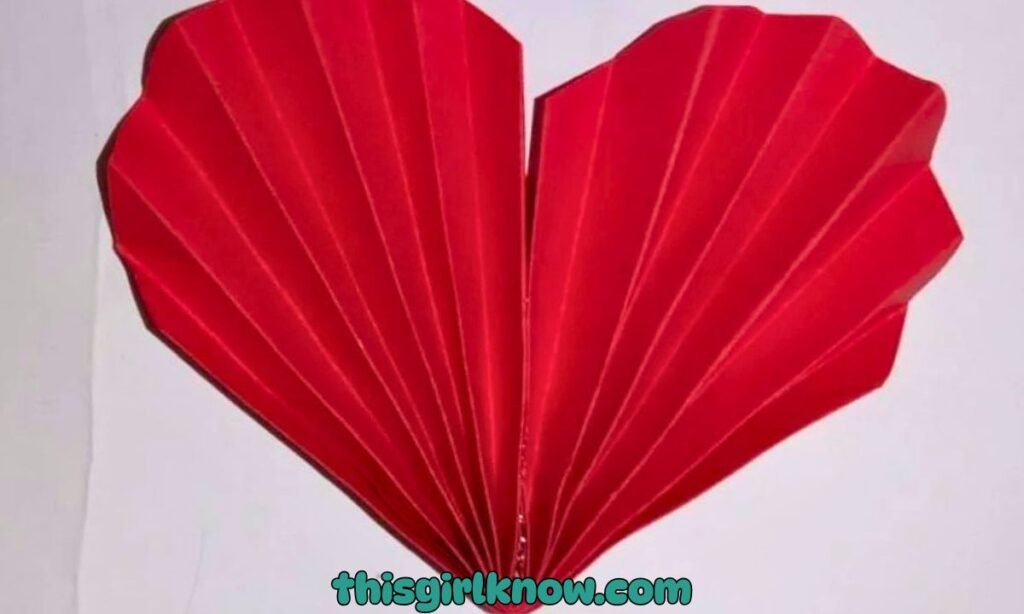
Step 6: Open it gently to form the heart craft
Slowly open the paper until you can see the fan shape after you’ve completed with all the small folds.
Be careful not to pull too hard on the paper if it is thin, because the folds could break or flatten out.
When you open it, you’ll start to see the gorgeous heart shape come to life. This is my favorite part.
Because it really makes the whole craft come to life. If you need to, you can use your fingers to make the folds a little different.
This will make the shape look bigger and more organized. You may now show off, decorate, or give away your gorgeous paper heart creation.
How do I decorate a simple paper heart to make it look beautiful?
This is the fun stage where you can be creative after you’ve made your paper heart. When I first made mine.
I kept it very simple with only a few drawings, but it still looked great! You may add personality to it with markers, glitter pens, or even little stickers.
To make it look softer, add little patterns like dots, lines, or flowers. I think it’s a great idea to put a string or ribbon at the top so you can hang it up.
You could even stack two hearts on top of each other to make them look bigger. Don’t overthink things.
What’s the easiest way to cut a perfect heart shape?
Don’t worry if you can’t cut a perfect heart shape. It is much easier with a simple approach.
The quickest approach I’ve found is to fold the paper in half and then draw the top half of the heart shape along the edge that is folded.
This way, when you cut it out and open it, both sides will fit together precisely without any more labor.
It may seem like a minor step, but it makes a great difference. Don’t speed through it, though.
Instead, aim to make cuts that are smooth and steady. To keep the edges tidy, don’t move the scissors around too much.
FAQs
Can I use different types of paper for this heart craft?
You can do that, of course! You may use colorful paper, craft paper, or even scrapbook paper with patterns to make your heart seem different.
I chose a plain pink sheet. Just remember that it can be difficult to fold thicker paper, especially when you get to the fan-fold step.
Use lighter paper if you’re making this with youngsters or want something that’s easier to work with.
How can I make my paper heart last longer?
You can do a few simple things to make your paper heart endure longer. If you want the paper to keep its shape better over time.
Use paper that is a little thicker. You can also lightly press the folds again when you’re done to keep them looking sharp.
Sometimes I like to put a thin layer of glue along the folds to keep them in place. This helps the shape stay the same if you’re using it as a decoration.