You undoubtedly have random pieces of colored paper sitting around and want to make something cute out of them, just like I do.
That’s how this little cactus project came to be. I didn’t want to do anything elaborate; I just wanted a quick, fun craft.
To be honest, it turned out cuter than I thought it would. This paper cactus craft is great since it’s so easy, doesn’t need any hard-to-find materials.
And you can simply change it to fit your style. This is a great way to spend time with kids, decorate a notebook area, or just relax on a nice afternoon.
I’ll show you step by step how I made mine (with a few little suggestions I wish I had known earlier).
And also give you some ideas that might help you if you run into the same small problems I did.
Let’s jump in!
How do I make my paper cactus look 3D instead of flat?
Don’t worry if your cactus looks a touch too flat (mine did at first!). There are some very simple techniques to add depth to it without making the craft more difficult.
One easy way to achieve this is to cut out 2–3 extra cactus forms, bend them slightly in half, and glue them together only in the middle.
This gives your cactus a soft 3D look that helps it stand out right away. Instead of keeping the paper flat, you can also gently bend it with your fingertips.
It makes a big difference. It holds its shape better even when you use paper or cardstock that is a little thicker.
Materials Needed:
- Green paper
- Red paper
- Pencil
- Black marker
- Scissors
- Glue
Step- By-Step Guide
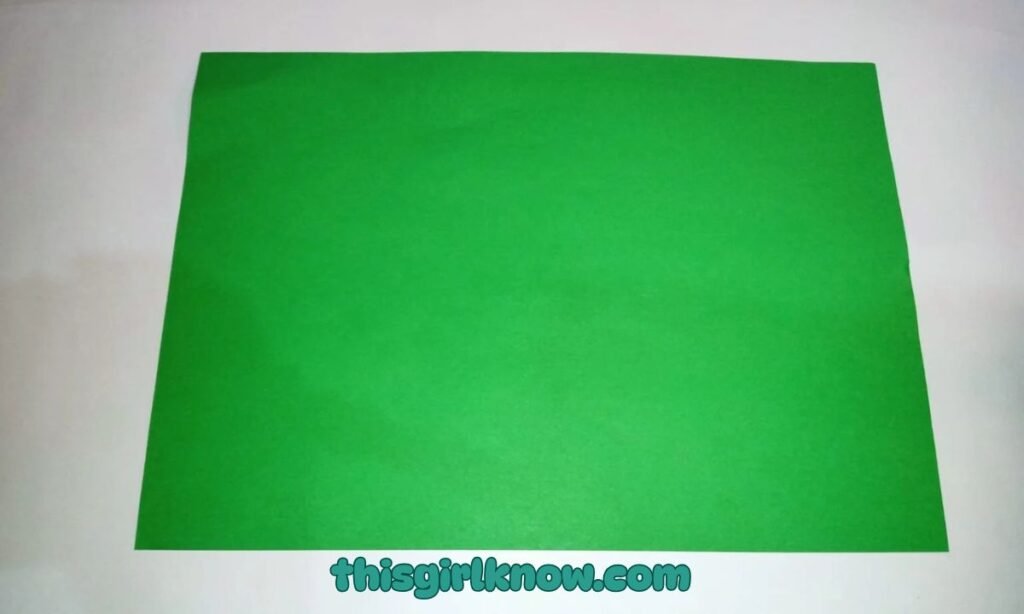
1. Pick Green Paper
Pick a shade of green paper for your cactus to begin with. I used a plain piece of craft paper, but cardstock works great too.
If you want your cactus to feel a little stronger. It helps to put everything in one place before you start.
This includes your pencil, scissors, glue, red paper for the pot, and a black marker for outlining and detailing.
I usually think that laying everything out first makes the whole craft easier and less untidy.
You don’t have to stop every two minutes to seek for supplies, which makes this a great project to do with kids.
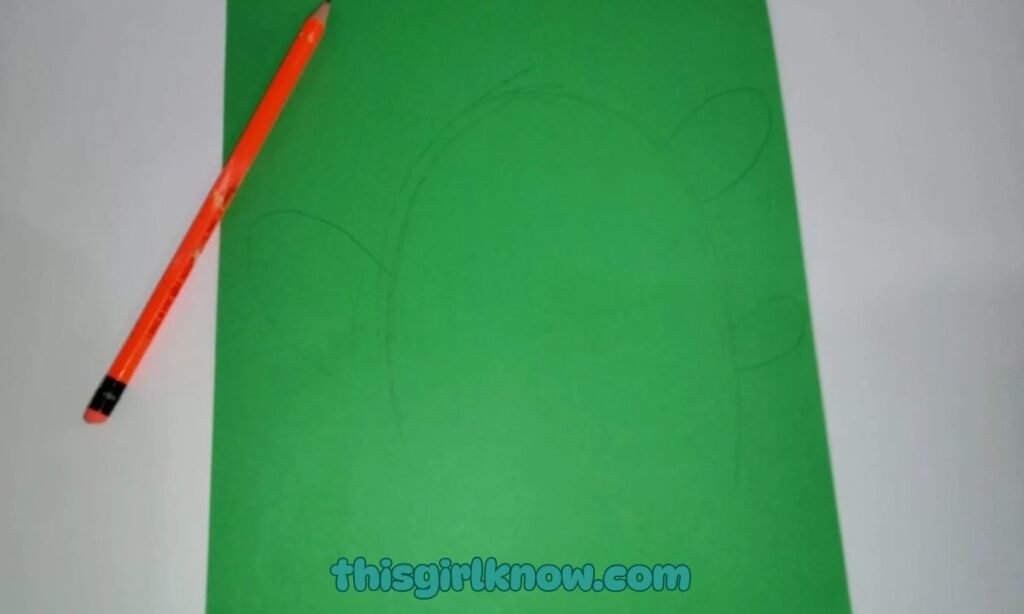
2. Draw the Cactus Shape
Now, with a pencil, lightly draw the shape of your cactus on the green paper. You don’t have to make it perfect at all; that’s what makes it so charming.
I like to sketch a simple cactus with one tall center and two short arms on the sides since it’s easy to cut out and everyone knows what it is.
Just keep drawing your first shape until you like how it appears. Make the pencil lines light so that they are easy to erase or cover up later.
This phase is enjoyable because you get to choose how your cactus will look: pretty, tall, chunky, or particularly playful.
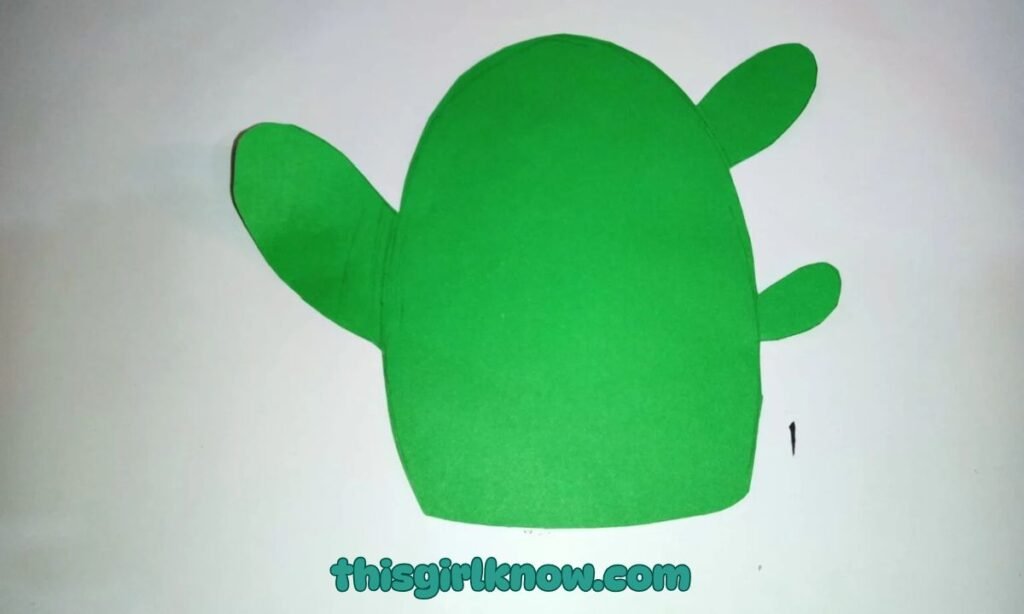
3. Cut Out the Cactus Shape
Cut out the cactus form once you are happy with how it looks. Cut cautiously, especially around the curved sections and the tiny arms of the cactus.
I’ve discovered that if you rush this stage, the edges will be uneven. So, taking your time truly does make the final creation look cleaner.
If you’re doing this with younger kids, this is the step where they could require some help. Put the cactus form on the table.
After you cut it and observe how it appears. You can trim little parts of the design to make the contour smoother and the shape look better if you need to.
4. Make the Flower Pot
Next, take your red paper and make a simple pot form. I normally make mine seem like a miniature flower pot with a broader top.
And a narrower bottom, but you may keep it as simple as you want. After you draw it, carefully cut it out.
And put it under the cactus to see how big it is the cactus and pot should look good together.
With the pot not being too little or too big. This is one of those little things that makes the whole craft look great.
If you want to leave more place for a nice message or extra decoration later, you may also make the pot a bit wider.

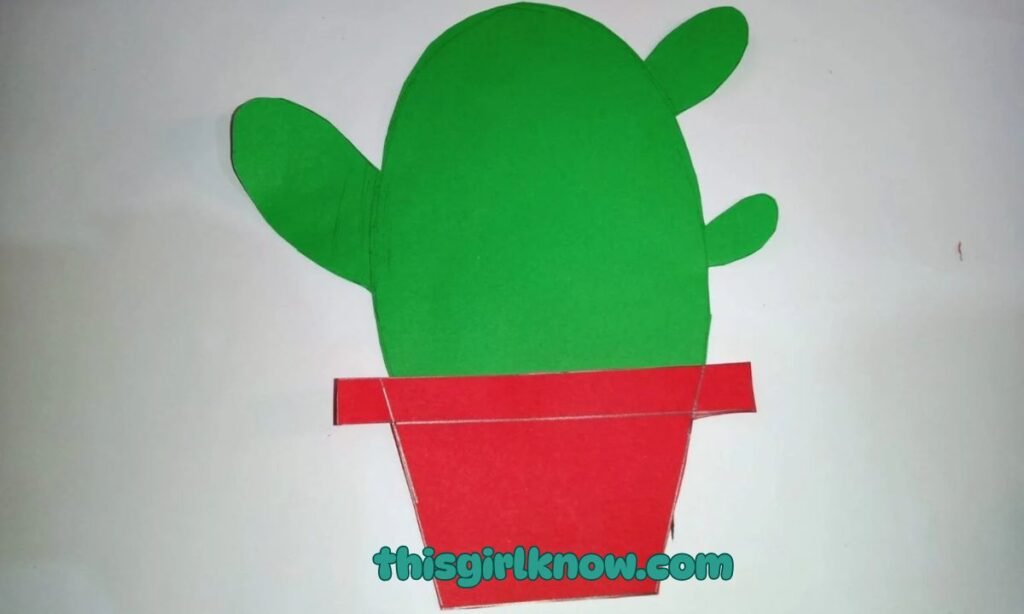
5. Paste the Cactus
Now it’s time to put the main parts together. Put adhesive on the bottom of the cactus and carefully stick it.
To the pot so it seems like the cactus is inside. Gently press it down and give it a minute to stick before you go on.
Putting the cactus a little bit behind the top edge of the container helps the whole thing look more natural to me.
After you attach everything, make sure everything is straight and centered. A minor change here can make the finished craft look much more organized and neat.
Pro Tip: Use just enough glue to hold the paper in place too much glue can wrinkle the paper and make it dry unevenly.
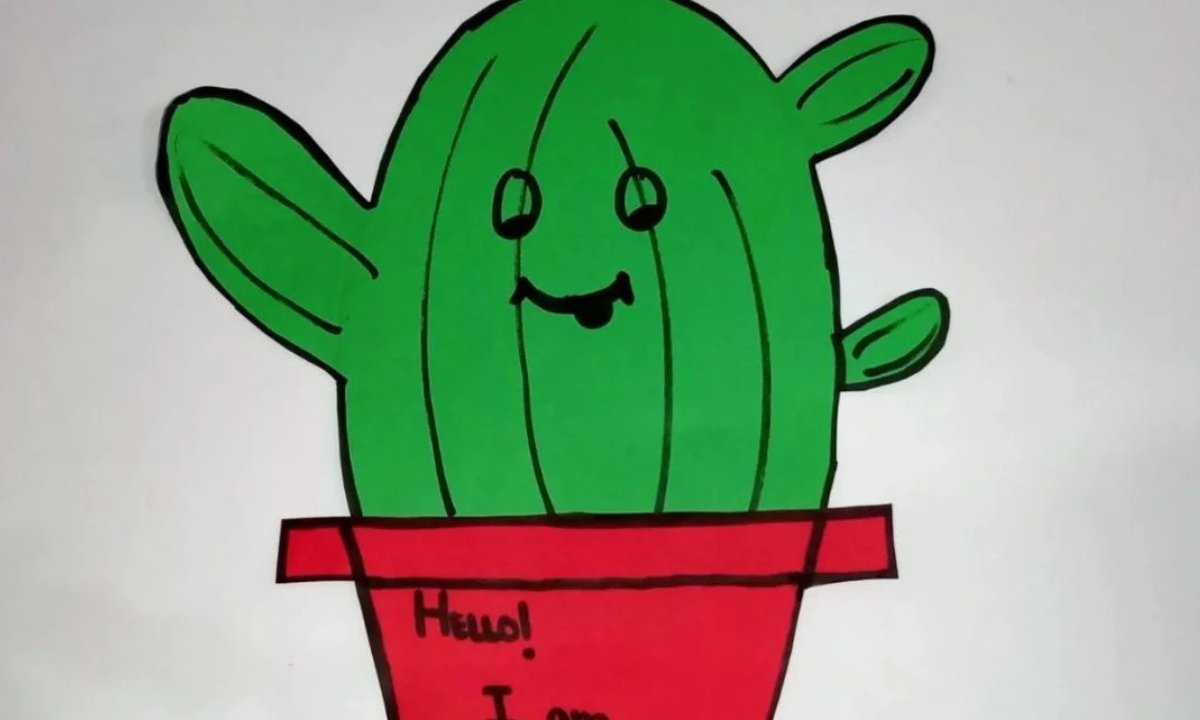
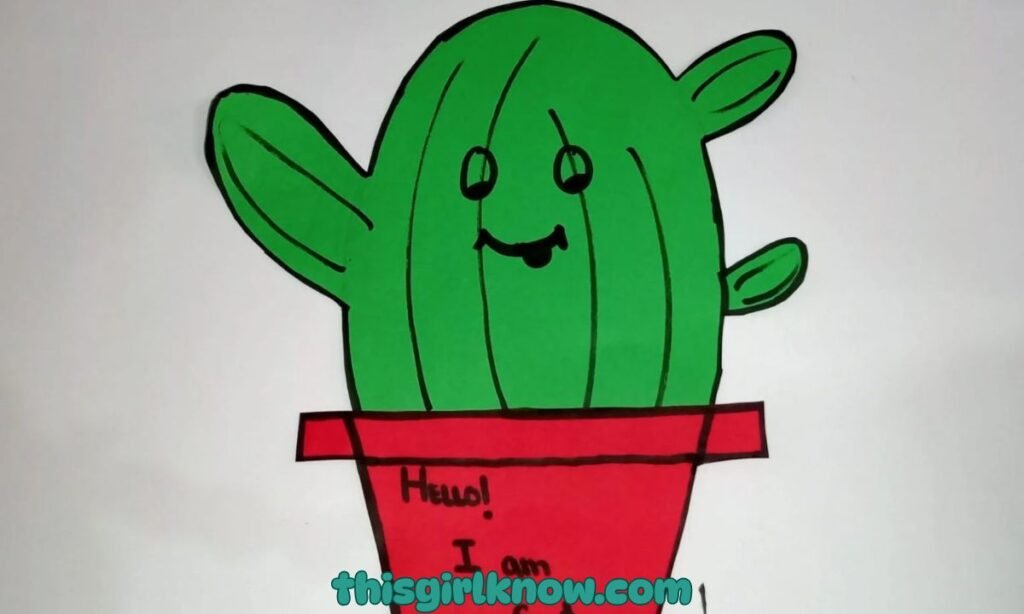
6. Outline, Decorate, and Add Message
This is honestly my favorite time since it’s when the cactus starts to show its personality.
Use a black marker to lightly outline the cactus and the pot to make the shapes stand out more.
If you want your face to look charming and homemade, you can add small elements like eyes, a smile, or pink cheeks.
You may also add miniature cactus lines or spikes to make it more interesting. Last, write a nice note on the pot.
A short, happy note is great. This is the phase that makes the craft feel even more special and adds a fun, personal touch.
Why Does My Paper Tear When Folding the Cactus Pieces?
You are not alone if your paper keeps tearing when you try to fold it. This has happened to me more times than I can count.
The most typical reason is that the paper is too thin or you’re pushing too hard while folding.
When you use standard craft paper, it’s better to fold it slowly than to make a severe crease all at once.
If your design incorporates curves, like the limbs of a cactus, folding particular parts can also naturally make the paper weaker.
I also discovered that older or slightly dry paper tears more easily, therefore it’s incredibly helpful to use new sheets.
How Can I Decorate My Cactus Without Making it Look Messy?
This is one of those things that was hard for me since it’s so simple to go overboard with decorations.
You start adding details, and all of a sudden, it seems like too much. Keeping things simple and on purpose worked for me.
Use a marker to draw the basic contours of the cactus shape to get started. Then add little things like tiny lines for texture or a lovely face.
But not all at once. I prefer to stop after each step and check to see if it looks good before adding more.
You can also use only two or three colors so it doesn’t feel too busy. These kinds of projects don’t need a lot of stuff.
FAQs
Can I use materials other than paper for this cactus craft?
Yes, you can do it! You can use felt, foam sheets, or even cardboard to make your cactus last longer.
I once used extra cardboard from a package, and it turned out incredibly lovely and strong.
Just remember that cutting larger fabrics could be a little difficult, so take your time with that.
How can I turn this cactus craft into a decoration or gift?
You can easily make this small cactus into a cute decoration or perhaps a gift. You can put it on a greeting card, frame it.
Or put it on the cover of a notebook. Putting a cute note on the pot helps it feel more special.
I’ve even used one as a small desk ornament, and people constantly say how cute and simple it looks.