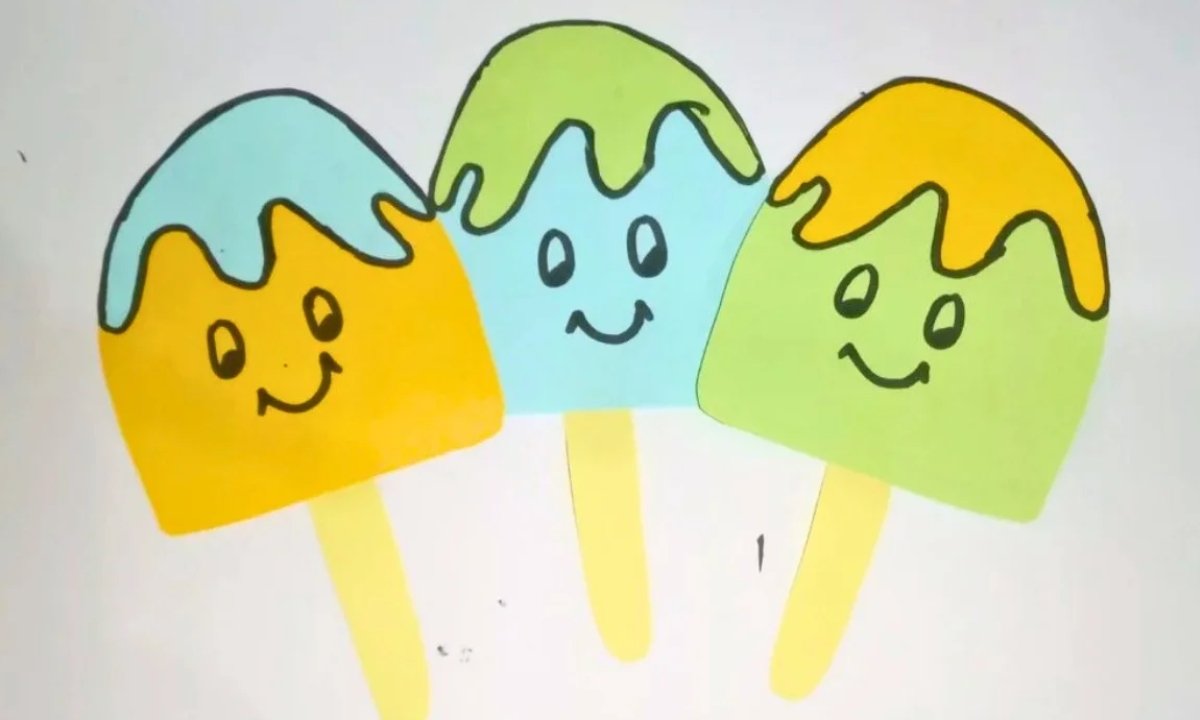
I really just wanted something simple, cute, and easy to make with things I already had at home when I made my little ice cream project.
I took some colorful paper, a marker, and a single popsicle stick from the craft drawer. Before I knew it, I had the cutest little paper ice cream on my table.
This craft is great because it doesn’t need anything special. You can make it in a matter of minutes.
And it’s one of those simple paper crafts that nonetheless looks cute enough to display on the fridge, use as summer decor, or even turn into a fun puppet.
If you have kids, they will undoubtedly like putting their own crazy faces and colorful toppings on them too.
In this article, I’ll show you exactly how I make paper ice cream craft, and what kind of paper worked best.
Let’s jump in!
What Paper Works Best for an Ice Cream Craft?
Before I did this craft, I tested a few various kinds of paper. I quickly found that not all paper works the same way.
If you only have regular printer paper, that’s alright, although it can feel a little flimsy once you cut out the pieces and glue them together.
The popsicle stick made my cone bend a little, especially after I inserted it. Colored cardstock is the finest choice for your ice cream craft.
It is thicker, keeps its shape better, and makes the finished creation look much cleaner.
The cone was made of yellow cardstock, and the topping was made of lighter paper. It was strong enough to keep flat and easy to decorate.
You can still make it work if you simply have standard paper at home.
Materials Needed
- Colored papers
- Pencil
- Black marker
- Scissors
- Glue
- Ice cream sticks (or paper strips)
Step-By-Step Guide
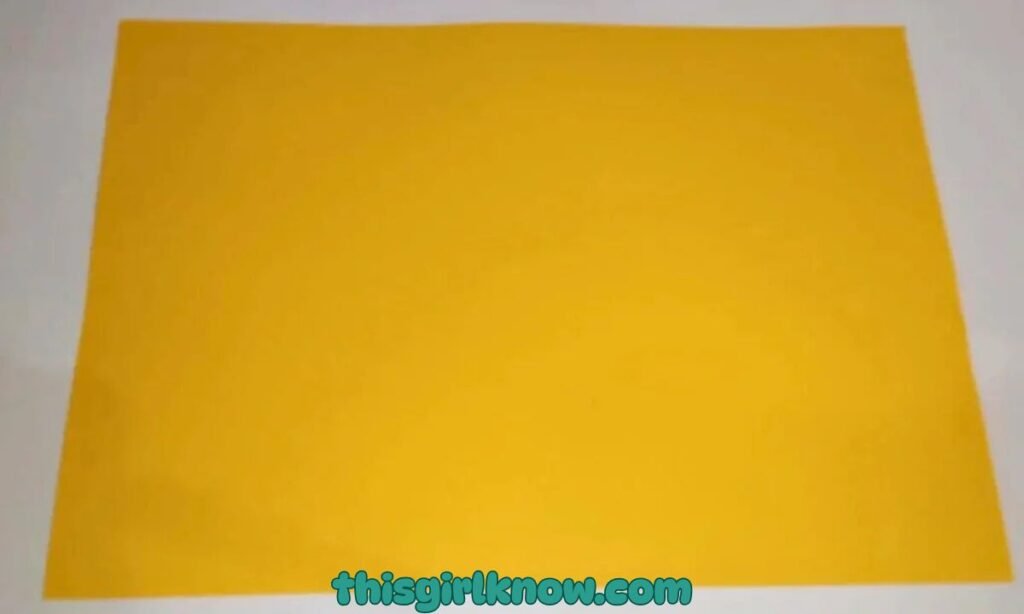
1. Start with Yellow Paper
I got a piece of yellow paper to use as the primary part of the project first. I chose yellow because I wanted the whole ice cream.
To seem bright, happy, and a little extra charming. But you may use any color you wish.
You could also use light brown or beige to make your creation feel more like a cone. Just make sure that the paper is strong enough to keep its shape once you cut it out.
Pro Tip: If your paper feels too thin, use cardstock instead. It makes the finished craft look much neater and helps it stay flat.
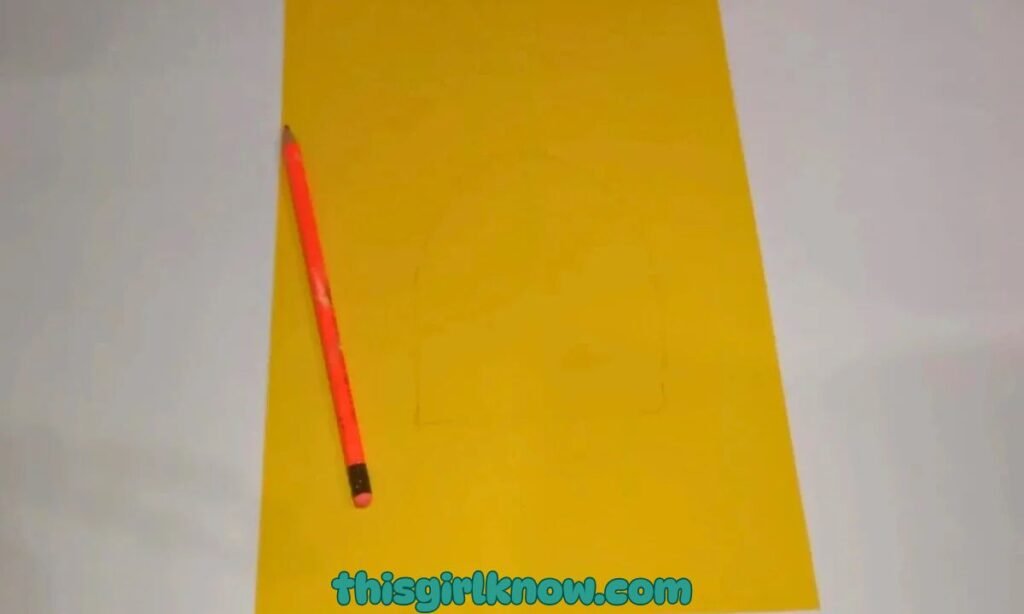
2. Draw the Main Ice Cream Shape
Next, I used a pencil to create the main shape of the ice cream on the yellow paper. I made the design simple.
So it would be easy to cut. It was almost like a rounded popsicle or a soft cone-style base.
I always like to sketch lightly at first. Since it lets you modify the contour if one side appears odd.
Don’t stress about getting it right. Small flaws are hard to see once everything is defined and embellished.
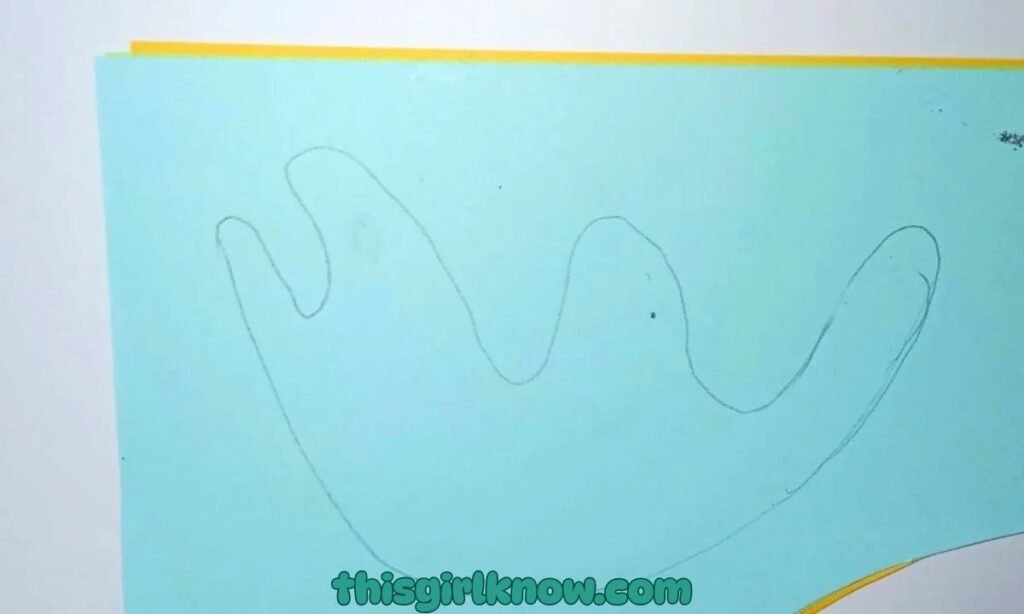
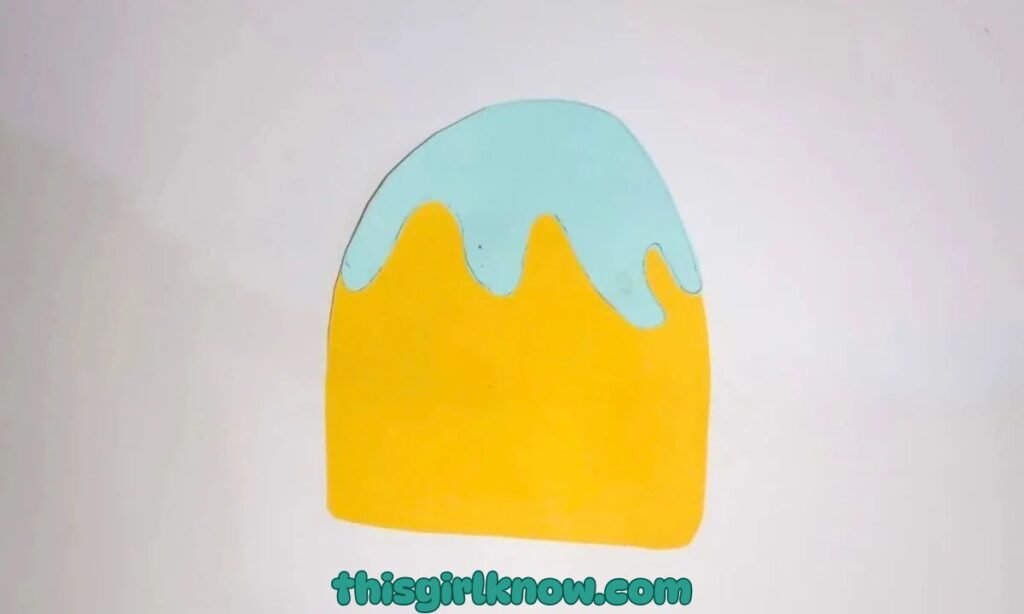
3. Make the Topping on Another Paper
After that, I drew the shape of the topping on a different piece of paper. This portion is what makes the project seem exciting and layered.
I made the top a little drippy and fun, like melting frosting or delicious ice cream topping.
You can keep the edges clean or make them wavy, depending on the look you want.
Drawing it on a separate piece of paper also makes the finished product look more colorful and fun.
Little Tip: Before you cut, try holding the topping over the base to see how big it is. That helps you not make it too huge or too small.
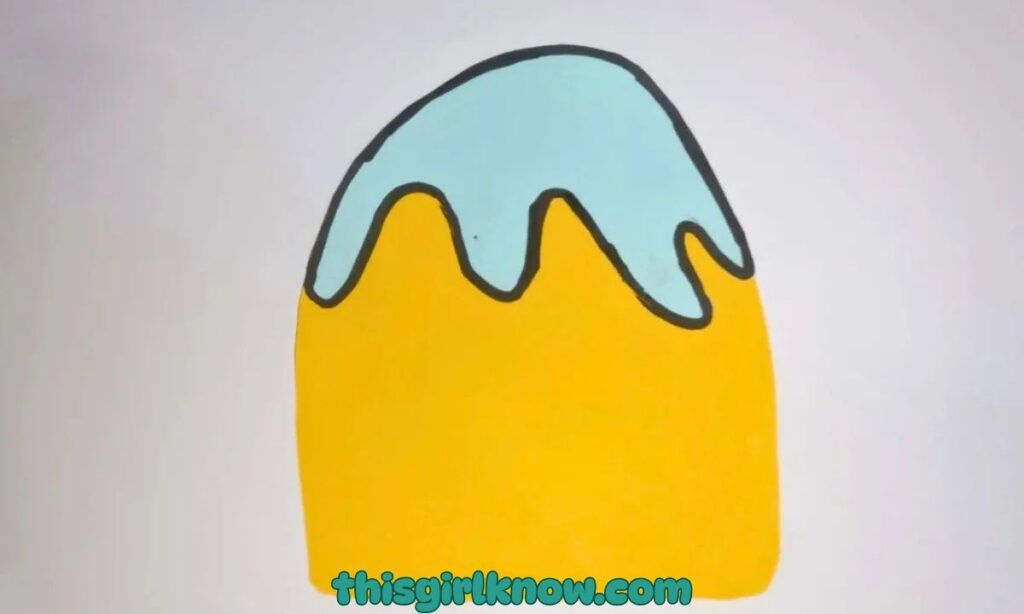
4. Cut & Glue Them Together
After I drew both shapes, I carefully cut them out and pasted the topping piece to the main ice cream shape.
This is the part of the craft where it really starts to look good. I put the topping close to the top.
And moved it around a bit before pushing it all the way down. Kids frequently become the most enthusiastic.
About this stage of the activity because they can finally see the pattern come together.
5. Add Details
I used a marker to draw around the complete ice cream shape after the adhesive set.
This one little step made a huge difference since it made all the layers stand out and made the project look more complete.
Then I added small details to make it more exciting, like lines, tiny accents, and a few artistic touches on the top.
You can make this part as basic or as complicated as you want using sprinkles, dots, or small patterns.
I really like this process since it’s and where the craft starts to come to the life.
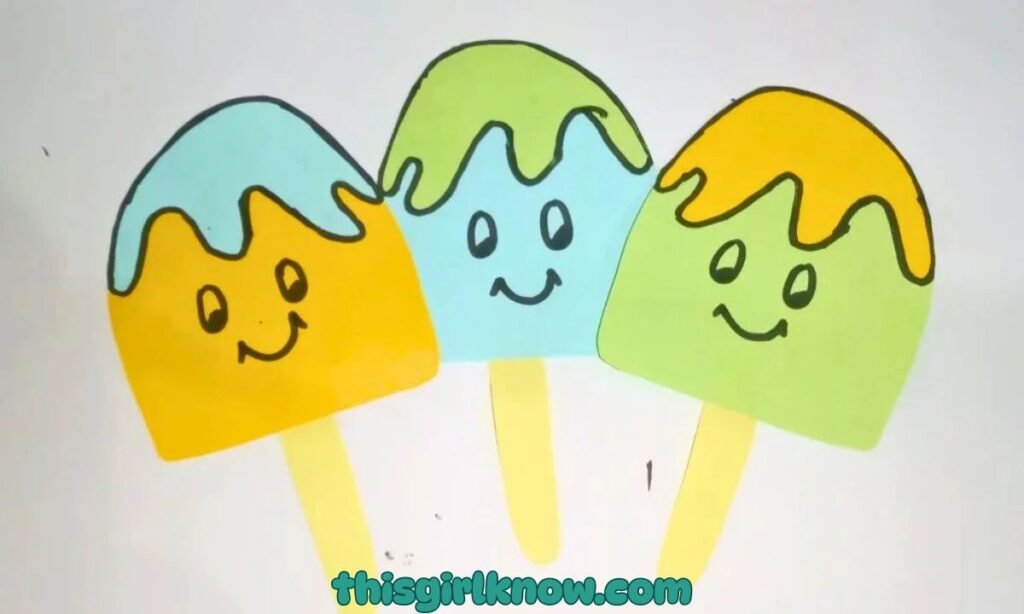
6. Attach the Stick
I added a stick to the back to make the craft look a little like a popsicle puppet. Then I created a lovely face on the front.
To make it look even more fun. A smile, closed eyes, or pink cheeks can make a tremendous impact.
If you want the craft to feel more like summer, more like kids, and more fun, this phase is great.
How to Cut Perfect Circles for the Ice Cream Scoops?
Don’t worry if you can’t draw a perfect circle by hand. You can still make your ice cream scoops seem pleasant and round.
I can’t either, and every time I try, it somehow looks more like a potato than a scoop of ice cream.
The easiest thing to do is to trace something you already have at home. You can use little bowls, bottle caps, lids, cups, or even a roll of tape.
Put it on your paper, softly trace around it with a pencil, and then cut it out. I normally trace two or three circles at once.
Instead of moving the scissors too much, turn the paper slowly as you cut the circles. That small trick makes the edges smoother and keeps the scoop circular.
How to Store or Display Your Finished Ice Cream Craft?
I didn’t want to just throw my ice cream creation in a drawer when I was done with it because it turned out too cute for that.
You may easily show it out by taping it to the fridge, hanging it on a bulletin board, or putting it in a small jar with a popsicle stick.
I put mine in a small cup on the kitchen counter, and it really did seem like a modest summer decoration.
They look extremely cool when you put them all together if you make more than one. You may make a small banner out of them.
Clip them to the wall in a playroom, or even use them as party decorations in the summer.
The whole thing looks even happier with a few different colors and faces. Put the project in a folder, a big book, or a flat storage box so it doesn’t bend.
FAQs
What Are Some Creative Ways to Decorate Homemade Ice Cream Crafts?
You can make your ice cream creations look nice by adding sprinkles, crumbled cookies, chocolate dripping, or even edible glitter.
Colored paper, clay, pom-poms, and paint are some of the things you can use to make exciting textures and bright designs for projects that aren’t food.
Can Ice Cream Crafts Be Used for Educational Activities?
Yes! Making ice cream is a fun way to teach kids about colors, counting (like scoops), and even simple ideas like forms and patterns.
They are great for getting kids involved in hands-on learning while keeping the activity exciting and interesting.