My niece came home last year and said, “I need a solar system project by tomorrow.” When we looked up planet crafts ideas.
We found dozens of hard tasks, fancy supplies, and no clear directions. Does this sound familiar.
You don’t want anything that is messy, costly, or hard to understand. You want a project that looks cool, teaches you something useful, and doesn’t take all night to do.
This is exactly what you’ll find here: easy planet crafts that work and can quickly become exciting, hands-on STEM learning.
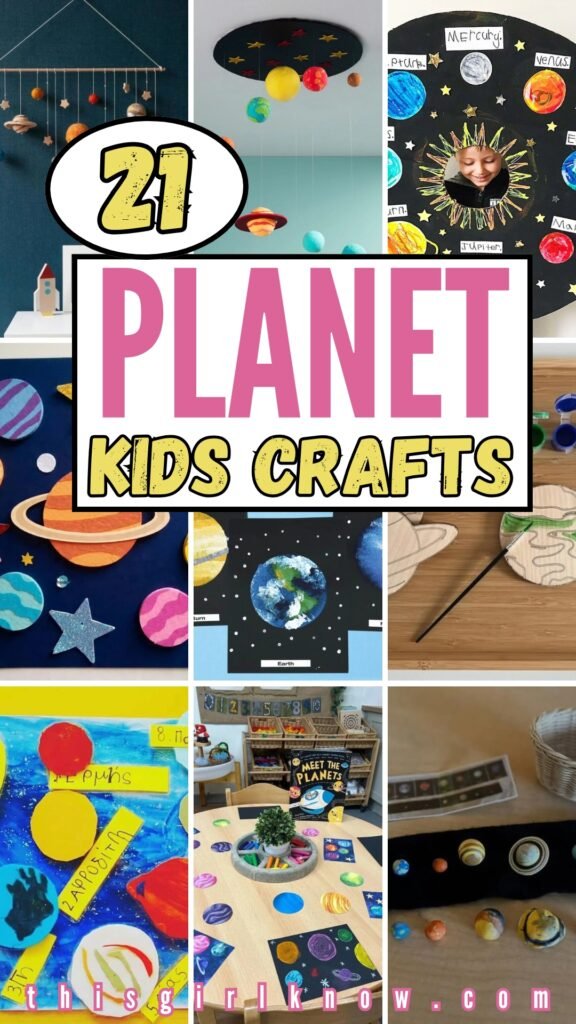
This article features 21 easy Planet crafts for kids that encourage creativity without complicated steps in 2026.
Let’s jump in!
How Can Planet Crafts Be Turned into Fun STEM Activities?
A planet craft doesn’t have to be made of just paint and glue. If you’re already working on Mars or Saturn.
You can transform that project into a true science lesson without having to do any extra effort.
For instance, changing the sizes of the planets teaches scale. If you hang them in the right order, you’re teaching the order of the planets.
You’re doing engineering if you test which materials keep their shape the best. You’re not just keeping kids occupied.
You’re also helping them learn how space works as they make something they can be proud of.
Save this article for later!👇👇👇
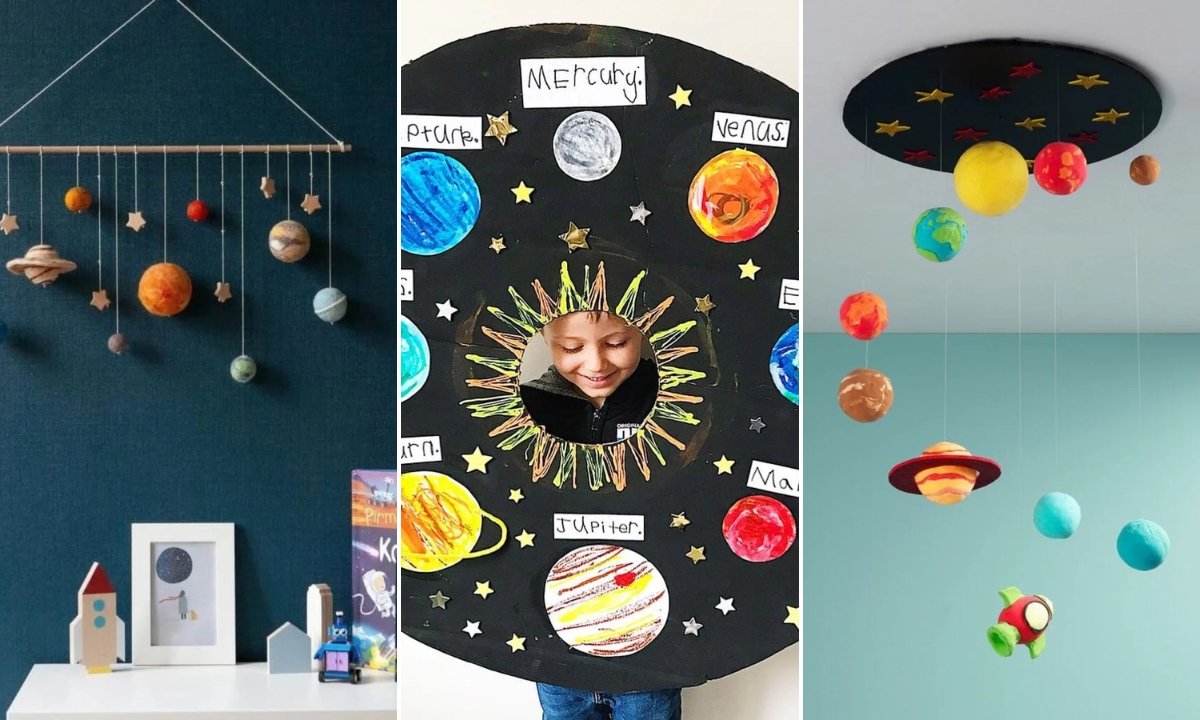
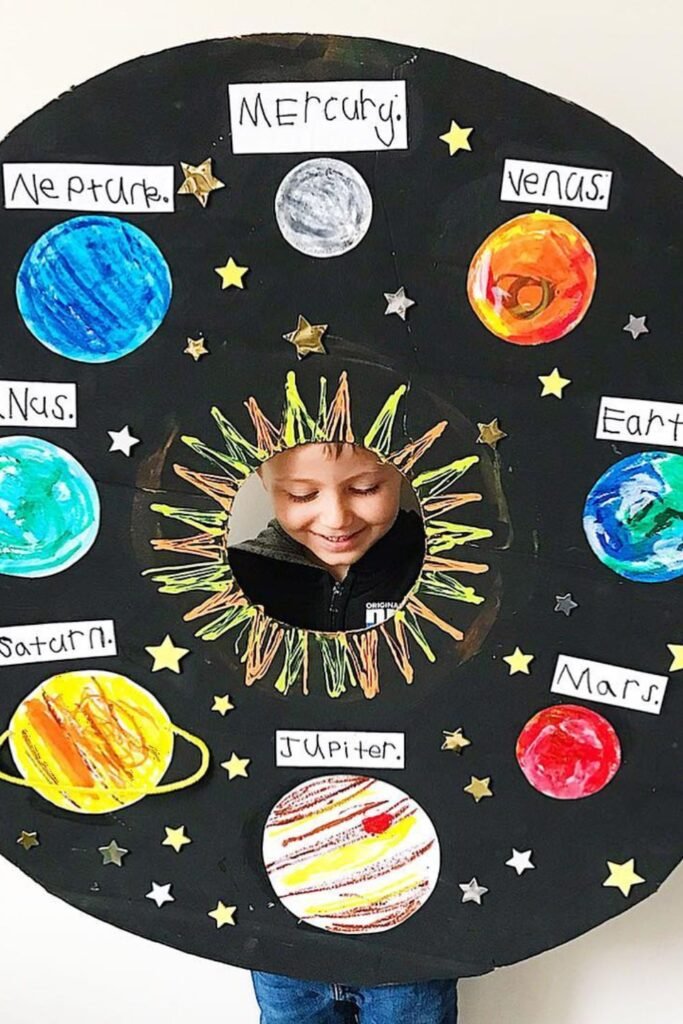
Solar Board
Want a school project that people will notice right away? To make a bold space background, cut a big circle out of thick cardboard and paint it black.
Cut out a round hole in the middle of the sun so that a child’s face can fit through it. This makes the project more than simply a poster; it’s an interactive exhibit.
Paint each planet on its own paper circle, glue them together in the right order, and write the names of the planets on the circles.
Put little gold stars in the empty spaces to make it feel full. Great for presentations in the school.
Because youngsters can stand behind it and “be the sun” while talking about the solar system.
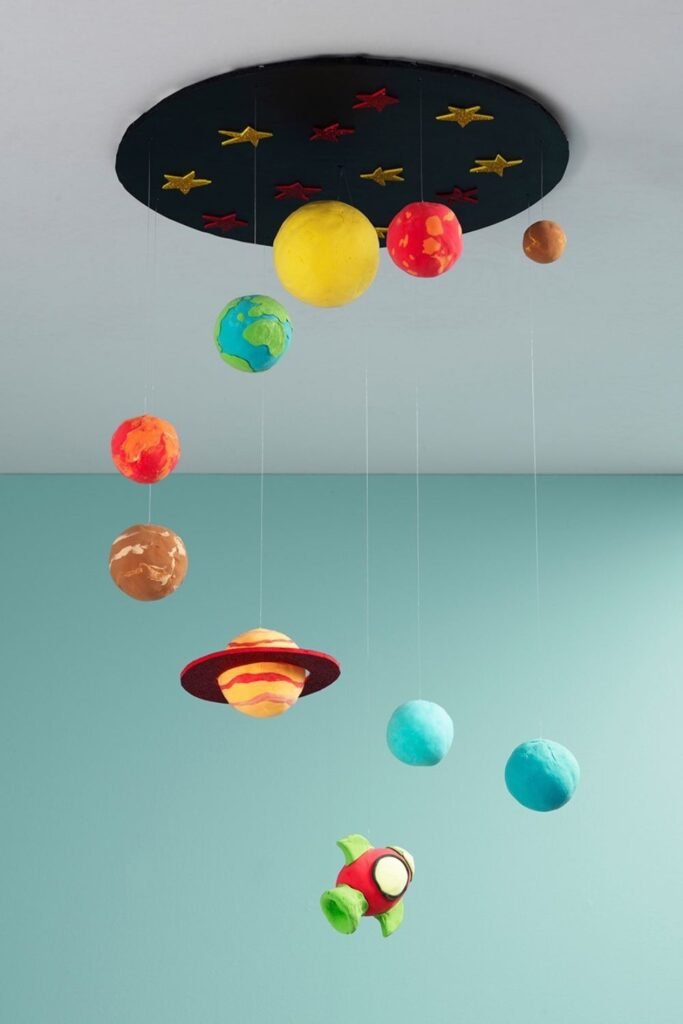
Hanging Mobile
Ceiling space often gets ignored, but turning it into a floating solar system changes everything.
Use foam or clay balls in different sizes so kids can see the size difference between planets without you explaining it twice.
Paint each one carefully and attach thin fishing line so they appear to “float.” Fix them to a sturdy black circle base and add small stars for detail.
Keep the sun slightly larger and closer to the center to show position. Great for bedrooms, classrooms, or science corners.
Because it stays up for weeks and keeps reminding kids of planet order every time they look up.
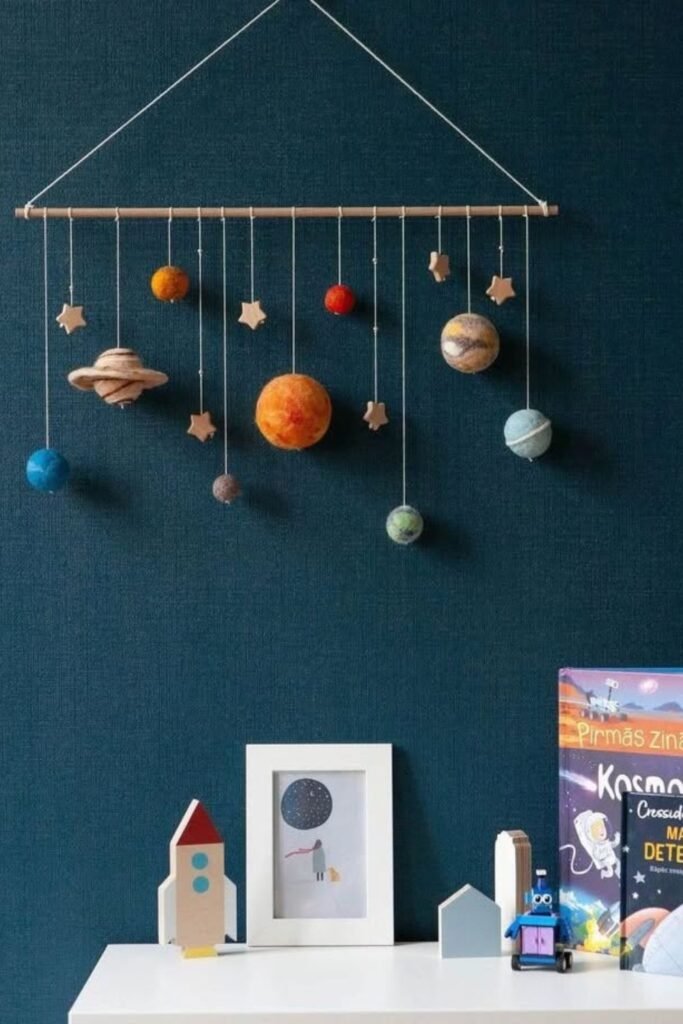
Wall Orbit
You don’t have to leave blank walls uninteresting. To make the pattern feel balanced instead of packed.
Stretch a wooden dowel over the top and hang painted planet balls at varied lengths. Tilt Saturn a little bit.
And put miniature wooden stars between the strings to fill in the vacant space. If you want it to fit a bedroom or study space, use soft, realistic hues instead of bright ones.
Put the planets in an approximate order from one side to the other so that kids may trace them with their fingers and say the order again.
Great for a reading nook where space literature are close by and your interest keeps rising.
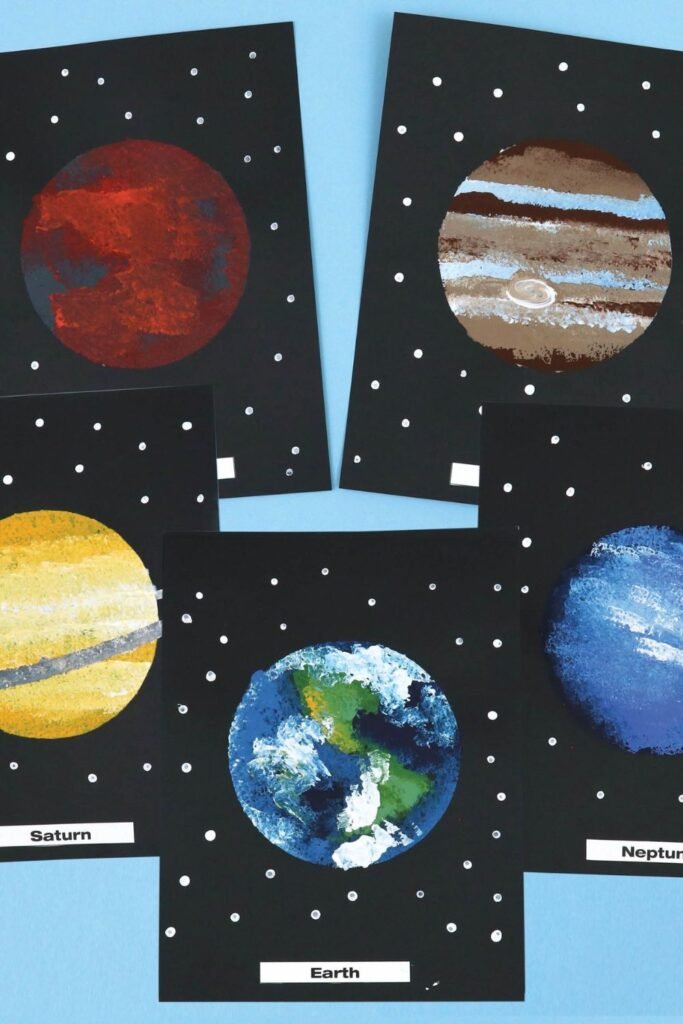
Sponge Painting
Paint doesn’t need brushes to create something impressive. Grab a kitchen sponge, dip it lightly in acrylic paint.
And lightly dab each planet to add texture. Without using any technical processes, mixing two or three colors together makes the stripes on Jupiter.
The shine on Neptune look more lifelike. To make stars, keep the backdrop black and use the back of a paintbrush to create white dots.
Clearly label each sheet so that it can be used as a learning aid. This is great for group activities in the school.
Since each child may focus on one planet and then put them all together to make a wall of the whole solar system.
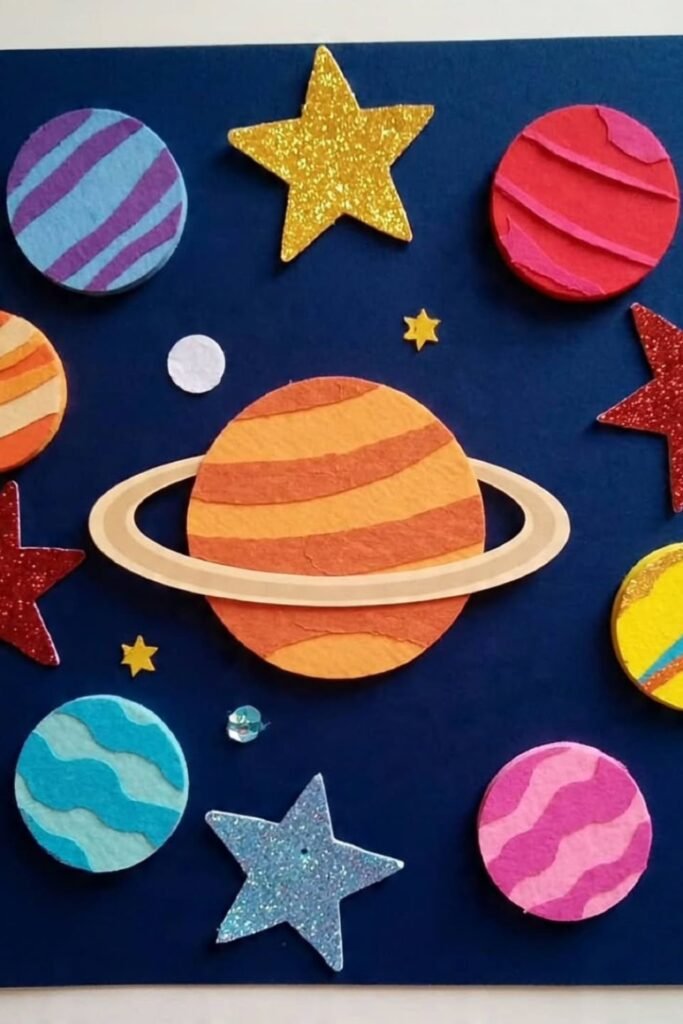
Paper Layers
Flat paper can still create depth if you stack it smartly. Cut circles from colored cardstock and glue.
Thin curved strips on top to form planet stripes and texture. Put a little foam square under Saturn to make it stand out from the background.
Pick bright colors that are really different from each other. So that each planet shines out against the dark blue base.
Glitter stars make the board shine without making it dirty. Works well for younger kids who can cut and glue.
But aren’t ready for paint yet. Instead of being messy, hang it up as a nice wall display that appears clean and orderly.
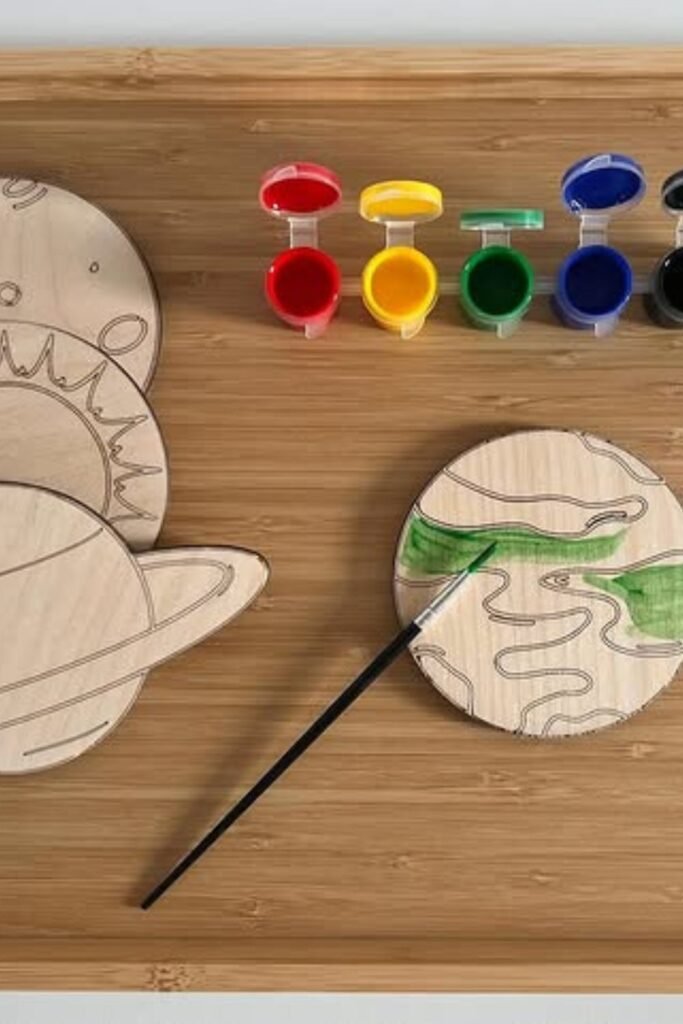
Wooden Painting
Mess stays controlled when you give kids clear outlines to follow. Use pre-cut wooden planet shapes with engraved details.
So kids concentrate on coloring instead of making flawless circles. Put little pots of paint next to them and tell them to mix colors to make oceans, rings, or craters.
Paint sticks better to wood than to thin paper, so colors look better and last longer. Put everything on a tray.
To keep the work area neat and make it easy to clean up. Perfect for calm activities in the afternoon or small group stations in the classroom.
Where students take turns working on one planet at a time. You can hang finished pieces on a wall or use them to make a bigger solar system board.
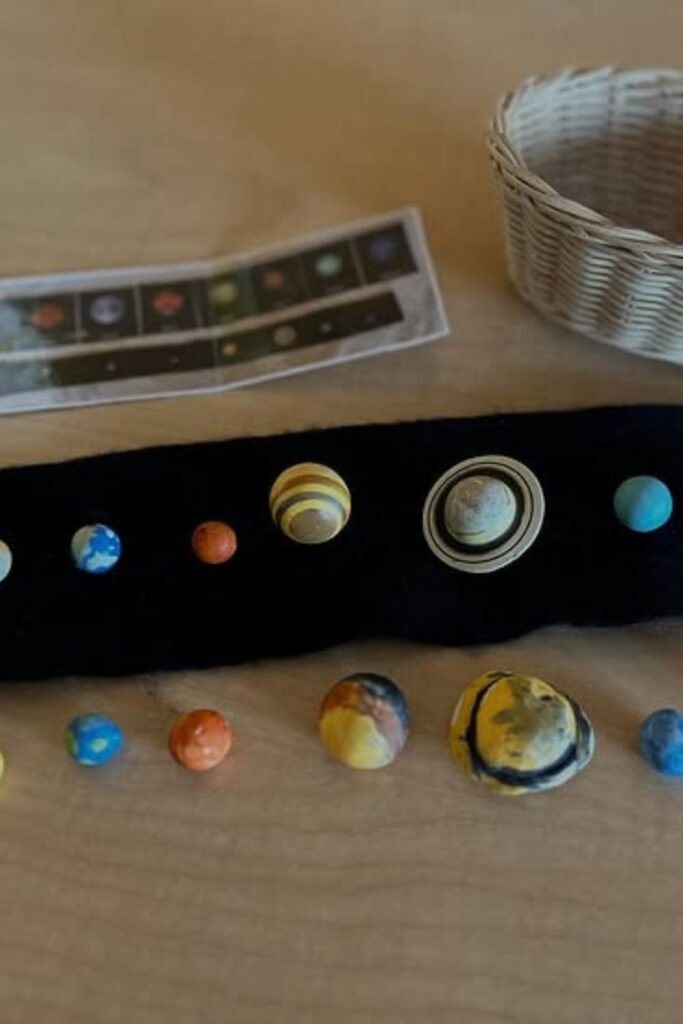
Felt Strip
Small hands learn faster when they can move things around. Lay a long strip of black felt on a table and place tiny planet balls on top in order.
Let them move them around over and over again until they recall the order instead of gluing them down.
Put a printed reference card handy so they can verify themselves without having to ask you. Felt protects the balls from rolling.
All over the place, which is nice. Good for homeschool setups or quiet places to study where repetition is important.
Once they know the order. Give them a challenge to take away one planet and see if they detect what’s missing.
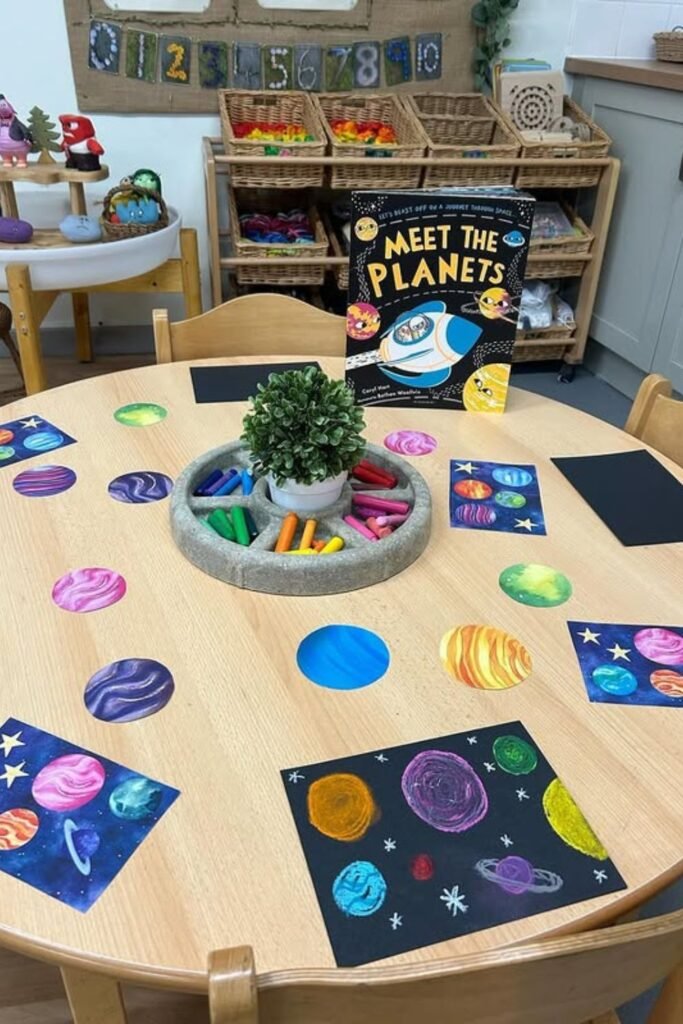
Art Station
Energy stays focused when you set up a dedicated planet corner. Place black paper on the table, scatter oil pastels or chalk.
And let kids use round strokes to make planets that illuminate. Have a space-themed book on hand so kids can duplicate genuine colors instead of making guesses.
Encourage layering by lightly pressing down on the initial coat and then adding brighter highlights on top.
Using a gel pen to draw white dots turns empty space into a star field right away. Great for rotating classes or play-based learning sessions.
Where science and creativity go hand in hand. When they’re done, ask each child to tell you which planet they drew and one thing about it.
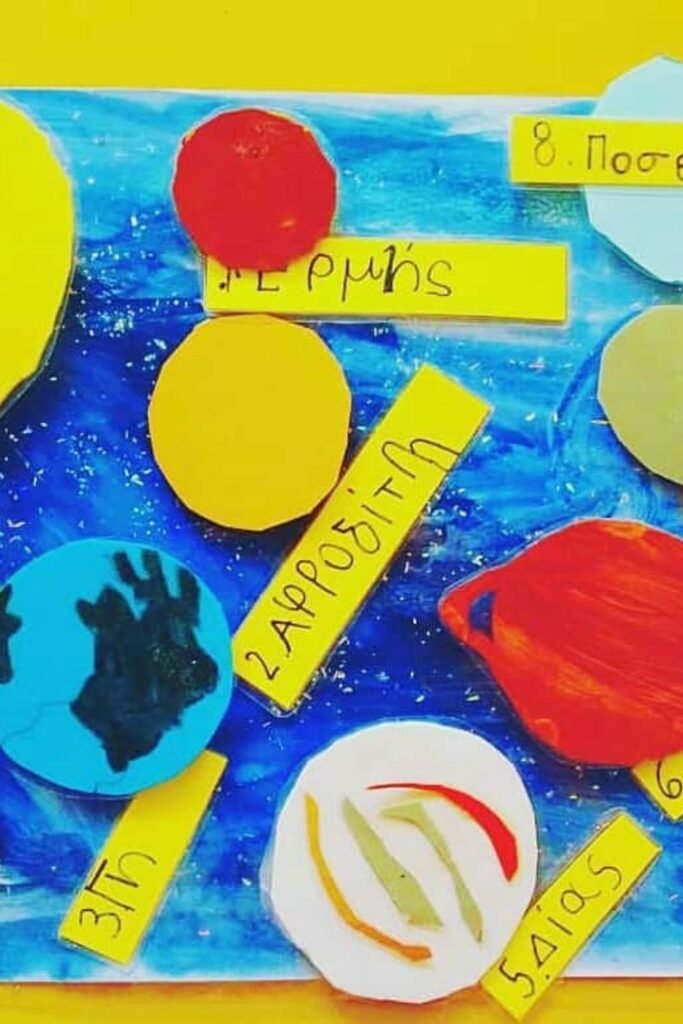
Labeled Poster
Memory sticks better when kids build the chart themselves. Paint a simple blue space background.
Then, glue big paper circles to each planet. Put bright name strips behind the labels instead of writing on the board.
This will make the labels stand out. Put the planets in order from the sun outward and give them numbers to help you remember the order.
Younger kids can cut and place bigger shapes without getting frustrated.
It’s great for classroom walls because kids can walk up to it, point to a planet, and read the name out loud.
When you’re done, make it a short quiz by covering one label and asking them which planet is missing.
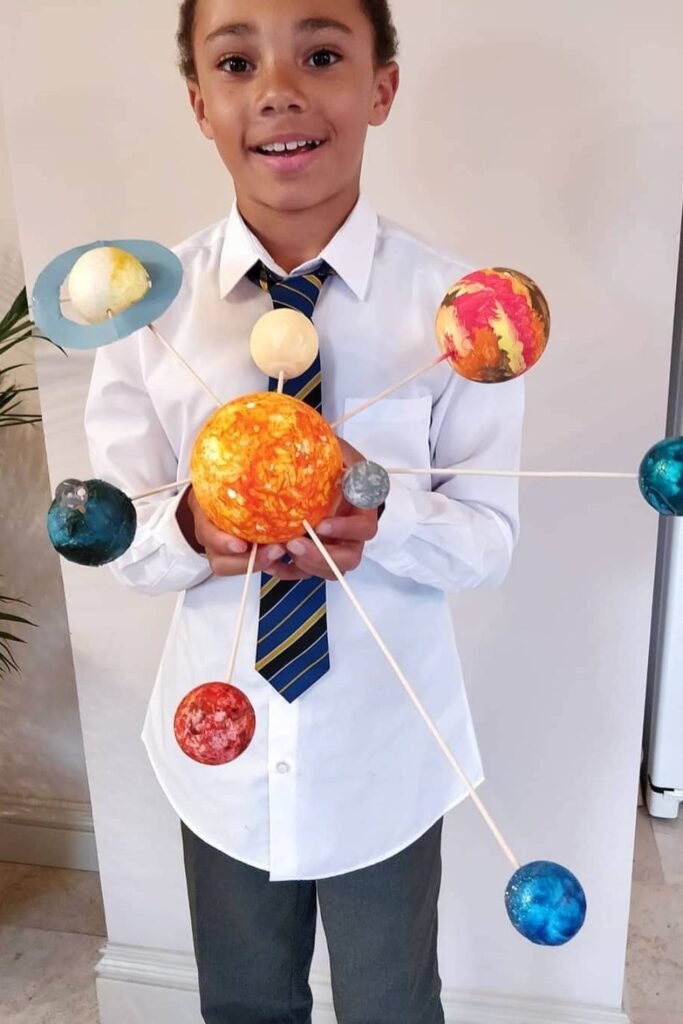
Orbital Model
Holding the solar system in your hands changes how kids understand space. Start with a large foam ball for the sun and paint it bright so it stands out immediately.
Put wooden skewers in at different angles, and then paint little balls to look like planets and attach them to the ends.
Make sure the sizes are realistic; Jupiter should look far bigger than Earth. Make sure everything is tightly fastened so it doesn’t move around during presentations.
Great for science fairs since kids can turn it around while they talk about orbits and distances. Go over the order of the planets together before you finish.
This will make the model more than just a decoration; it will give them something to talk about.
Folded Spheres
Paper can look three-dimensional if you fold it right. Cut several identical circles for each planet, fold them in half.
Then, glue the edges of the folds together one at a time to make a round sphere. Use thin thread to hang each finished planet on a wooden strip.
So that they spin a little in the air. Before you attach it, put a simple paper ring around Saturn.
Put the heavier planets closer to the middle of the stick to keep it balanced. This is great for youngsters that like to cut and put things together instead of painting.
After you hang them up, ask them to show you which planet is the biggest and which one is nearest to the sun.

Half Dome
Big impact comes from building upward instead of outward. Start with a painted half-sphere base to represent space.
Then, put in strong black rods at different angles. Put foam planet balls on top so they seem like frozen orbit tracks rising above the surface.
Before putting the rods on, paint white specks all over the dome to make it look like stars. To hold the design in place.
Make the sun a little bigger and move it closer to the middle. It appears advanced but keeps steady on a table, which makes it great for science fairs.
As you show, slowly turn it and talk about how each planet orbits the sun at a different distance.

Shadow Box
Depth changes everything. Instead of gluing planets onto flat paper, carve space into a foam board or box lid so planets sit inside a small galaxy scene.
To make a star field, spray or splatter white paint on the black inside. Then, attach painted foam balls at varied heights.
To illustrate distance, push some planets forward and hold others farther back. For further realism.
Add small things like an astronaut or the texture of a ring surrounding Saturn.
It looks three-dimensional without being breakable, which makes it great for scientific fairs.
While you explain, show how the box makes layers, exactly how space has depth that we can’t observe.

Textured Planets
Smooth paint rarely captures what planets actually look like. Spread thick paint, shaving cream, or textured paste onto round cardboard pieces.
Let kids mix colors with their fingers as well. Without any further equipment, rough patches look like craters, storms, and rocky surfaces right away.
Put everything on a big black background and spread them out so that each planet has its own.
Little hands can play around with bigger circles without worrying about precise corners.
Great for sensory play times when kids learn by touching things as well as seeing them.
When it dries, feel the different textures and speak about which planets are rocky and which are largely gas.

Glitter Board
Bright colors grab attention instantly. Start with a black foam board and glue foam balls or cut circles in order from the sun outward.
Put glitter paper stars on the background so it doesn’t look empty. Instead of writing by hand, use little printed labels under each planet to keep it neat and easy to read.
Pipe cleaners are good for Saturn’s rings since they keep their shape and are easy to see.
Make sure the sizes of the planets are very different so youngsters can see the differences.
When you’re done, ask your youngster to tell you why Jupiter is bigger and why Mercury is the closest planet to the sun.

Orbit Lines
Understanding movement becomes easier when kids can actually see the paths. Draw curved orbit lines lightly in pencil across a black poster board.
Before adding painted foam balls for each planet. Put them on the right paths so that the distance from the sun is clear instead of random.
Put small white stones or crumpled paper pieces in the middle to show the asteroid belt, and make sure to identify it clearly.
To emphasize scale, make the sizes of the planets very varied. Perfect for assignments in upper elementary school where teachers want additional information.
While you are giving the presentation, use your finger to follow each orbit and talk about why the outer planets take longer to round the sun.

Box Galaxy
Turning a simple cardboard box into space instantly makes the project feel bigger. Paint the inside black, brush soft white streaks for distant galaxies.
Then, use thread to suspend crumpled paper planets from the top so that they float at varying heights. Instead of keeping the sun flat, use layers of paper to give it texture.
Keep the labels tiny and neat so they don’t get in the way of the scenario. Put the outer planets deeper into the box to make them look farther away.
It stands on a table and feels like a tiny museum exhibit, which makes it great for showing off in the classroom.
When you explain, make sure to point out how the walls of the box help depict depth and orbit paths clearly.

Stick Puppets
Learning sticks better when kids can move the planets themselves. Print or draw planets on paper, glue them onto craft sticks.
And use a round board with paint on it as the sun’s orbit space. Instead of fixing the planets in place, let the kids put them in order around the sun.
Moving them around over and over again helps you remember things. Make sure the sizes are different so that Jupiter is easy to tell apart from Mercury.
Great for home practice or small group sessions when interaction is more important than decoration.
After putting them in the right places, tell your youngster to “orbit” one planet around the sun and talk about how long that trip may take compared to Earth.

Floor Layout
Movement helps ideas click faster than sitting still. Lay a large black cloth on the floor, draw orbit circles, and place cutout planets along each path.
Let youngsters move Mercury closer to the sun and Neptune farther away so they can feel the distance.
Instead of just thinking about it. Put it on a small table with a simple coloring page to link hands-on play with quiet practice.
Keep things low and easy to reach so kids may explore on their own. Great for little kids who require room to move about and play.
Once the planets are in order, have them go around one orbit and tell you which planet travels the farthest.

Egg Carton
Recycling turns into creativity fast with this setup. Flip an egg and carton upside down and paint it black to create a bumpy space surface.
Before putting wooden sticks into foam or clay planet balls, softly speckle white and purple paint on them to make them look like galaxies.
Put each stick into a different “peak” so that the planets are at different heights. To hold the design in place, make the sun bigger and more centered.
Great for school projects on a budget because you probably already have most of the materials at home.
When you’re done, ask your youngster why some planets look rocky and others smooth. Then, talk about how this is similar to how things really are in space.

Lighted Display
Darkness makes space feel real. Paint a deep black background, sketch faint orbit lines, then glue labeled foam planets in the correct order.
Before you put everything in position, wrap a string of miniature battery-powered fairy lights around the edge.
Make sure the switch is easy for kids to reach so they can turn it on during presentations.
The shine makes the colors of the planets stand out right away and attracts attention to the pattern.
This is a great alternative for science fairs when you want your project to be the most interesting thing in the room.

FAQs
What is the easiest planet craft for a last-minute school project?
Be brave and keep it simple. Every time, black chart paper with paper circles works. Cut out circles of different sizes, color them with crayons or paint.
Then glue them together in a line from the sun outward. Put little labels under each planet and white dots for stars.
To make it seem better, use foam tape to lift one or two planets so they stand out more.
You don’t need any sophisticated tools, and you can do it in less than an hour.
How can I make sure my child actually learns while doing planet crafts?
Don’t think of it as just an art project. When you make the planets, ask simple questions like: Which one is the biggest? Which one is nearest to the sun.
What makes Saturn’s rings? Without looking at a reference, have your youngster put the planets in order.
Then have them tell you what the model is about. When they say it out loud, they remember it better than when they color quietly.