
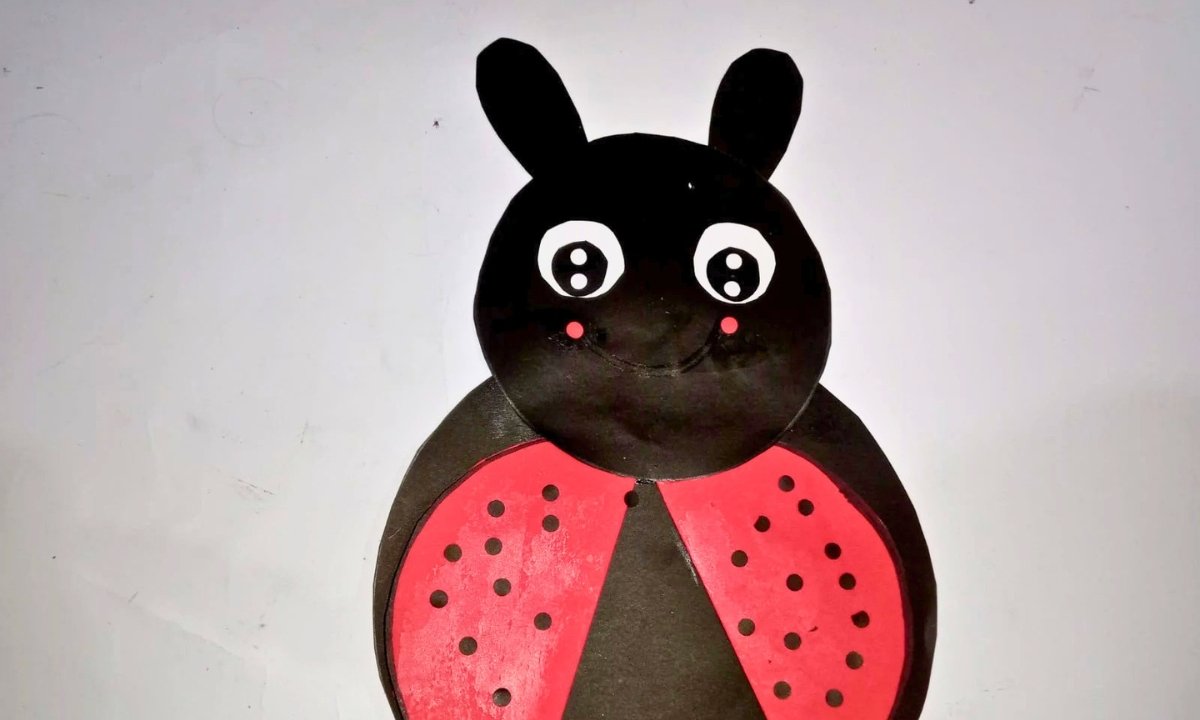
How to Make LadyBug Craft with Paper
Ladybug crafts are always fun for kids, maybe because of the brilliant red wings or the little black dots that youngsters love.
I did this paper ladybug craft on a calm afternoon when we wanted a quick, easy activity, and it turned out to be more cuter than I thought it would be.
What I like best. You don’t need anything special, just some paper and some time.
Don’t worry if you’ve ever had trouble getting the shape perfect or keeping everything in order I’ve been there too.
I’ll show you step by step how I made mine and give you some helpful hints that made a major difference along the road.
Let’s jump in!
Why Does My Paper Ladybug Not Look Round and Neat?
Don’t worry if your ladybug isn’t quite right; you’re not the only one. This was actually the hardest part for me the first time we tried it.
The secret is how you sketch and cut your circles. The final shape won’t seem nice if the circle isn’t smooth to start with.
Instead of freehanding, I like to delicately trace around a little bowl or lid. It makes a big difference.
Also, be careful and take your time while you cut, especially around the borders. Quick cuts might make the circle look rough.
One more small thing? When you put the wings on, make sure that both sides are even. This will make your ladybug look nice and even instead of uneven.
Materials Needed:
- Black sheet
- Red sheet
- Pencil
- Scissors
- Glue
- Marker
Step-By-Step Guide
1. Gather Basic Supplies
Before you begin, take a minute to gather everything you need so the craft feels easy from the start.
I used a black sheet, a red sheet, scissors, glue, a pencil, googly eyes, and a black marker.
You can also keep a small round object nearby, like a lid or bowl, to help trace neat circles.
Having everything ready on the table makes the whole process so much smoother, especially if little ones are helping.
This is one of those simple crafts that does not need fancy supplies, which is honestly one of the reasons I love it so much.
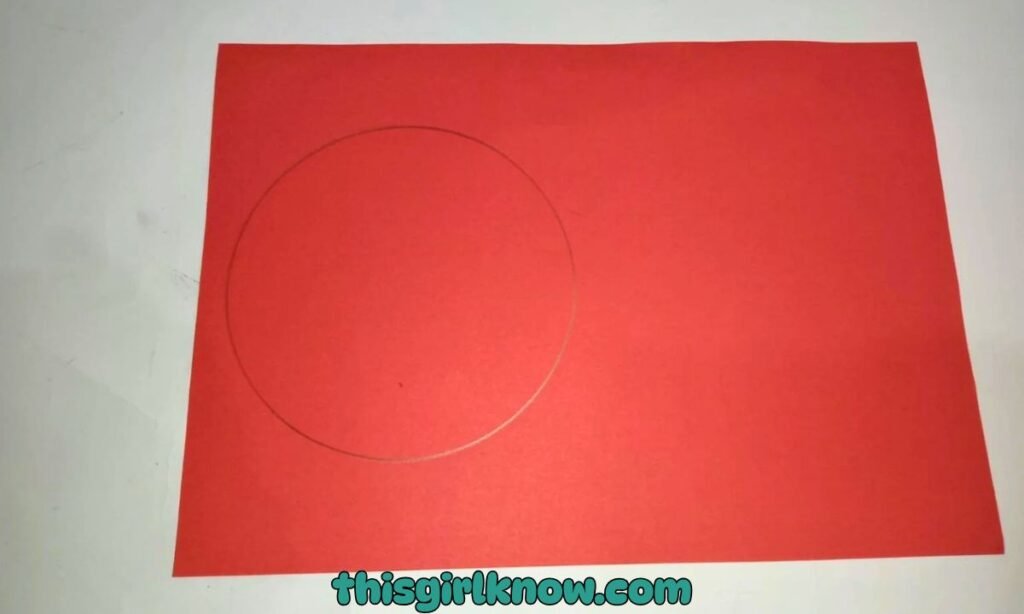
2. Make the Black Body Pieces
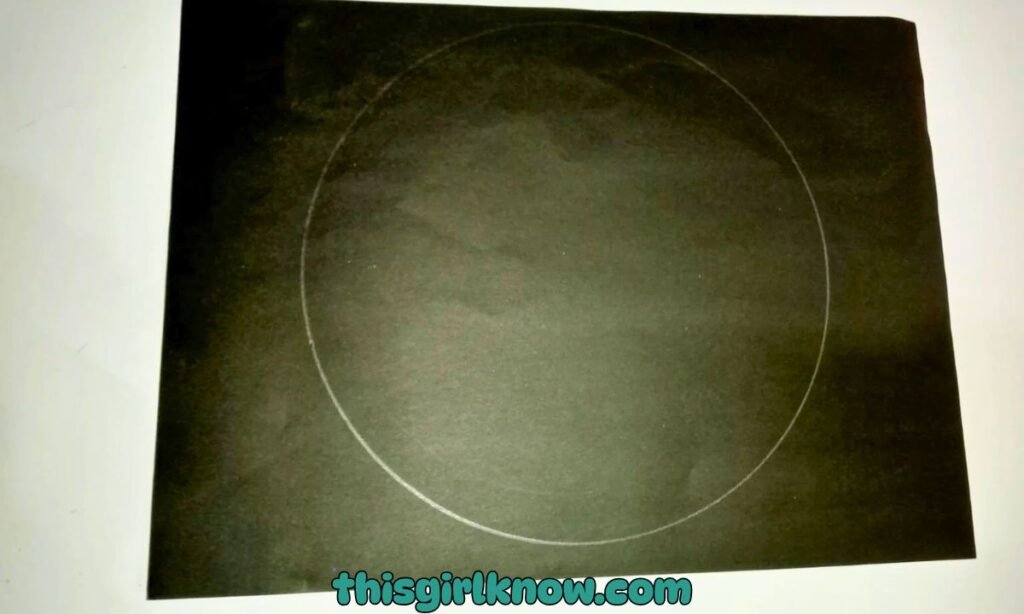
Put your black paper flat on the table. Make one big circle for the body and one small circle for the head.
To make the ladybug look nice and balanced, try to keep the shapes as circular as possible.
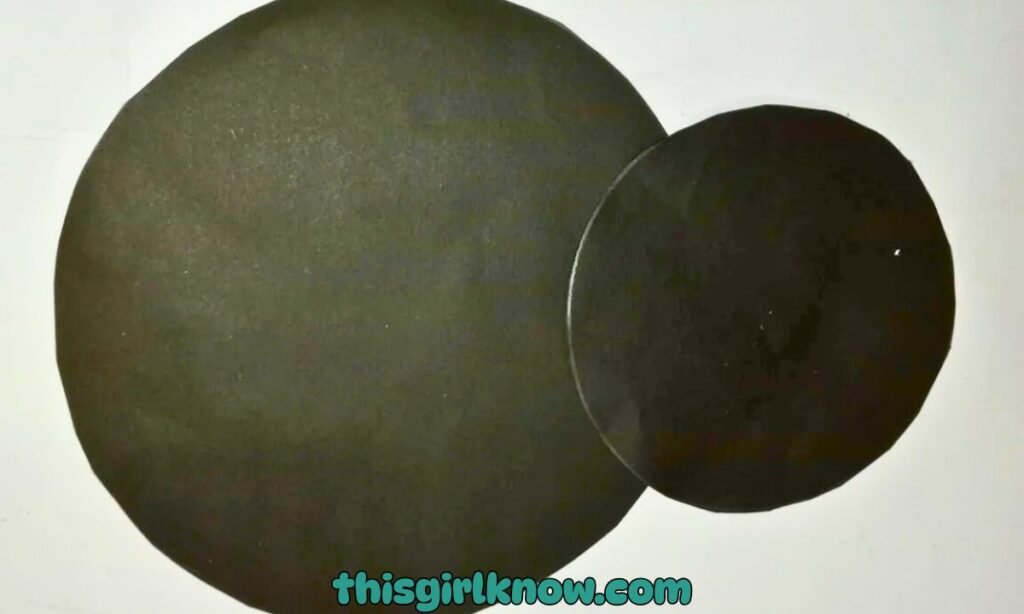
Carefully cut out both circles after you are happy with the shapes. The smaller circle will go on top of the bigger one to make the head.
This phase really starts to put the ladybug together. You can already see how the final creation will look once you cut the two black parts.
Pro Tip: If drawing circles freehand feels tricky, trace around a cup lid or small bowl. It gives you a cleaner shape and makes finished ladybug look much more polished.
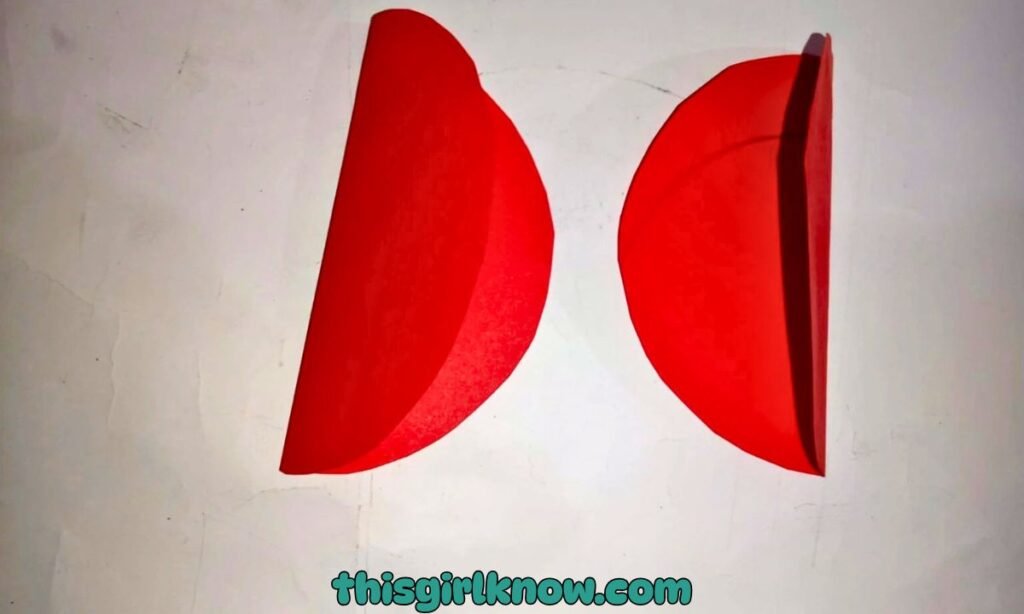
3. Create the Red Wings
Now take your red sheet and design a circle that is about the same size as the bigger black body piece.
Cut it out carefully, then fold it or delicately mark it in the middle so you can cut it in half.
The ladybug’s wings will be made out of these two red parts. Don’t worry too much if one part is a little bigger than the other.
The red wings always make this portion fun since they turn the paper circles into a real ladybug right away.
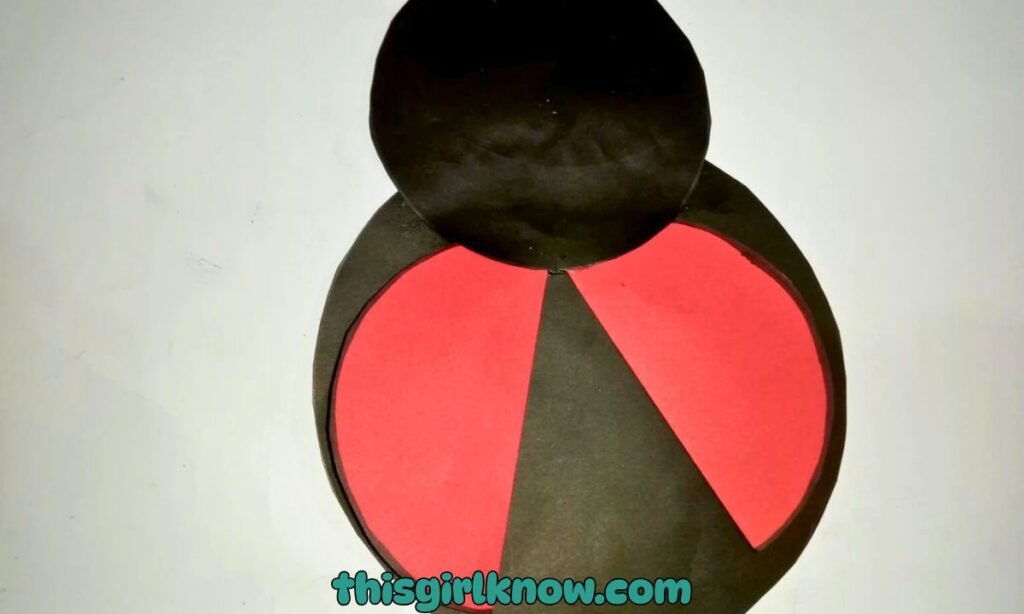
4. Arrange the Body
Put all of your pieces on the table and quickly arrange them before you go for the glue. Place the big black circle on the bottom as the body base.
Then, place the smaller black circle on top of it such that it slightly overlaps it to make the head.
Then, put the two red half circles on the black body so that they look like wings. If you want the wings to look like.
I always like to do this step first since it lets you see if anything has to be changed before the components are glued down for good.
5. Glue the Main Pieces in Place
Once you are happy with how everything looks, start gluing the pieces one by one. First glue the smaller black circle.
Onto the larger black circle to form the head and body. Then glue the two red wing pieces on top.
Press each piece down gently for a few seconds so it sticks well and does not slide around.
If you want the wings to look like they can flap a little, only glue the inner edge of each red half and leave the outer edges free.
Pro Tip: Use just a thin layer of glue instead of too much. Extra glue can make the paper soggy, wrinkled, and harder to keep in place, especially around the wings.
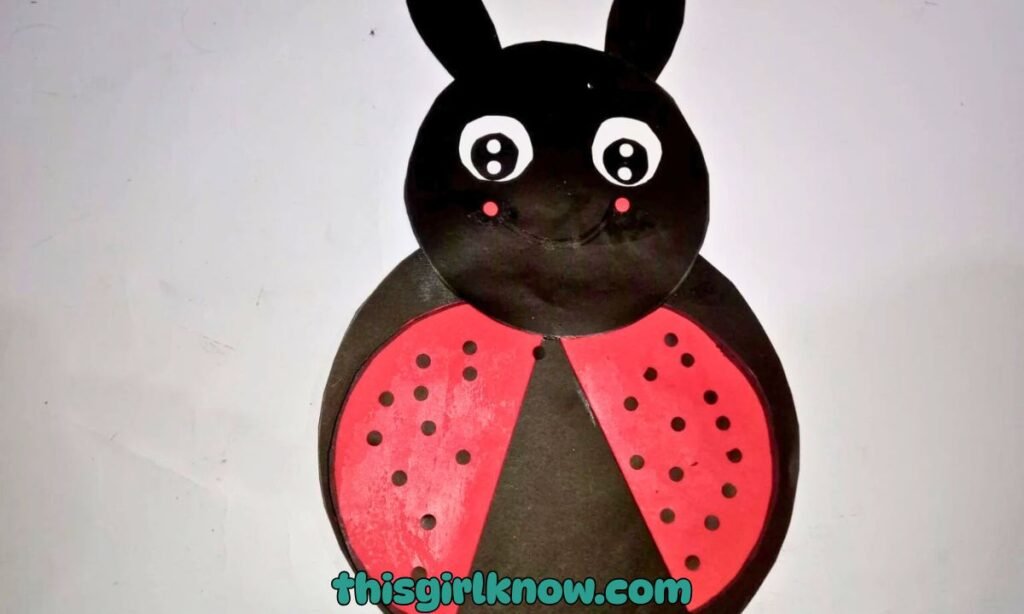
6. Add the Ladybug Details
This is the part that truly makes the ladybug come to life. Put two googly eyes or paper eyes on the black head using glue.
Next, use your black marker to create a little smile and some black dots on the red wings.
You can change the size of the dots to get the effect you want. You may even add little antennas on the top of the head to make it even cuter.
This is my favorite part since adding the face and minor features to a simple paper craft makes it so much more interesting.
7. Make Final Adjustments
Let the craft sit for a few minutes after you’ve put all the parts together so the adhesive can dry completely.
This keeps everything flat and safe, which is especially important if kids want to pick it up straight immediately.
Check the corners and wings once they have dried to see if they need a little more glue or if they need to be moved a bit.
Your paper ladybug is now ready to be shown out, played with, or even stuck to a card or school board for some added fun.
How Do I Make a Moving or Flapping Wing Ladybug Craft?
Adding flapping wings is a very easy way to make your ladybug more entertaining. Instead of putting the whole red wing parts down.
Just put glue along the straight edge on the inside the side that joins in the middle. Let the outside curved edges move up a little bit by leaving them loose.
Kids adore playing with this since it makes a natural “flap” effect. I did this with ours, and to be honest.
It made the craft feel a lot more fun. You may even bend the wings up a little bit to give it more depth.
This is a small change, but it truly helps your ladybug look more vibrant and amusing instead than flat.
Why Does My Glue Not Hold the Paper Pieces Properly?
It can be very annoying when your pieces keep moving around or don’t stick at all. I’ve been there! It’s usually either too much or too little glue.
If you use too much, the paper will get wet and slippery. If you use too little, it won’t hold anything in place.
I think a thin, even layer works best. Also, gently press down on each piece for a few seconds to help it stick.
Another thing to look at is the kind of paper. Some glossy sheets don’t stick well with glue.
If that’s the case, try using a glue stick instead of glue that comes in a bottle. It provides you better control and is less untidy, especially when working with kids.
FAQs
Can I make this ladybug craft without colored paper?
Yes, of course! You can use plain white paper instead of red or black paper and let the youngsters color it.
You can add the red wings and black patches with crayons or markers after you sketch the shapes and cut them out.
It also becomes a fun coloring project, and youngsters love having that extra creative freedom.
How can I turn this ladybug craft into a learning activity for kids?
You can simply make this an enjoyable learning experience! As you work on the project, speak about colors, shapes such circles and half.
And even how many spots are on the wings. You may also tell them a few fundamental things about genuine ladybugs.
Including how they consume pests to help plants. It’s a terrific blend of learning and being creative that doesn’t feel like a lesson.
Hi, I’m Afaf! I’m a law student who loves writing about everyday life – from home projects and crafts to fashion, beauty, and parenting tips.
I’ve been writing for over a year, sharing ideas that are simple, practical, and easy to try. I write about things I find interesting and useful, whether that’s organizing a space, trying a new DIY, or finding activities to keep kids entertained.
My goal is to share helpful ideas without making things complicated. If it works in real life, I’ll write about it.
When I’m not studying or writing, I’m usually experimenting with new projects or scrolling for inspiration!