
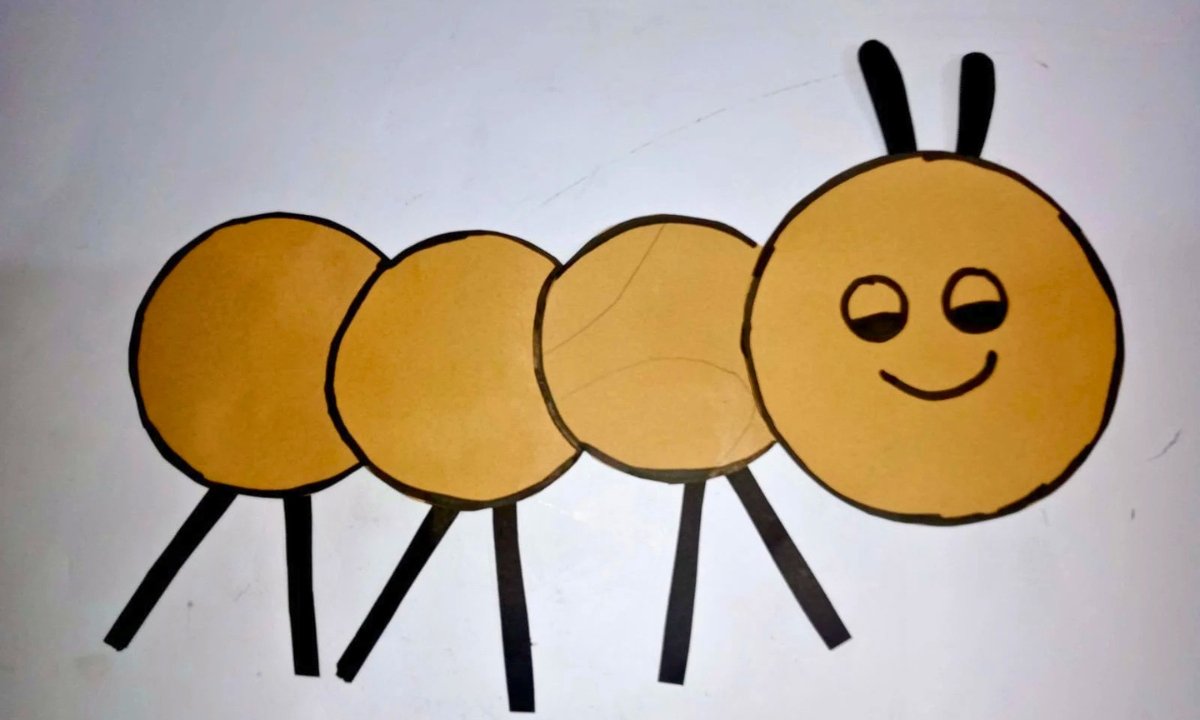
Easy Ant Craft With Paper Kids Can Make In Minutes
It’s so fun and easy to sit down with a piece of paper and make a cute little project, especially when it’s something fun like an ant.
I truly tried this ant paper craft on a quiet afternoon, and it turned out to be one of those easy projects that kids love right away.
The best part is that you don’t need any fancy tools. With a little cutting, arranging, and imagination, this cute little ant is ready to go.
If you want to keep little hands busy without making a mess, this is a good craft to try.
Let’s jump in!
How Do I Keep Kids Engaged While Making This Ant Craft?
If you’ve ever begun a craft with kids, you know how quickly they can go from being excited to saying, I’m bored.
For this ant craft, it helped a lot because I didn’t try to make everything perfect. I let the kids choose the colors of the paper.
Even though ants aren’t purple and then I made it into a small story time by asking them things like “Where is your ant going.
You can also split the processes down into smaller assignments so they don’t feel like they have too much to complete.
Let them cut, then stop, then put it all together. And really, don’t worry about being neat right now.
Materials Needed:
- Brown sheet
- Black sheet
- Pencil
- Scissors
- Glue
- Marker
Step-By-Step Guide
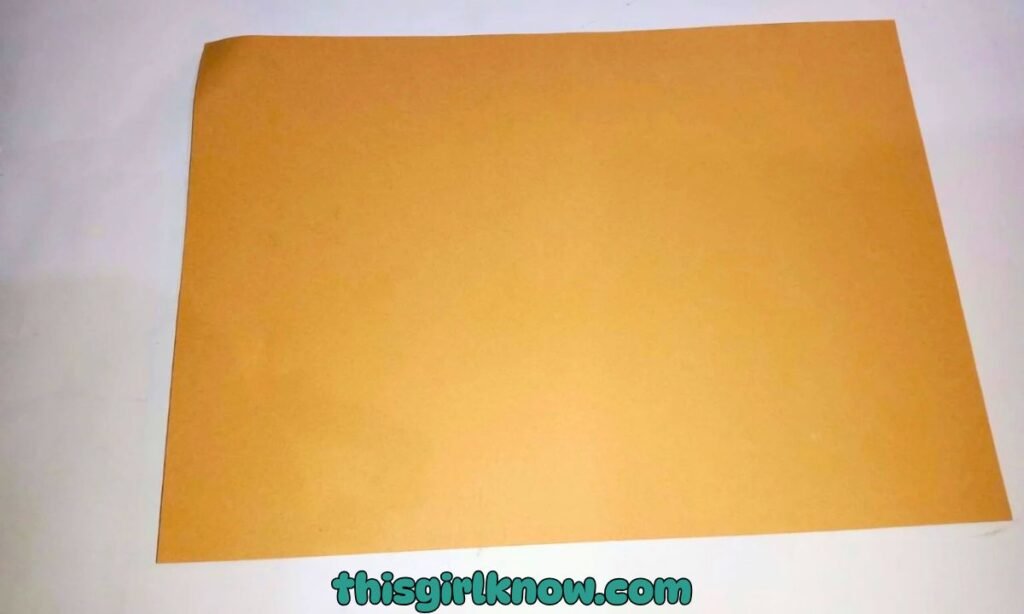
1. Get Workspace Ready
I try to keep everything in one place before I start so that the craft feels easy from the start.
Put your brown sheet of paper flat on a table or other smooth surface where kids may work comfortably.
This small amount of setup actually helps keep the normal pandemonium of paper sliding and scissors dropping to a minimum.
When you’re crafting with kids. You can also keep a pencil, scissors, glue, black paper or strips, and a marker close by.
So you don’t have to get up every two minutes. A minimal setup makes everything feel calmer, smoother, and a lot more fun for everyone.
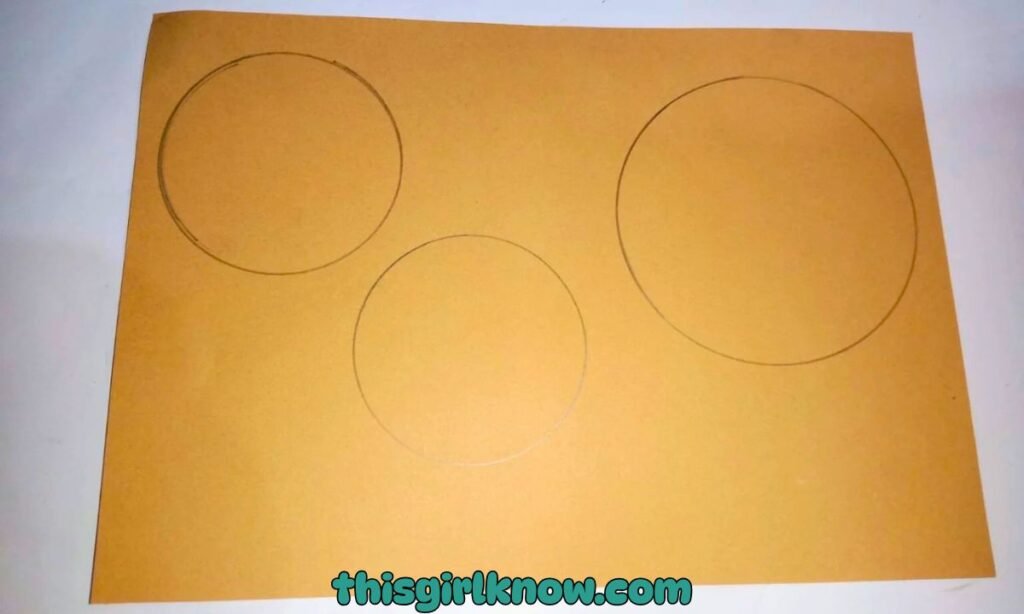
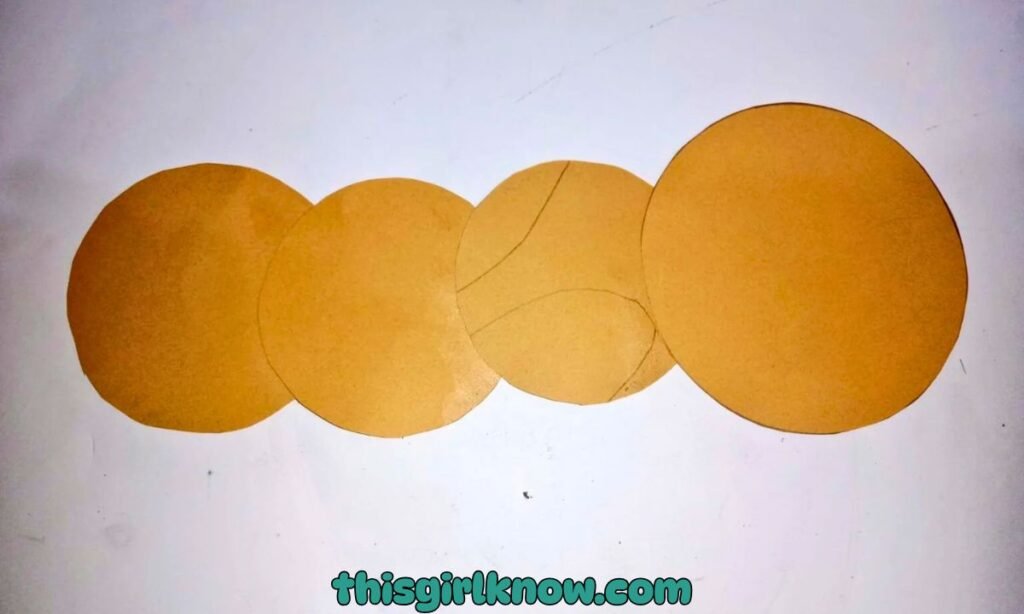
2. Draw the Circles for Ant’s Body
Now it’s time to draw the body parts. On the brown page, use a pencil to create some circles.
For the head, I normally make one circle a little bigger than the rest. For the body parts, I keep the others close in size.
If the circles aren’t completely round, don’t panic. When everything is put together, it still looks cute.
If you’re doing this with kids, you can lightly draw the circles first and let them trace over them.
That way, they still feel like they’re a part of things without being upset. This stage is easy, but it really helps give your little paper ant its form and look.
Pro Tip: If you want the ant to look a little more polished, use a small round object like a cap or lid to trace neat circles instead of drawing them freehand.
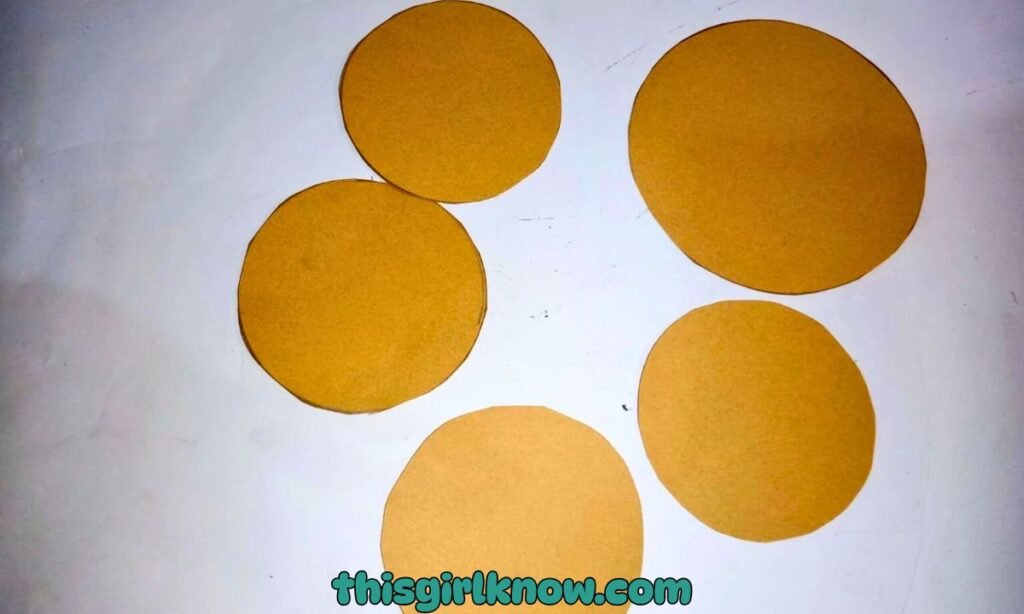
3. Cut Out All the Circles Neatly
Carefully cut out each of your circles once you draw them. This is the part of the activity where it really starts to look like something.
And kids frequently get delighted when they see the little paper pieces come together. If smaller kids are helping.
This might be a nice time for you to undertake the cutting or at least the harder sections first.
Don’t worry about getting the edges just right; just try to cut them as smoothly as possible.
Put all the circles in front of you when you cut them out so you can simply start planning the ant’s body.
4. Arrange the Circles in a Line
Before gluing anything down, put the circles in a line. This lets you see how the ant will look and provides you an opportunity to change the spacing.
Put the largest circle in front for the head, and then line up the other circles behind it to make the body.
I always do this step before I stick anything on since it saves me from having to say “oops, that looks weird” afterward.
You can either keep the circles touching a little bit or leave a little space between them, depending on the look you want.
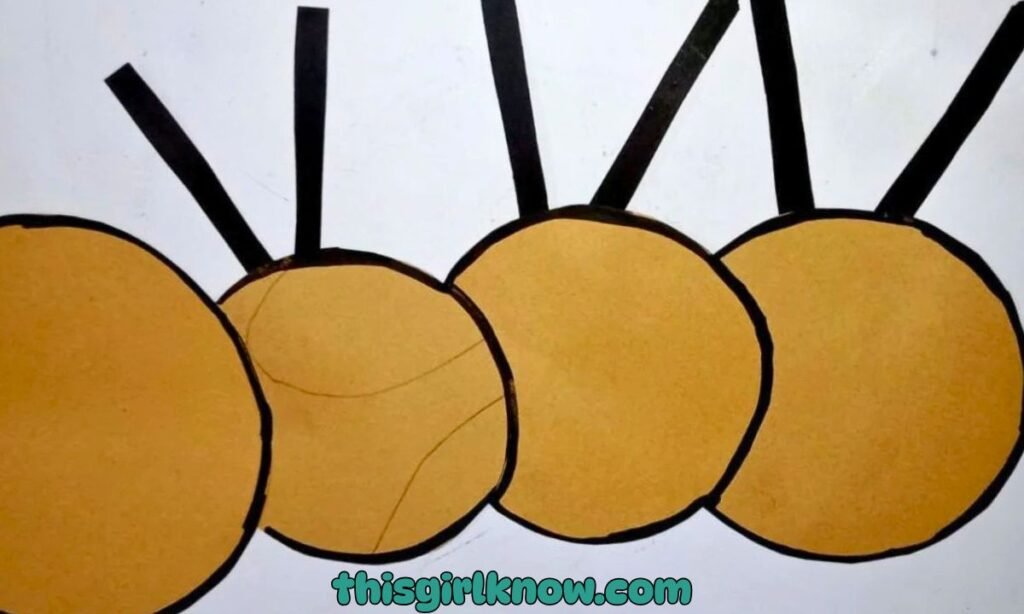
5. Add the Legs
Now for the fun little things legs. Use glue to attach the black paper strips to the sides of the body circles.
To make your ant look like a real insect, you can add three legs to each side. Instead of making them absolutely straight.
I like to slant them a little bit. This gives the ant more character. If the strips are excessively lengthy, cut them down so they don’t cover up the body.
Kids will especially like this step since they can observe how the craft changes from basic circles into an ant. Here, little things truly matter.
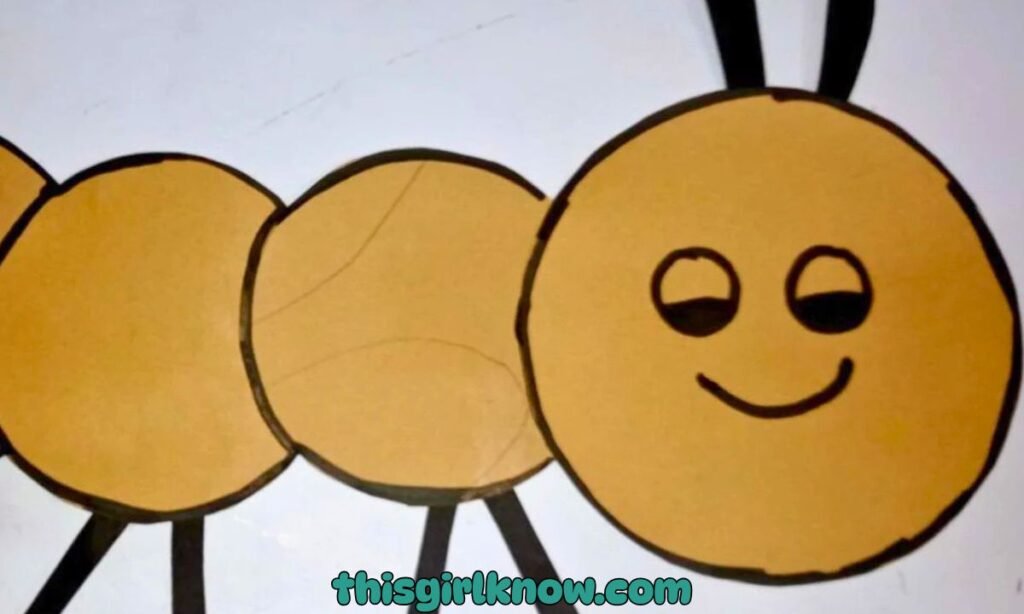
6. Draw the Face
Draw eyes and a smile on the front circle to make it look like a nice little ant face to cap things off.
If you have googly eyes at home, you can use a black marker, crayons, or even little paper eyes.
This is my favorite portion because it gives the whole craft its own style. Some ants seem ridiculous, and some look extremely lovely.
That’s what makes them fun. You can also draw on antennae with a marker or add them with thin black strips.
How Do You Make a Paper Ant Craft Look Neat and Not Messy?
I’ll be honest: this was hard for me the first time too. Paper crafts can go from being cute to becoming a mess very quickly.
Taking things a little slower was the most helpful thing for me. I didn’t rush through; instead.
I took my time with each step: cutting carefully, putting on just a little glue, and letting the pieces rest before moving on.
Another tip is to keep a tissue or towel close by so you can quickly wipe off any surplus adhesive.
Don’t put too much stuff in the design, either. Simple designs usually appear better and sweeter.
Why Does My Paper Ant Craft Keep Falling Apart?
Don’t worry if your ant creation keeps breaking apart. It’s a very typical problem, especially when kids are involved.
Most of the time, it’s because you used too much or too little glue. I’ve found that a thin, even layer of glue.
Works far better than large lumps that never cure all the way. Also, make sure to carefully push each piece down for a few seconds so that it sticks well.
Using paper that is a little thicker instead of very thin sheets that can break easily is another item that helps.
And don’t move the project around too much right after you put it together. It makes a great impact if you let it sit for a few minutes.
FAQs
Can I make this ant craft without colored paper?
Of course. You can use plain white paper instead of colored paper and let the kids color it themselves if you don’t have any.
This can actually make the exercise more exciting because they can be even more imaginative.
You can color the ant with crayons, markers, or even paint before or after cutting it out.
What age is this ant paper craft best suited for?
This craft is great for people of all ages. Younger kids, such those between the ages of 3 and 5.
Can have fun with basic things like coloring and pasting together pre-cut pieces. Older youngsters can handle drawing.
Cutting, and putting things together on their own. You might need to help toddlers with scissors when they’re making, but they’ll still adore being a part of it.
Hi, I’m Afaf! I’m a law student who loves writing about everyday life – from home projects and crafts to fashion, beauty, and parenting tips.
I’ve been writing for over a year, sharing ideas that are simple, practical, and easy to try. I write about things I find interesting and useful, whether that’s organizing a space, trying a new DIY, or finding activities to keep kids entertained.
My goal is to share helpful ideas without making things complicated. If it works in real life, I’ll write about it.
When I’m not studying or writing, I’m usually experimenting with new projects or scrolling for inspiration!