
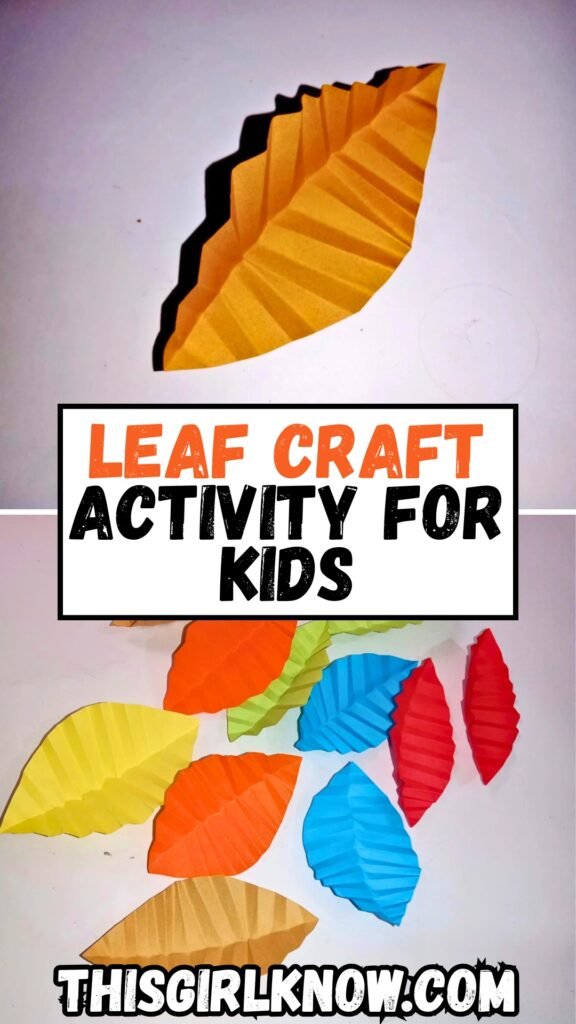
Leaf Craft Activity for Kids Using Colored Paper
There’s something so calming about sitting down with a simple craft, especially when it turns out prettier than you expected.
I actually tried this leaf craft on a quiet afternoon when I just wanted a quick, no-fuss project and it ended up being one of those.
Why didn’t I do this sooner?” moments. The best part. You don’t need anything fancy, just some paper, a little patience, and a few easy folds.
Whether you are crafting with kids or just looking for a relaxing creative break, this leaf craft is such a sweet little project to try.
Let’s jump in!
What’s the Best Way to Stick Leaves Without Damaging Them?
If you’ve ever tried sticking delicate leaves onto paper, you probably know how easy it is to tear or wrinkle them.
I’ve definitely ruined a few before figuring this out. The key is to go gentle and not overload them with glue.
I usually prefer using a glue stick instead of liquid glue it spreads evenly and doesn’t make the leaves soggy.
If you’re working with real leaves, make sure they’re slightly pressed or dry, but not too brittle.
Another trick is to apply glue to the paper first, then place the leaf on top and lightly press it down.
Materials Needed:
- Colored paper
- Pencil
- Scissors
- Glue
Step-By-Step Guide
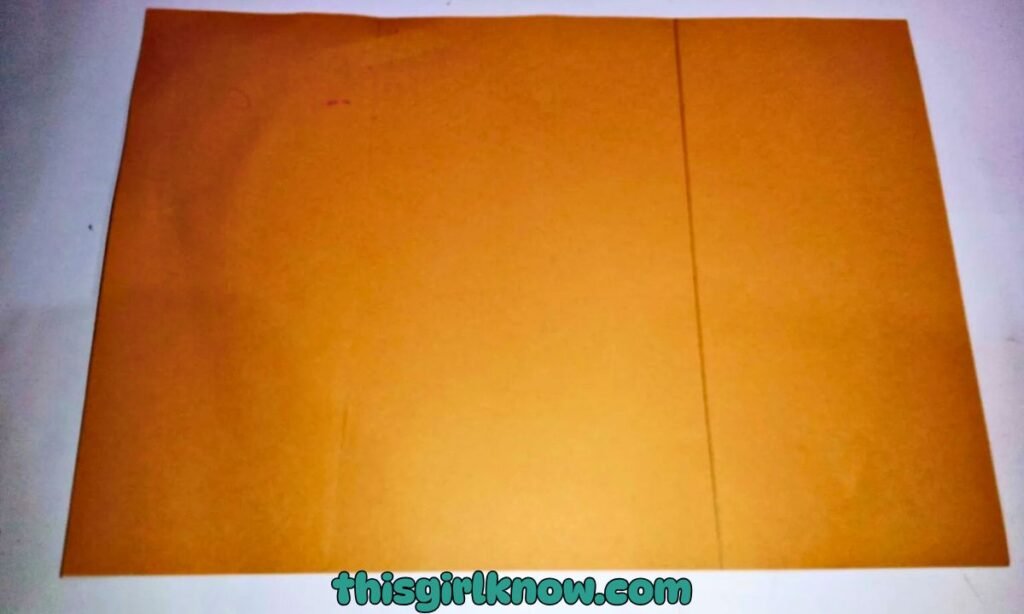
1. Draw a Straight Line on a Rectangular Paper
Start with a rectangular and piece of paper in any color you like. I used a few different shades because I already knew.
I wanted to make a small bunch of leaves instead of just one. Place the paper flat on the table and use a ruler to draw a straight line across it lengthwise.
This line helps you keep the strip neat and even, which makes the folding part much easier later on.
Try not to rush this first step because a clean strip really helps the finished leaf look more polished. It may seem tiny, but it sets up the whole craft beautifully.
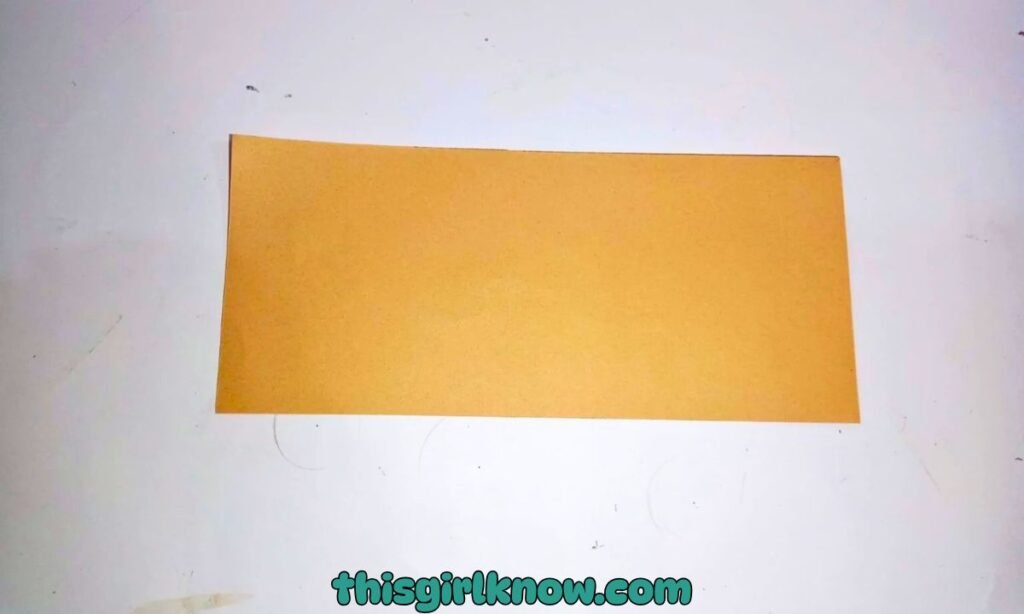
2. Cut the Paper into a Long Strip
Once your line is drawn, carefully cut along it to make a long paper strip. You can use scissors or paper cutter whatever feels easier for you.
I usually go with scissors since that’s what I already have out during craft time. Try to keep the cut as smooth and straight.
As possible because uneven edges can make the folds look a little messy later. Don’t worry if it isn’t absolutely perfect.
Though once the leaf is shaped, little imperfections are hardly noticeable. The goal here is just to create a neat, even strip that will fold nicely.
Pro Tip:If you’re crafting with kids, lightly draw the cutting line darker so it’s easier for them to follow without frustration.
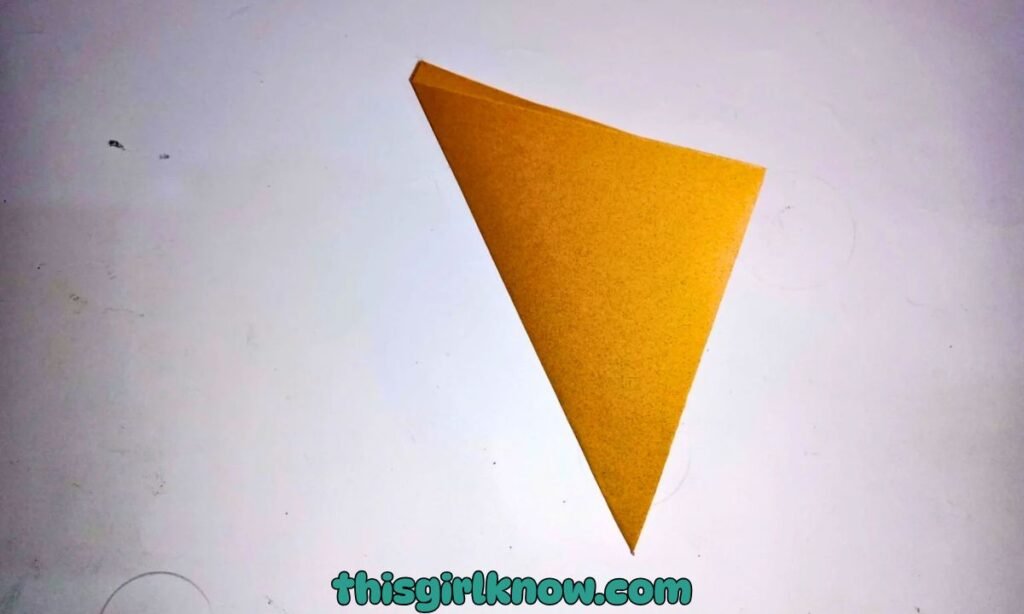
3. Fold the Strip Diagonally into a Triangle Shape
Take your paper strip and fold it diagonally so it forms a triangle shape. This first fold help and create the base structure.
For your paper leaf and gives you a guide for the rest of the shaping. Press the fold down gently but firmly so the crease holds nicely.
I like to run my fingers along the edge a couple of times just to make sure it stays in place.
At this stage, it may not look like a leaf at all, and that’s completely normal. This is one of those steps.
Where the shape starts very simple and gradually turns into something much prettier.
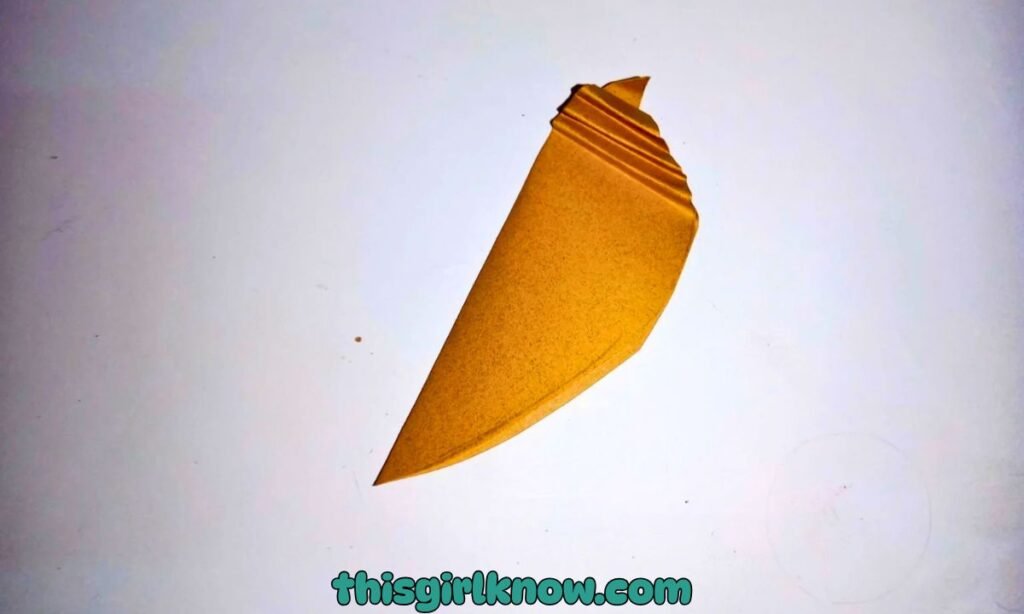
4. Fold Small Equal Pleats Along the Paper
Now comes the part that really starts giving the leaf its texture. Begin making small, even accordion folds all along the paper.
Fold one section forward, then the next section backward, and keep repeating until the whole strip is pleated.
Try to make the folds about the same size so the leaf looks balanced when opened.
I found that smaller pleats gave my leaves a prettier, more delicate look, but you can play around with wider folds too.
Take your time here because neat pleats make a big difference in the final shape. This step is simple, but it’s really what brings the leaf to life.
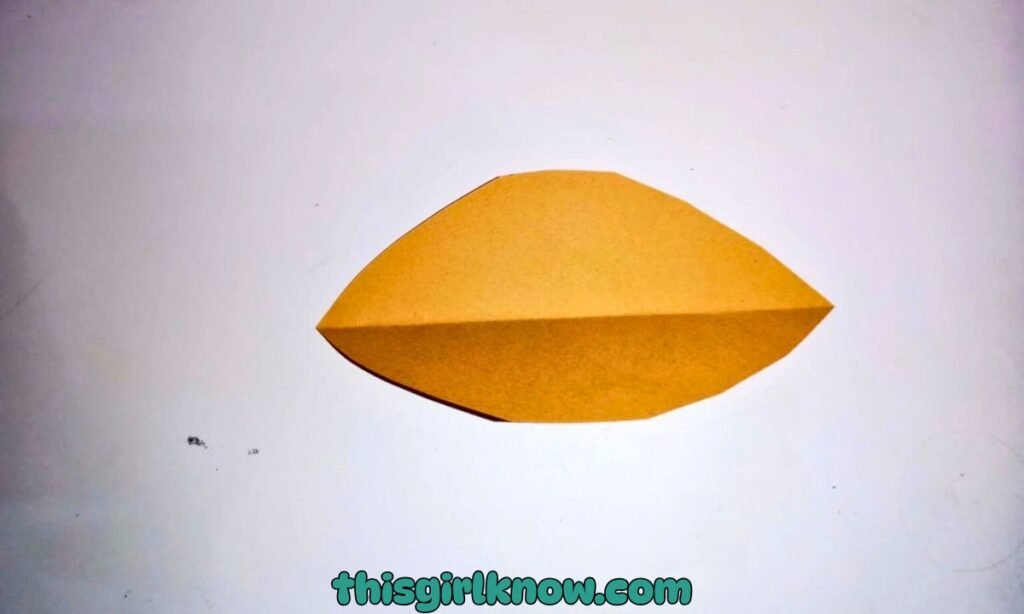
5. Open It Slightly and Shape It Like a Leaf
Once all the pleats are done, gently open the folded paper just a little. You don’t want to flatten it completely.
Just enough to spread it out and start forming that leaf shape. Hold both ends and fan it open until it begins to look soft and curved.
This is honestly the moment when the craft starts feeling exciting because you can finally see the leaf taking shape.
If one side looks uneven, just adjust it with your fingers until it feels balanced. Be gentle while opening it.
Especially if your folds are small, so the paper keeps its nice pleated texture instead of getting crushed.
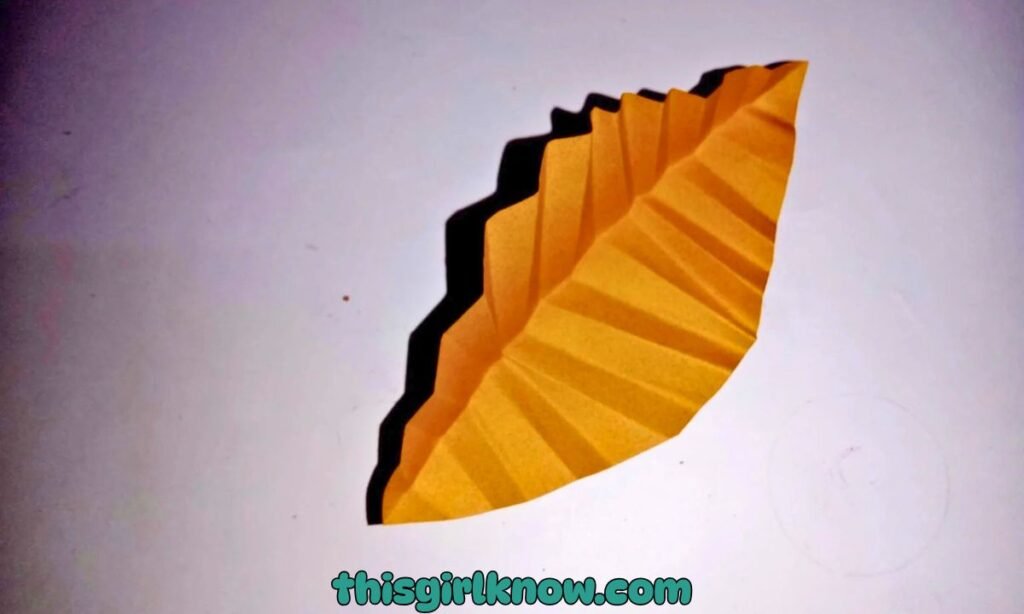
6. Press the Center Fold to Give It a Leaf Look
Now press the middle section of the folded paper to create that natural leaf-like center line.
This little detail makes such a difference because it gives the craft more shape and makes it look less like folded paper.
And more like an actual decorative leaf. You can pinch the center lightly with your fingers and press along the fold to define it better.
I usually spend an extra few seconds here because it really helps the leaf look finished. If needed.
Adjust the top and bottom edges a little so both sides feel even. This final shaping is what gives the whole craft its lovely, leafy look.
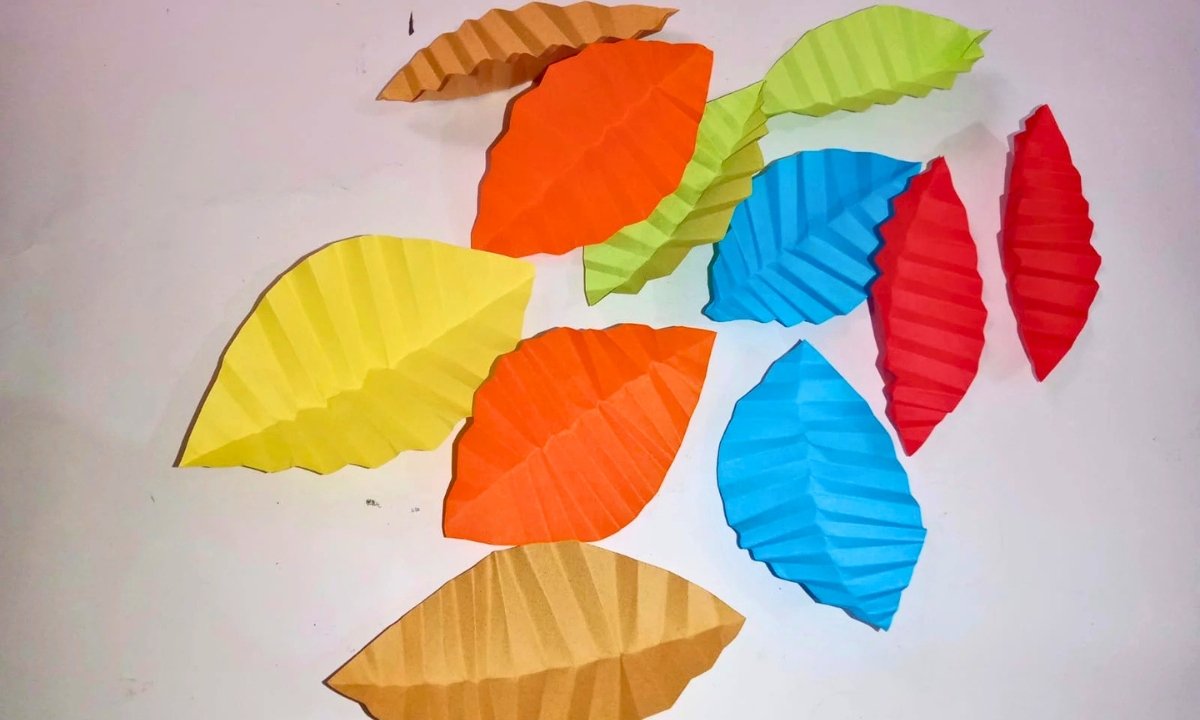
7. Repeat with Different Colors to Make Multiple Leaves
Once you’ve made your first leaf repeat the same process with different paper colors to create a full set.
This part is so much fun because you can mix shades and make the craft look more colorful and decorative.
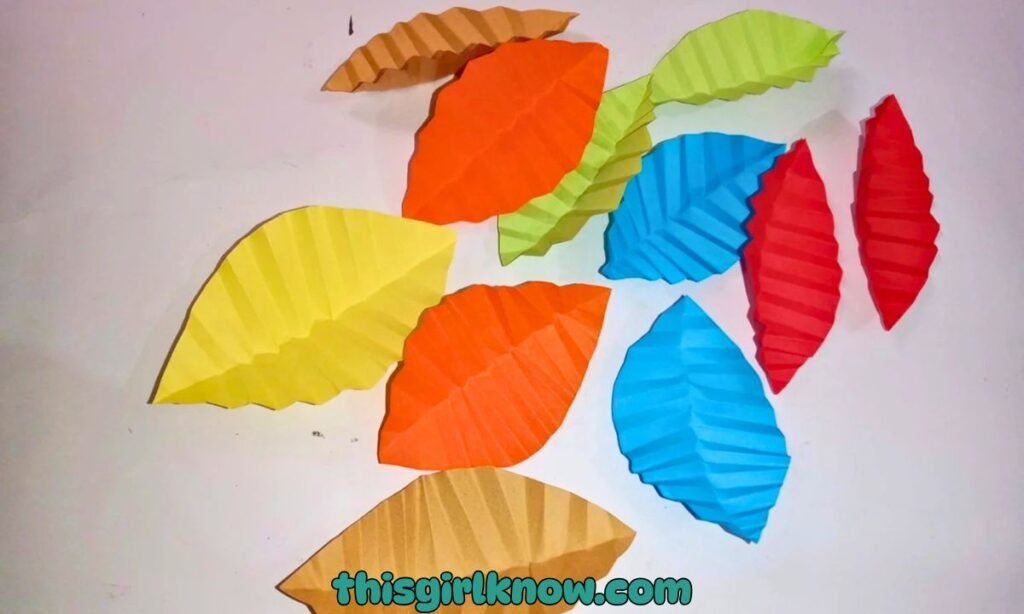
I tried making a few in green, yellow, and orange, and together they looked much prettier than just one leaf on its own.
You can keep them all the same size or make a few bigger and smaller for variety. A bunch of paper leaves.
Works beautifully for wall decor, greeting cards, classroom crafts, or simple seasonal decorations.
Why Do My Leaves Keep Drying Out Too Fast While Crafting?
If you’re working with real leaves, this is such a common frustration. You bring in beautiful, fresh leaves and within hours.
They start curling, drying, and losing their charm. I’ve had this happen more times than I’d like to admit.
The main reason is that leaves lose moisture quickly once they’re picked. Warm rooms, direct sunlight.
To slow this down, try keeping your leaves in a slightly damp paper towel or inside a book until you’re ready to use them.
This helps maintain their flexibility while you work. Also, avoid placing them near heat sources during crafting they dry out much faster than you think.
How Can I Preserve Leaves So They Don’t Turn Brown?
If you’ve ever made something with real leaves, you’ve probably noticed how quickly they lose that fresh.
Vibrant color and turn dull or brown. It’s a little disappointing, especially after putting in all that effort.
I learned that preserving them properly makes a huge difference. One simple way is to press the leaves.
Inside a heavy book for a few days to remove moisture while keeping their shape. You can also seal them.
Using clear glue or laminate sheets to lock in the color longer. Another easy trick is to use glycerin-treated leaves.
FAQs
Can I use any type of paper for making these leaf crafts?
Honestly, you can use almost any paper you have at home, which is what makes this craft so easy to start.
I’ve tried it with regular printer paper, and it works just fine. But if you want a slightly sturdier.
And more polished look, colored craft paper or origami paper works even better. Thinner paper is easier to fold.
How can I use these paper leaves for decoration?
Once you start making these, you’ll find so many cute ways to use them! I’ve used mine for simple wall decorlued them onto greeting cards.
And even added them to gift wrapping for a little handmade touch. You can also string them together.
To make a leaf garland or use them in school projects. They’re small, simple, and surprisingly versatile.

Hi, I’m Afaf! I’m a law student who loves writing about everyday life – from home projects and crafts to fashion, beauty, and parenting tips.
I’ve been writing for over a year, sharing ideas that are simple, practical, and easy to try. I write about things I find interesting and useful, whether that’s organizing a space, trying a new DIY, or finding activities to keep kids entertained.
My goal is to share helpful ideas without making things complicated. If it works in real life, I’ll write about it.
When I’m not studying or writing, I’m usually experimenting with new projects or scrolling for inspiration!