
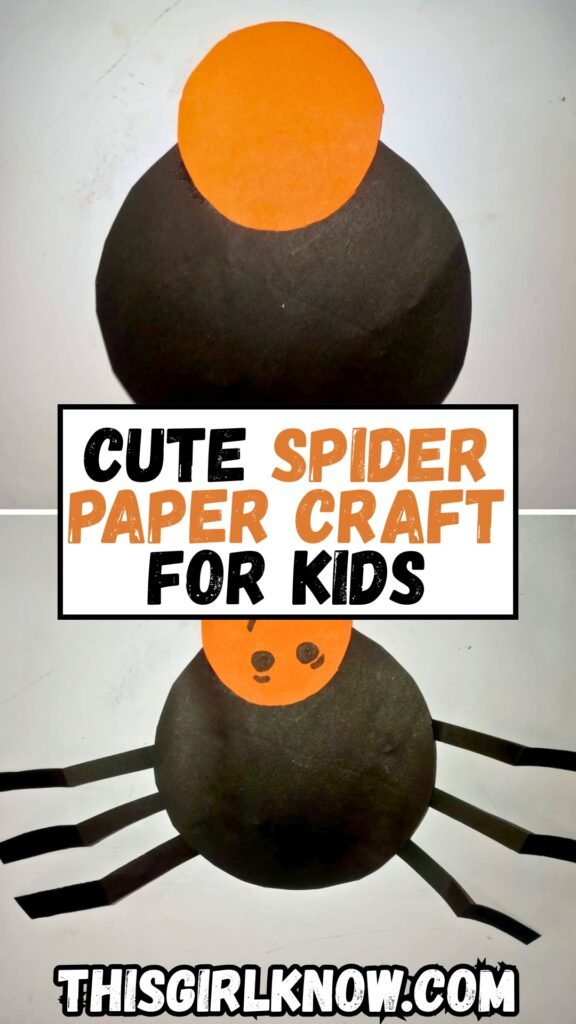
Cute Spider Paper Craft Kids Can Make at Home
Simple paper projects often make afternoons with kids feel especially special, and this little spider craft quickly became a favorite in our house.
I made it on a whim with some leftover black paper, and to be honest, I didn’t think it would turn out this cute.
The best part? It’s really simple, cheap, and great for keeping small hands occupied especially.
When they complain “I’m bored” for the hundredth time. This spider craft is easy, enjoyable, and completely adaptable.
Whether you’re doing it for Halloween, a school project, or simply for fun. Let me show you how we made ours.
Let’s jump in!
How Do I Make Spider Legs That Actually Stand Properly?
At first, this was the hardest part for me. My spider legs kept getting flat and didn’t seem right.
Giving each paper strip a little curve instead of leaving it straight greatly helped. After you cut the strips, fold them gently in a zig-zag or accordion shape.
You just need to fold them 2-3 times. This makes the legs “stand” and gives your spider that cool 3D effect.
Also, make sure the paper you use is a little thicker and not too thin, or the legs won’t stay in shape.
When you paste, don’t press down on the whole strip. Instead, glue one end and let the remainder lift on its own.
Material Needed:
- Black paper
- Orange paper
- Scissors
- Glue
- Pencil/marker
Step-By-Step Guide
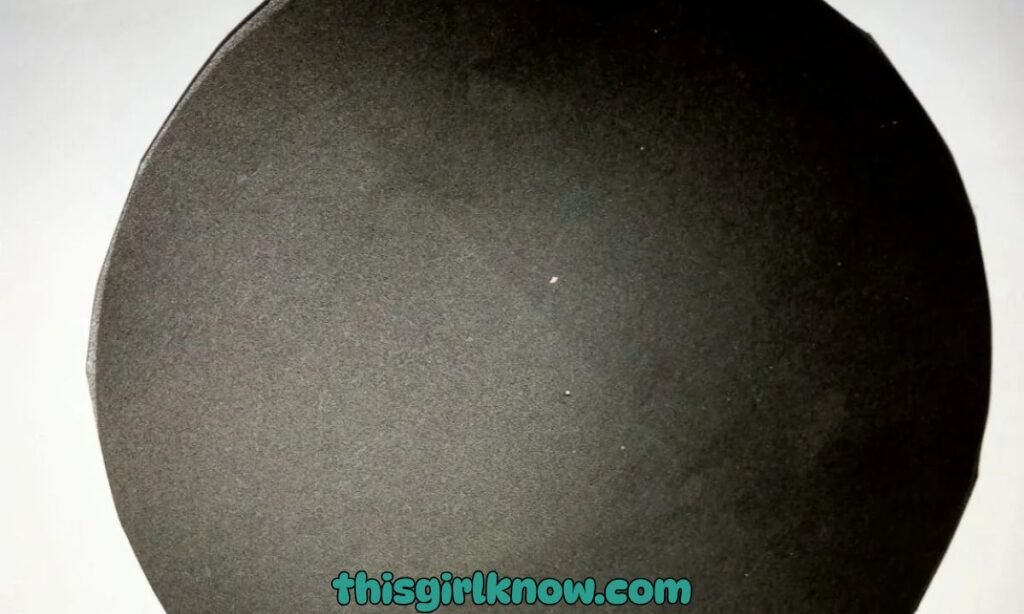
1. Cut a Big Circle
To begin, draw a big circle on a piece of black paper to make the spider’s body. If you want your project.
To seem neat without too much work, you can trace around a bowl, lid, or any other round object to make it nice and level.
After you draw the circle, use scissors to gently cut it out. Try to keep the edges of this area of your spider as smooth as possible.
Don’t worry if it’s not perfect; it all comes together nicely when you add the legs and head.
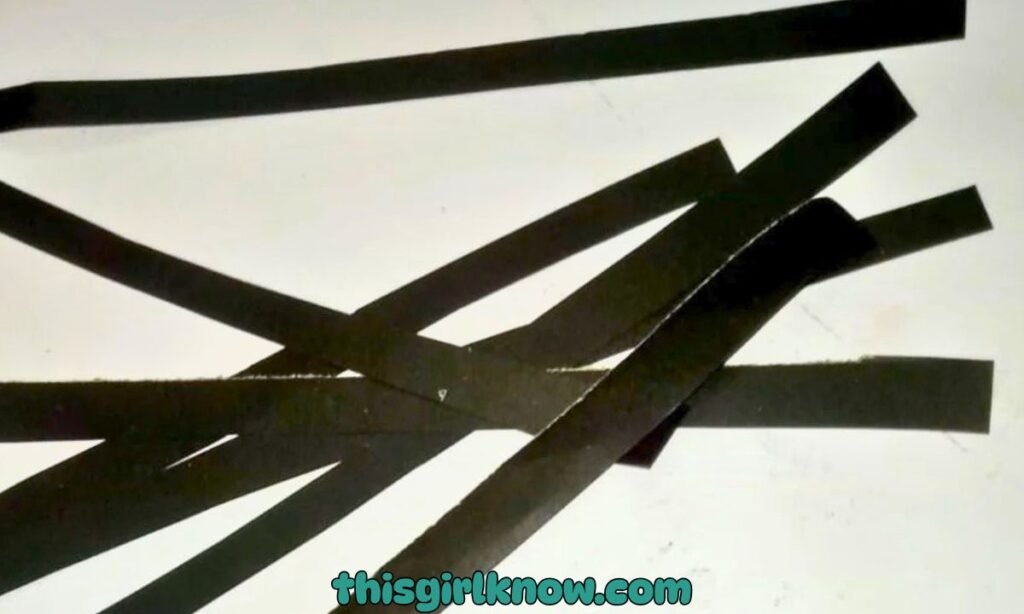
2. Cut Long Thin Black Strips
Then, use the same black paper to cut out numerous long, thin strips that will form the spider’s legs.
Make sure that the pieces are around the same length and width so that the spider looks balanced when everything is put together.
You can bend or fold each strip a tiny bit before gluing them together if you want a more fun 3D look.
That little thing makes a great difference and makes the legs look more alive instead of flat.
Take your time with this step because cutting the strips evenly makes the completed spider look much cleaner and more put together.
Pro Tip: Fold one strip first and use it as a guide while cutting the rest so the legs stay similar in size.
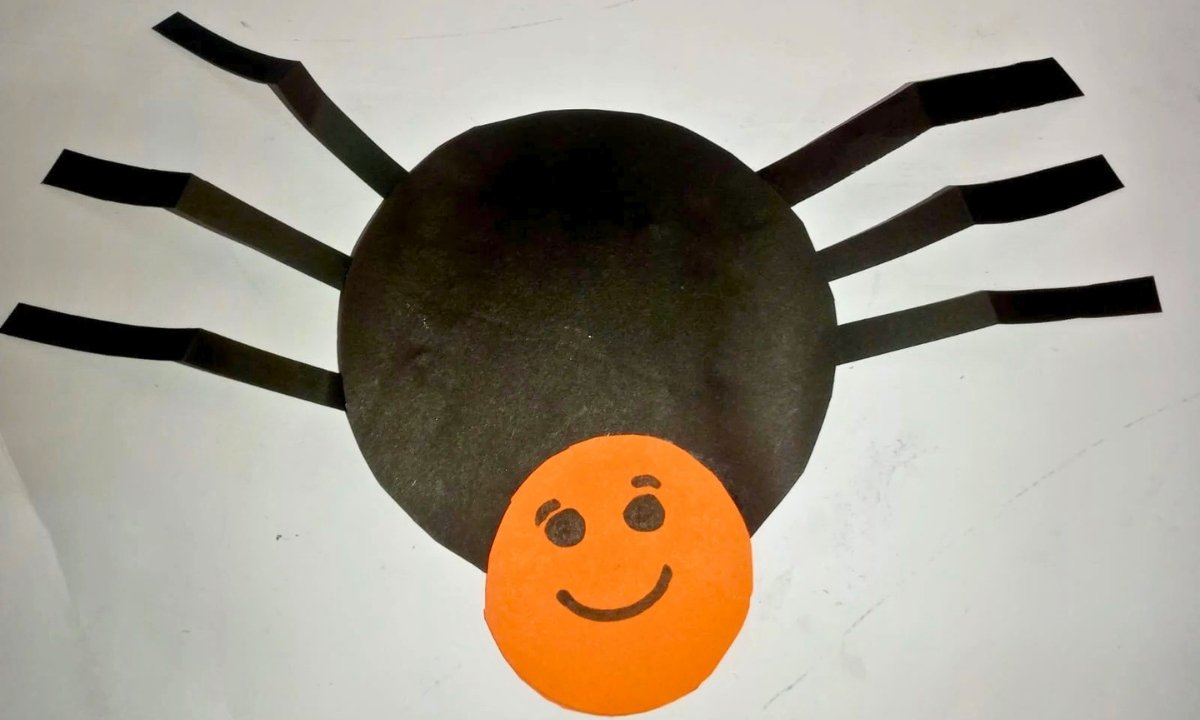
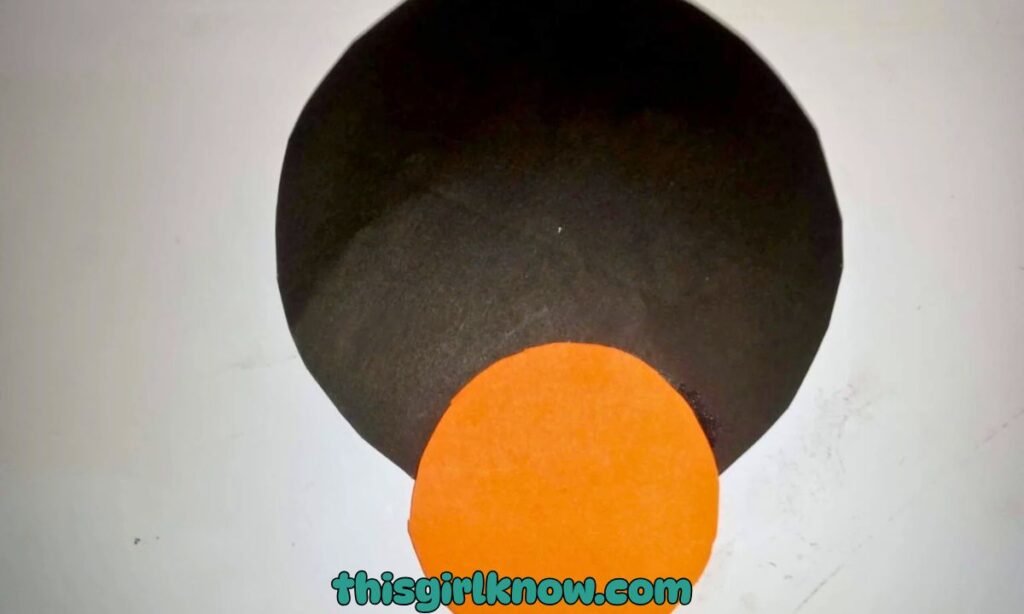
3. Cut and Paste a Small Orange Circle
Now cut a smaller circle out of orange paper to make the spider’s head. This part should be substantially smaller.
Than the black body so that it stands out yet still looks right. After you cut it, put it close to the top of the big black circle and glue it down well.
Press it down lightly so it sticks well and doesn’t wrinkle the paper. This small feature gives the spider. More personality and makes the project look even cuter.
This is also the stage where you can start to picture where the eyes or other minor decorations might go later if you like.
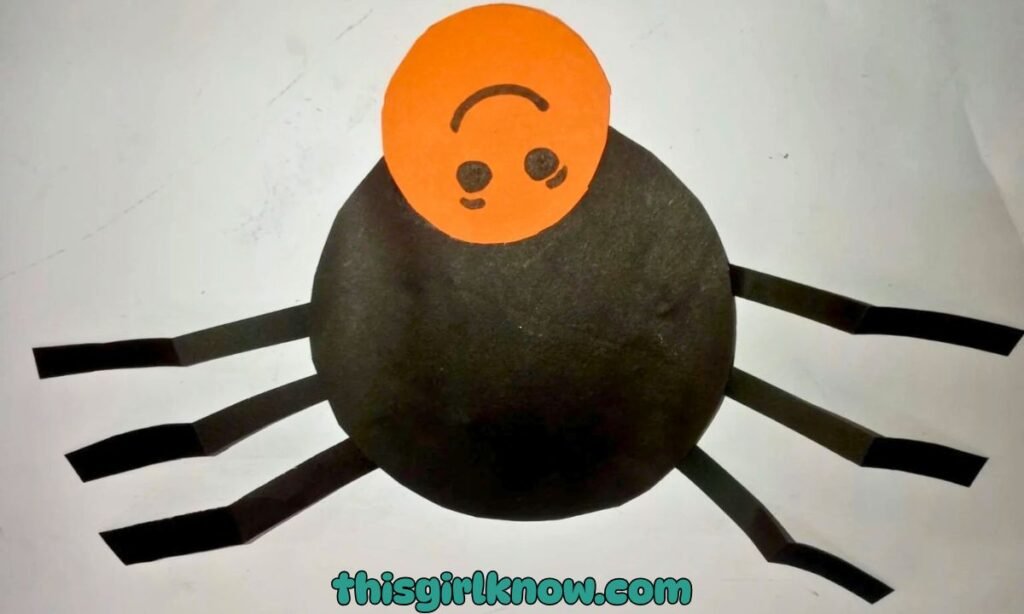
4. Glue the Black Strips
Finally, start putting the black strips on both sides of the big circle to make the spider’s legs.
Put them on both sides so that the spider looks balanced. Instead of coating the full strip with adhesive.
Just put it on the ends that will be tucked behind or attached to the body. This manner, the legs.
Can lift up a little and stay in form. Gently press each one and let the glue dry before moving the craft around too much.
Your basic paper spider is done and ready to show off once all the strips are joined.
How Do I Cut Paper Neatly for Spider Craft Without Mistakes?
You’re not alone if you’ve ever ended up with jagged edges or forms that aren’t even. There are a few easy tips that can help you cut properly.
First, always use sharp scissors. If they aren’t, they could rip the paper instead of cutting it cleanly.
Lightly draw your shapes with a pencil before you cut them so you know exactly what to do.
Don’t rush; instead, try to cut gently and steadily, especially around curves like the spider’s body.
Also, instead of moving your scissors around a lot, turn the paper as you cut. This will offer you better control.
Why is My Glue not Sticking the Paper Pieces Together?
This is one of those annoying little things that can make a great craft project go wrong very quickly.
I’ve had spider legs break off in the middle of a project before. The problem is usually either too much adhesive or the wrong kind of glue.
The paper won’t stick right if you use too much. If you don’t put enough on, it won’t hold.
Use a glue stick or a little bit of liquid glue that you spread out evenly. Instead of moving them immediately away.
Press the pieces down gently and let them set for a few seconds. Being patient certainly helps in this case.
FAQs
Can I use colored paper instead of black for the spider craft?
Of course! Black gives that iconic spider effect, but you may use other colors to be creative.
My kids really like crafting colorful purple or orange spiders, especially around Halloween.
It adds a personal touch and makes the craft more exciting. You can also use patterns or stickers to make your spider stand out.
There isn’t really a “right” way to do it. Just let your imagination go wild and see what you come up with.
How can I make this spider craft more fun for kids?
One simple option is to make it a minor decoration project after the main craft is done. Let them put on googly eyes.
Draw silly faces, or even glue on some glitter or little bows. You can also narrate a short spider story while you work on your craft.
It will keep them interested for longer. We even give our spiders names at the end, which makes the whole thing a lot more fun.
Hi, I’m Afaf! I’m a law student who loves writing about everyday life – from home projects and crafts to fashion, beauty, and parenting tips.
I’ve been writing for over a year, sharing ideas that are simple, practical, and easy to try. I write about things I find interesting and useful, whether that’s organizing a space, trying a new DIY, or finding activities to keep kids entertained.
My goal is to share helpful ideas without making things complicated. If it works in real life, I’ll write about it.
When I’m not studying or writing, I’m usually experimenting with new projects or scrolling for inspiration!