
If your kids are anything like mine, everything that has to do with dogs quickly becomes a favorite craft idea.
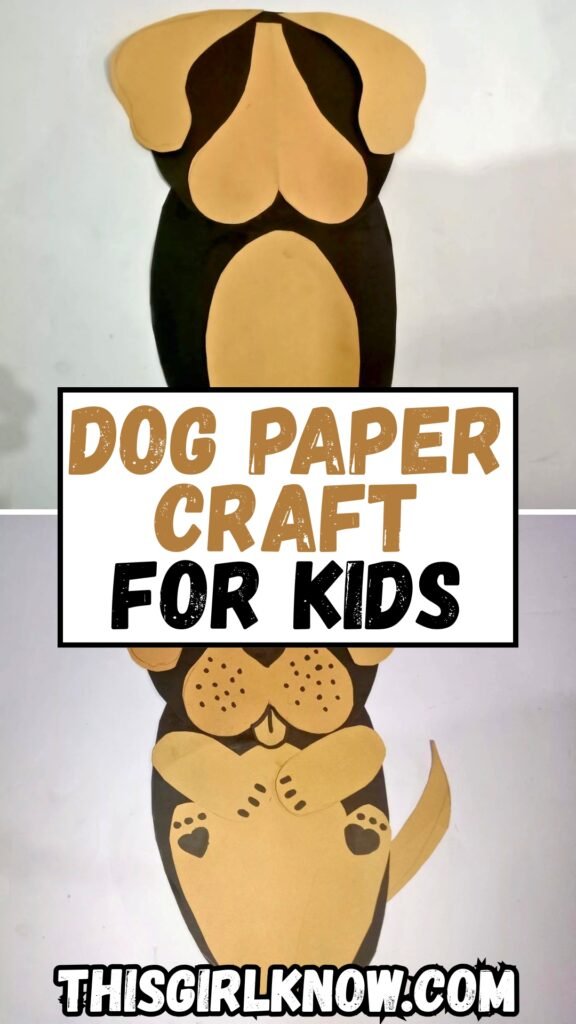
This simple paper dog craft is one of those things that looks cute but is surprisingly easy to do.
I really did this on a calm afternoon when we wanted something to do that wasn’t messy, and it turned out to be a lot cuter than I thought it would be.
What is the best part. You don’t need a lot of fancy things, just some colorful paper, scissors, and some imagination.
This paper dog is so cute that you’ll want to show it off once you’re done with it, whether you’re doing it with kids or simply for pleasure.
Let’s jump in!
How Do I Make My Paper Dog Look More Realistic or Cute?
This is where the real magic happens, to be honest! At first, things looked… okay. But when I added a few little things, it suddenly had a lot of character.
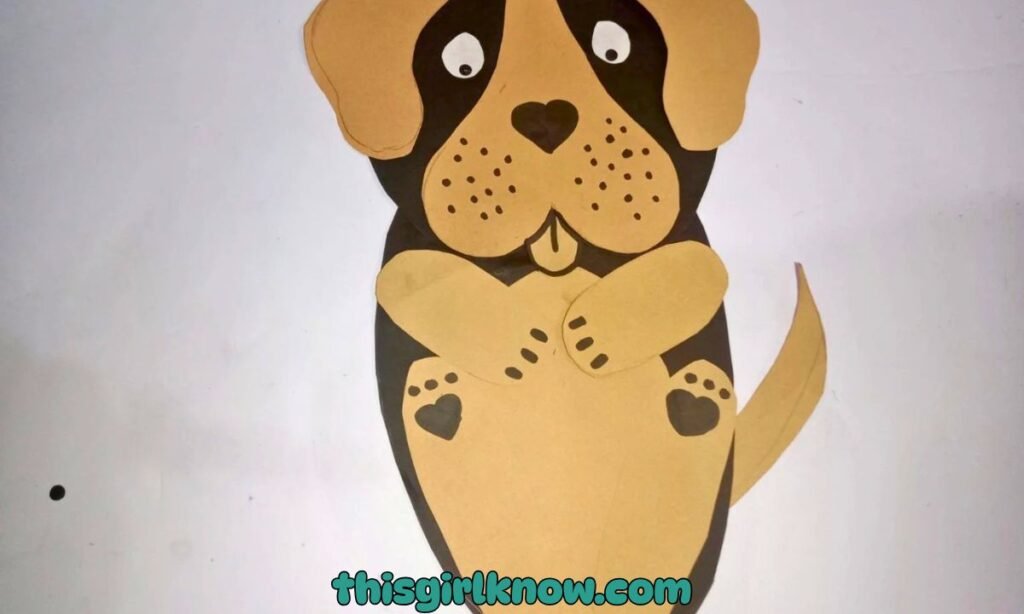
The face is the most important part. A well-shaped nose and slightly wider eyes with a tiny shiny dot in them can make a tremendous impact.
You can also make the edges of the ears and body less harsh by rounding them off. Two hues of brown.
Or other colors you want) will make your dog look less flat and give it more depth. And don’t overlook the minor things.
Like a mouth, eyebrows, or even spots! These little things make a basic paper craft look really charming and real.
Material Needed:
- Black chart paper
- Brown (light) chart paper
- Pencil
- Scissors
- Glue (fevicol)
- Black marker
Step-By-Step Guide
1. Start with a Black Paper Sheet
To start place a complete sheet of black paper on a level surface. This will be the base for your dog craft.
So pick a sheet that isn’t too wrinkled and is smooth. I enjoyed choosing black because it helped the brown parts pop out.
And gave the whole craft a strong, polished look. Before you cut anything, just lay the paper down and imagine how your dog will look.
When he or she is on top of it. This short break truly helps. It’s an easy initial step, but it sets the stage for the remainder of the work.
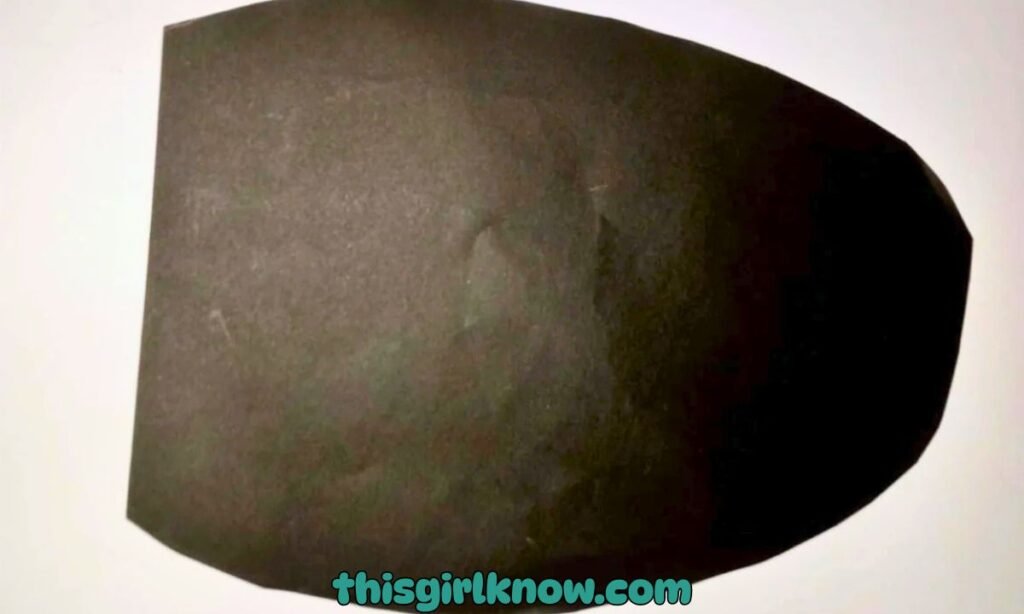
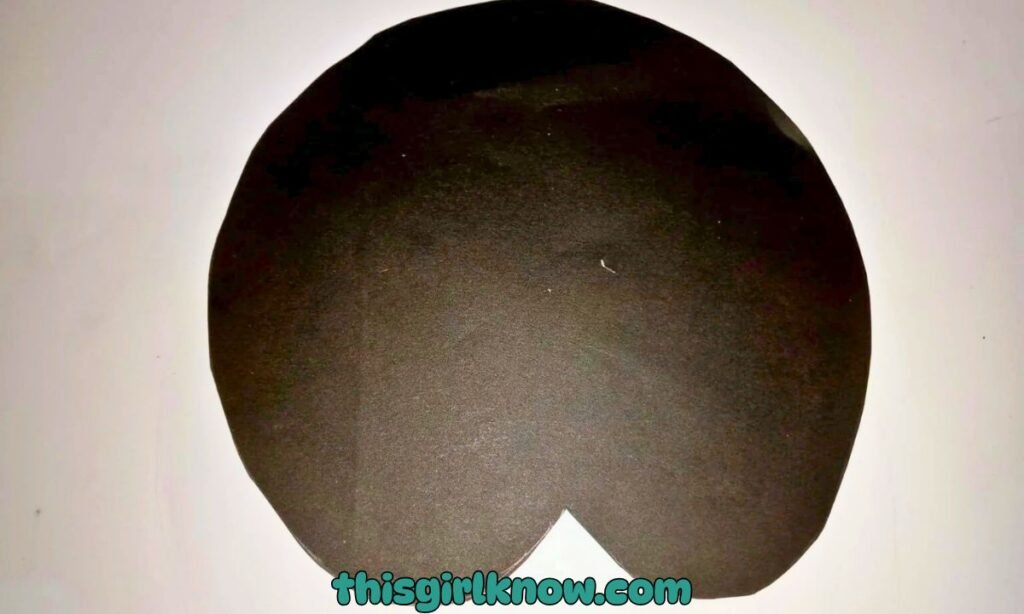
2. Cut the black paper into an oval shape
After that, cut the black paper into a huge oval shape to make the base of your dog’s body.
You don’t need to worry about making it completely even; a handcrafted look actually makes this kind of endeavor more charming.
I normally fold the paper in half lightly first to help keep both sides more even while I cut.
The oval should be big enough to fit the dog’s face, legs, tail, and other parts without looking too full.
When you’re done, put it down and check if it seems like a good base size before you move on.
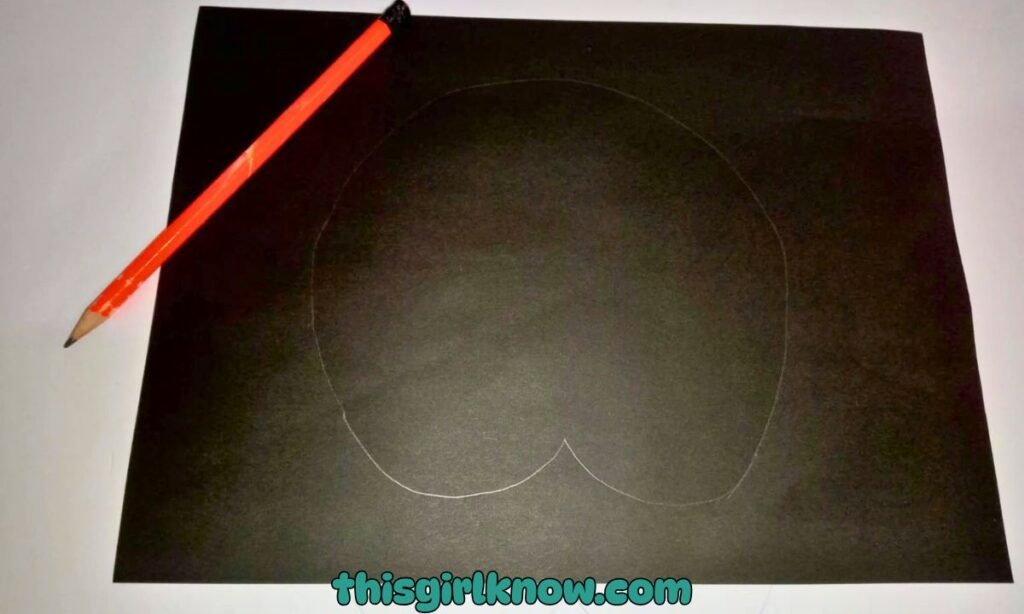
3. Draw the dog’s head shape on black paper
Now it’s time to make the dog’s head. Draw a simple head shape on another sheet of black paper that is the same size as your oval body basis.
If you want it to look like a real dog, you can make it a little longer. If you want it to look like an adorable puppy, you can keep it round and soft.
I always think this part is fun since the form of the face really starts to give the craft its character.
A simple, clear outline works great. Just make sure the head is big enough to be the major focus of your finished product.
4. Cut out the dog’s head shape
Carefully cut out the shape of the head you just drawn. When you cut, try to go slowly and smoothly.
Especially around the curves, so that the edges look nice when you put the piece on the body.
At this point, taking your time really pays off in how it looks in the end. After you cut the head, put it on top of the dark oval base and see how it fits.
You can put it near the top so that there is room for the body details and legs below.
At this point, seeing the head and base combined helps the whole dog creation come to life.
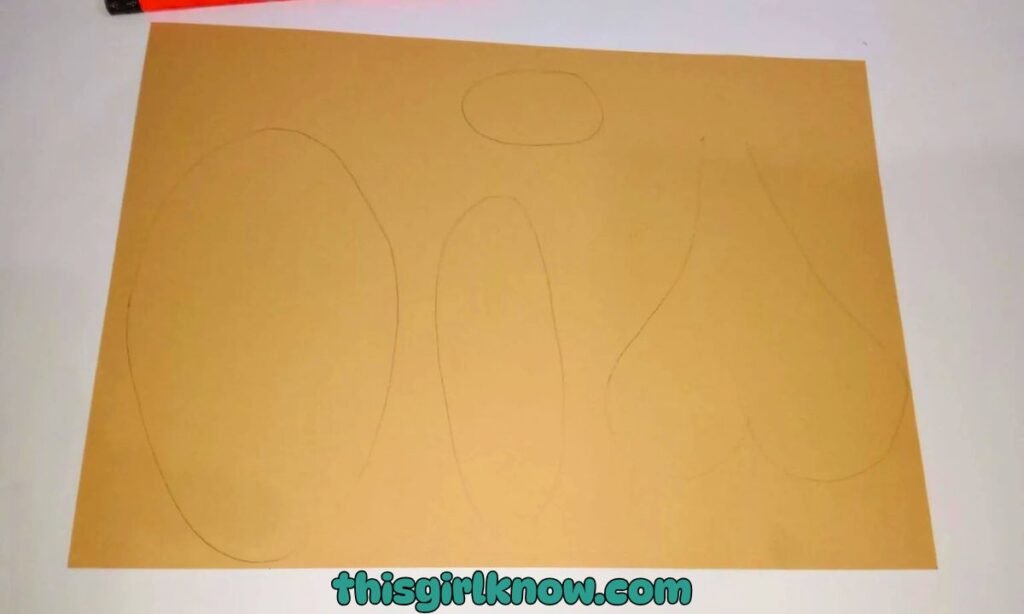
5. Draw the ears, face, body, tail, and legs on brown paper
Get your brown paper and start drawing all the parts that will make your dog come to life.
This contains the ears, snout or face, body details, tail, and legs. I prefer to spread the pieces out a bit on the paper.
So that I can easily cut each one. If you want the completed dog to be cute and kid-friendly, keep the shapes simple and circular.
At this point, you can also choose what kind of dog you wish to make. Changing the style can be entertaining with floppy ears, a bent tail, or shorter legs.
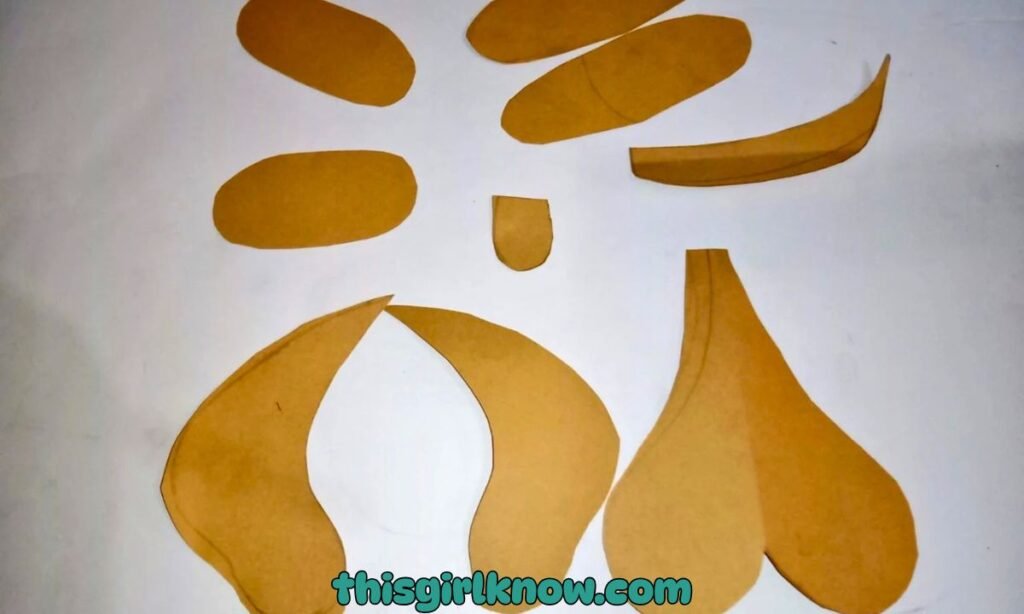
6. Cut out all the brown shapes
Carefully cut out each of your brown pieces after you’ve sketched them all. You need to be patient for this phase.
But it’s worth it because these pieces give your paper dog all its charm and detail. I usually like to place the cut pieces in little groups.
As I go, like ears together, legs together, and face pieces together, so nothing gets lost on the table.
Cutting smaller shapes might be hard, so take your time and turn the paper as needed instead of forcing your scissors.
Around tight corners. If you cut neatly here, the finished project will appear a lot better.
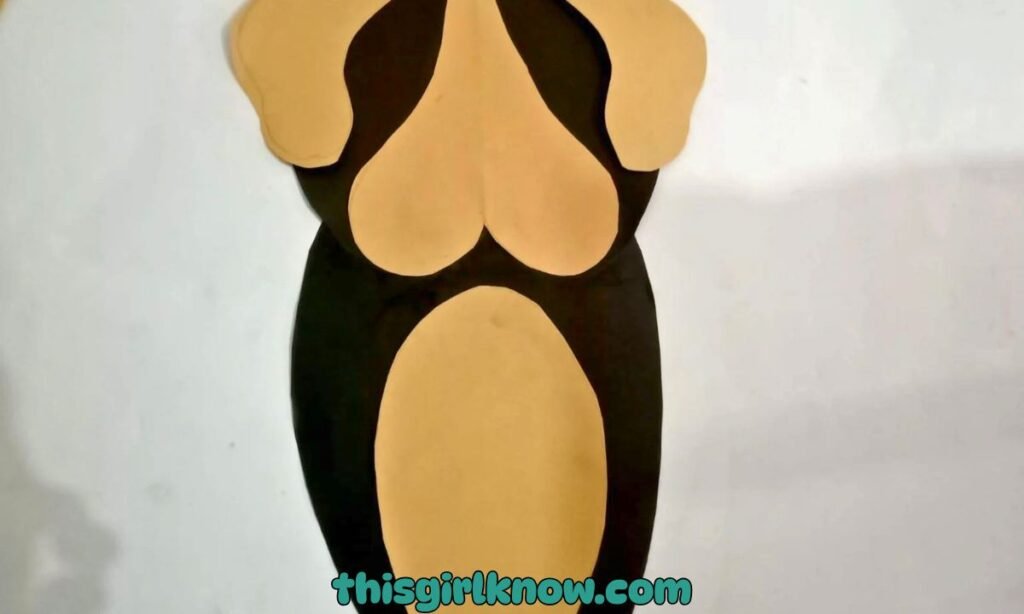
7. Arrange all the shapes on the black base
Putting things together is the best part. Put the black oval base in front of you and then start.
Putting the head, ears, legs, tail, and face details on top of it. Don’t glue it immediately soon.
Instead, move the pieces around until the dog seems cute and balanced to you. I often take an additional minute.
Here since sometimes just moving an ear or leg a little bit makes the whole craft appear better.
Put the head near the top, the legs near the bottom, and the tail to one side. You’re ready for the last touches once everything looks good.
8. Add the eyes, nose, and final details with a marker
In the last stage, use a marker to draw the mouth, nose, eyes, and any other minor things you want to add.
This is when your dog’s personality and charm really shine through. I like this part because you can make.
Even the simplest face look funny, cute, or playful just by how you draw it. For more texture.
You can add little dots for whiskers, a tiny mouth, or small lines around the ears and legs.
Put a sparkling dot in each of your dog’s eyes to make them look even cuter. Your paper dog project is done and ready to show off.
Why Does My Dog Keep Unfolding or Not Holding Shape?
This is a really common problem, and to be honest, I’ve been there too! Most of the time, this happens.
Because the folds aren’t pulled down hard enough or the paper is too soft to keep its shape.
Even though this activity isn’t exactly origami, the same notion applies: crisp edges or clean, sharp folds are very important.
Use your fingertips or even the back of a spoon to press down hard on each fold or edge.
What Type of Paper Works Best for a Dog Paper Craft?
Picking the appropriate paper can really help you make your crafts look better and easier. Based on what I’ve seen, medium-weight craft paper.
Or construction paper is the ideal choice because it’s strong enough to keep its shape but easy to cut.
If the paper is too thin, it could tear or look a little flimsy when everything is put together.
On the other side, kids may have a tougher time cutting and shaping particularly thick paper.
FAQs
Can I make this dog paper craft with younger kids?
Yes, of course! This craft is great for smaller kids, but they will need some help from you.
You can cut the shapes ahead of time for younger kids so they can focus on arranging and decorating, which is the most enjoyable part anyhow.
Let them use their imagination with colors, add silly expressions, or even make it their own “puppy design.”
How can I make my paper dog craft last longer?
There are several simple things you can do to make sure your lovely little dog lives longer than a day or two.
First, use paper that is a little thicker so it doesn’t bend easily. Instead of merely putting parts down loosely.
You may also glue everything down the right way. Another wonderful idea is to put the final creation on a piece of cardboard.