
I don’t know about you, but I’m constantly looking for easy crafts that don’t make a big mess or need me to go to the craft store.
This tiny owl project rapidly became one of my favorites since it’s simple, enjoyable, and When it’s done, it’s very cute.
I initially attempted it on a calm afternoon when we wanted something to do quickly, and it turned out far better than I thought it would.
The best part? You can make it with things you probably already have around the house.
Don’t worry if you’ve ever had trouble with crafts falling apart or little parts not staying I’ve been there too.
Let’s jump in!
Why is My Paper Owl Craft Falling Apart After Making It?
You’re not the only one whose owl craft is going apart. I’ve had a couple “oops” moments when the wings just wouldn’t stay placed.
Using too much or too little adhesive is the most prevalent issue. If you use too much, the paper gets wet.
If you use too little, the pieces don’t stay together well. I have discovered that if you rush the steps, everything can move before it dries.
Using paper that is a little thicker instead of very thin sheets that can break easily is also helpful.
Before continuing on, try lightly pushing each piece down for a few seconds and then letting it dry.
A little patience here will make a tremendous difference in how strong and clean your owl stays!
Material Needed:
- Colored papers
- Pencil
- Scissors
- Glue
- Black marker
Step-By-Step Guide
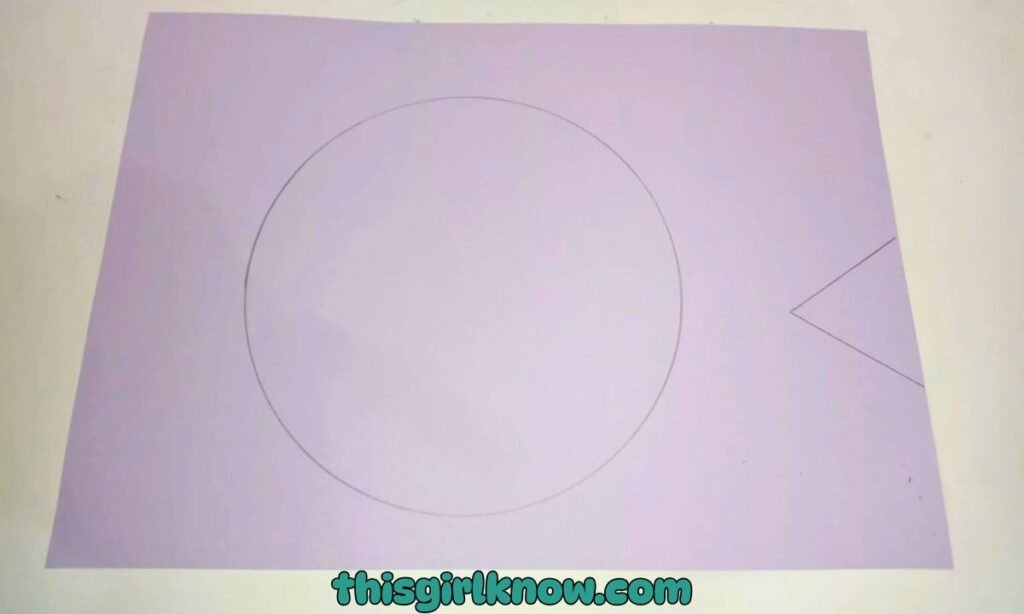
1. Draw the Owl’s Body and Beak
To make the owl’s body, start with a piece of colored paper and draw one huge circle.
Don’t stress about making it completely round; once everything is put together, small uneven edges usually won’t even show.
Draw a little triangle for the beak on another sheet of paper or in a small corner of the same paper.
I like to make the triangle short and wide so the finished owl appears prettier. You can also choose the size of your owl at this point.
Make the circle bigger if you want a bigger owl. This will give the wings and face more room.
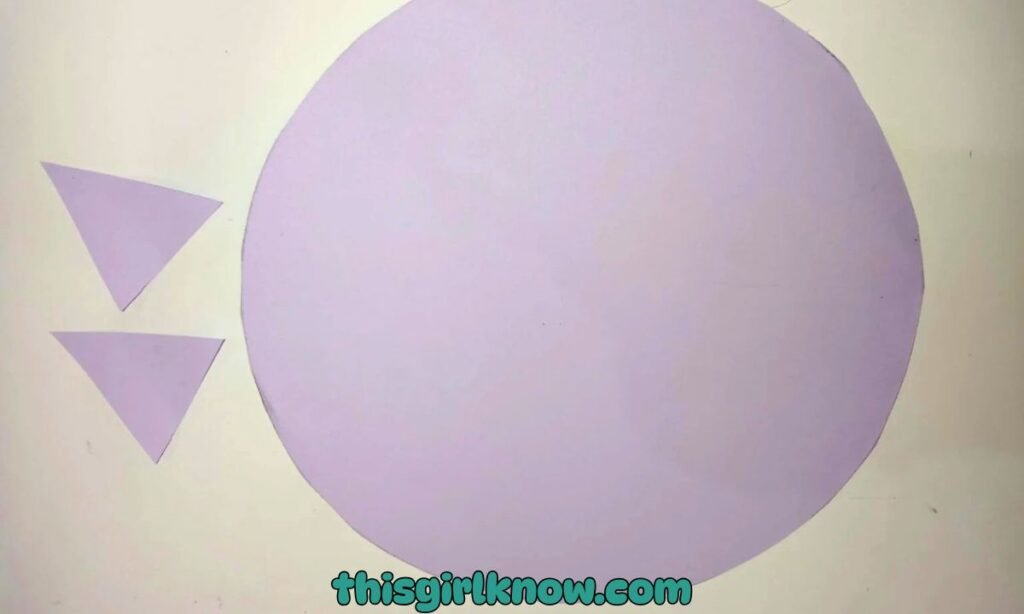
2. Cut out the main pieces carefully
Carefully cut out the big circle and the small triangle with scissors once you sketch them.
This step sounds pretty easy, but it helps a lot to cut slowly, especially around the owl’s body where it is circular.
Trim small pieces from the circular till it feels smoother if it seems jagged. The beak is little.
So don’t build it too narrow or it can get lost when you glue it on. This is usually the step when kids need the most support.
If you’re doing this craft with them. A tidy cut here will make the whole owl seem much better in the end.
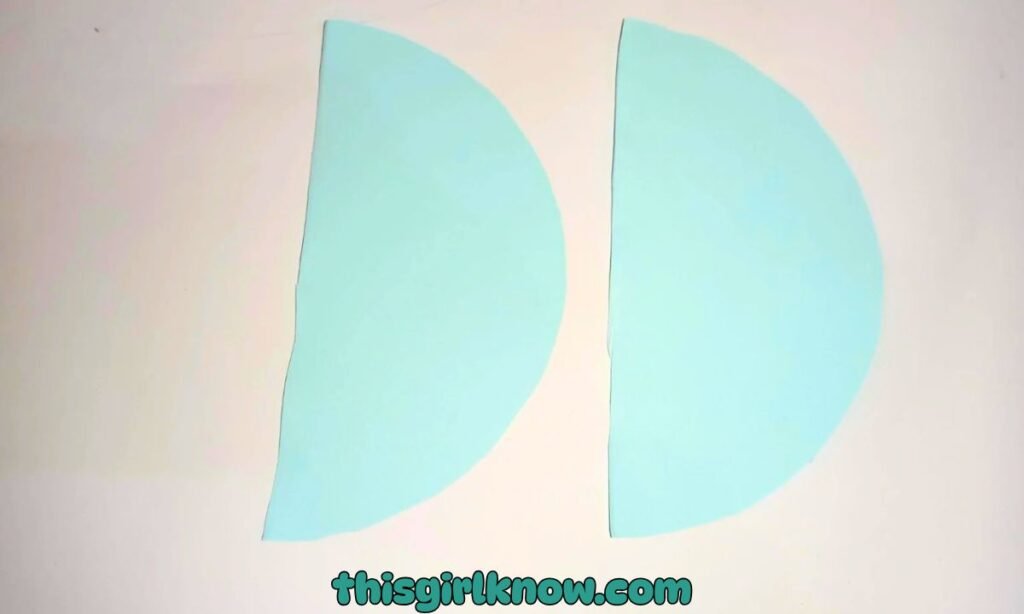
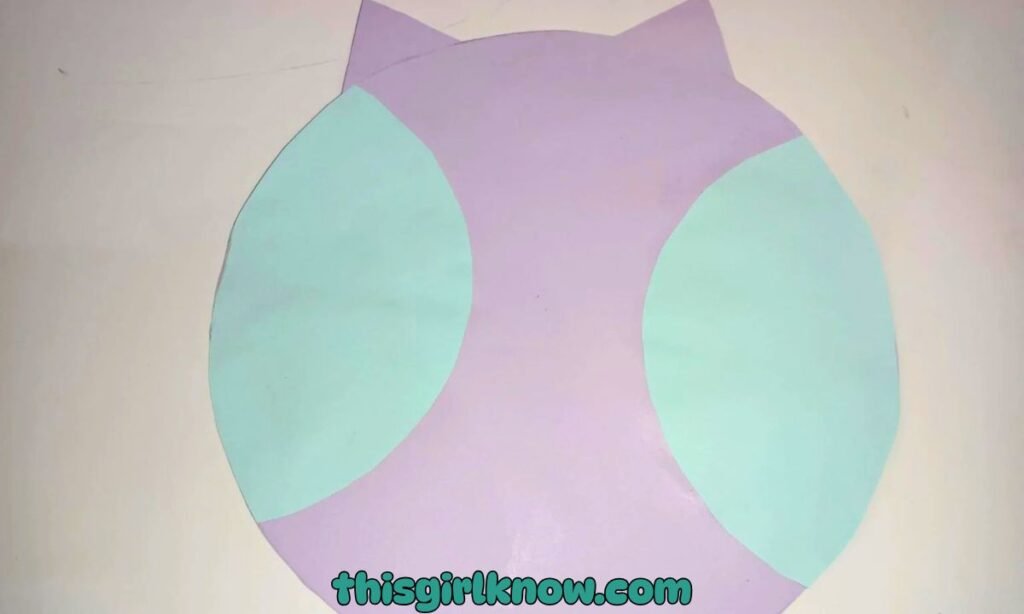
3. Make and attach the wings
Cut two half-circle shapes out of a different color of paper for the wings. Make sure they are near the same size.
So the owl looks balanced, but don’t worry if they aren’t exactly the same. That’s part of the attraction of handmade crafts.
They always have a little bit of personality. Before you glue the wings on, put one on each side of the huge circle to see how it looks.
Once you’re happy with where they are, put a little glue on the back of each wing and press them down lightly.
To make your owl look attractive and put together, make sure that both wings are joined evenly.
4. Add the ears and glue on the beak
Next, cut out two little triangles from paper to make the owl’s ears. These should be much smaller than the body.
Just big enough to pop out from the top and give the owl its distinctive shape. Put one triangle on the top left side and the other on the top right side.
Then, put the beak in the middle of the circle, just below where the eyes will go. Press each piece down lightly.
So that it clings without making the paper wrinkled. At this point, the owl really starts to come together and appear like an owl.
Pro Tip: Before gluing anything down, lay all the pieces in place first. It’s much easier to adjust the look before the glue goes on than after everything starts sticking.
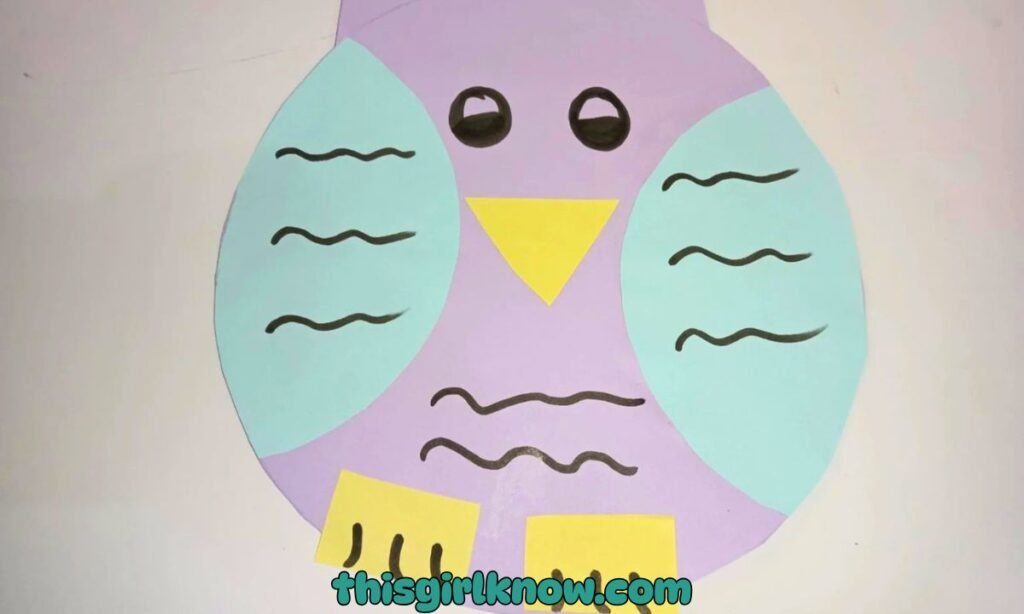
5. Draw the eyes, feathers, and feet
Use a black marker to draw two big eyes above the beak to finish your owl creation. You may design them plain circles.
Or add pupils and lashes to make them look more fun. Then, make little lines of feathers over the body to provide texture and detail to your owl.
I normally make the feather marks light and spread out so that the craft doesn’t look too busy.
Draw two little feet with little toes poking out at the bottom of the circle. This is the last phase.
And it’s when the owl gets its personality. To be honest, it’s always my favorite part of the whole craft.
Can I make an owl craft with simple household materials?
Yes, of course, and to be honest, that’s how I ended up making this owl in the first place. I didn’t have any fancy craft equipment.
So I just utilized things I had lying around the house. Colored paper is excellent, but old magazines, newspapers, or unused packing paper will also work.
A simple glue stick or white school glue will work just fine. If you have crayons or pencils instead of markers, you can use those instead.
The best thing about this craft is how adaptable it is. You don’t need anything extraordinary, just some imagination.
The easiest things to work with can sometimes make the most fun and relaxing crafts.
How do you glue small pieces like eyes and wings properly?
It can be hard to glue small parts like eyes and wings together. I’ve definitely had times where items slipped around or stuck in the wrong place.
The most important thing is to only use a little glue. If you use too much glue, the paper will get soggy and be harder to handle.
If you use too little, it won’t hold. I normally put a little glue on the back with my finger or the tip of the glue stick.
And then carefully put it where I want it. Pressing down softly and holding it in place for a few seconds also helps it stick properly.
It definitely helps to keep things clean and in position if you let each item settle before moving on.
FAQs
Can I use this owl craft for a school project or classroom activity?
Yes, this craft is great for school projects! Kids can easily follow the steps, and when they’re done, it looks cute and imaginative.
I’ve discovered that it’s also fantastic for group activities because you can quickly change the size or other characteristics.
No two owls will look the same since each child can add their own tiny touch. It’s a fun activity that also looks good enough for school work.
How can I make my owl craft more fun and creative?
There are a lot of ways to make this more entertaining! You can use different types of paper.
Add googly eyes, or even glue on small feathers if you have them. I let the kids choose their own colors sometimes, and that makes the craft more fun.
You can also create designs on the wings or put a branch under the owl. These little things truly help the craft come to life and feel more special.