This easy paper bird idea occurred to me last weekend when I was looking for a quick and entertaining project.
To keep small hands occupied and to get a break from computers. There were only a few colorful sheets lying around at first.
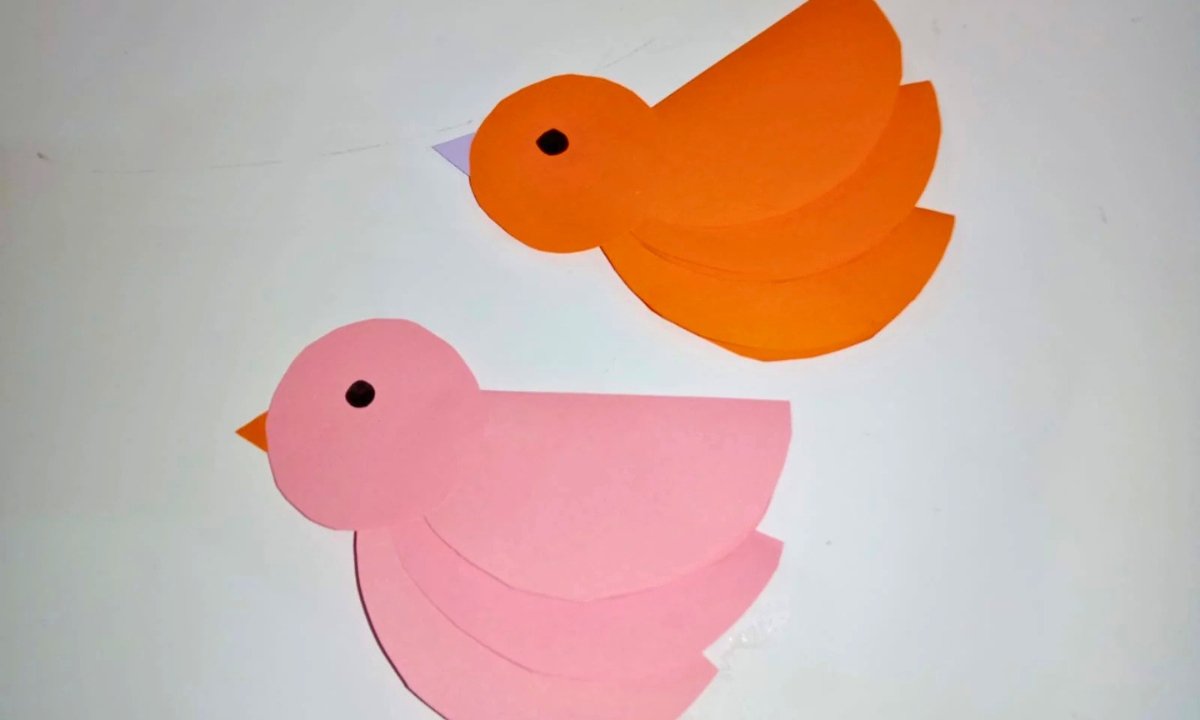
But before I knew it, we had the cutest tiny birds on the table. I adore this activity since it’s so easy and forgiving.
You don’t need any special tools or steps. The final product is still cute, even if things don’t go perfectly.
This paper bird is a great craft to do if you want something simple, cheap, and relaxing that also makes you feel creative.
Let’s jump in!
Why Does My Paper Bird Not Hold Its Shape Properly?
Don’t worry if your paper bird keeps falling apart or doesn’t seem right; you’re not the only one.
This is one of the most prevalent small problems, especially when you’re using simple materials at home.
In my experience, the main reason is utilizing paper that is either too thin or too soft, which makes it hard for the shape to stay in place.
Another problem is not providing the pieces enough rigidity when you fold or layer them.
We sometimes hurry through and forget to press the folds down firmly or let the glue dry completely.
Material Needed:
- Pink colored paper
- Orange colored paper
- Small piece of white/purple paper
- Pencil
- Black marker
- Scissors
- Glue
Step-By-Step Guide
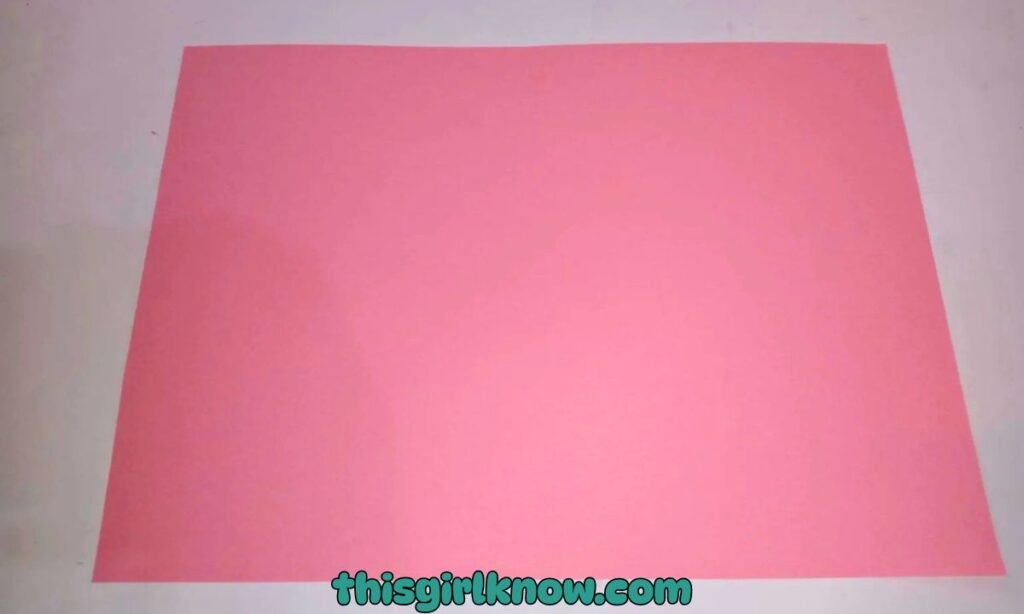
1. Gather your paper and choose the main color
Choose the paper you wish to use for your bird first. I used pink paper since it made the project look bright and happy.
But you may use any color you choose. This is also a good opportunity to get the rest of your supplies, such glue, scissors, and a pencil.
So you have everything you need right in front of you when you start. When I don’t have to stop every two minutes.
To look for scissors, crafts are a lot less messy. Letting youngsters pick the color of the paper makes it even more enjoyable and personal from the start.
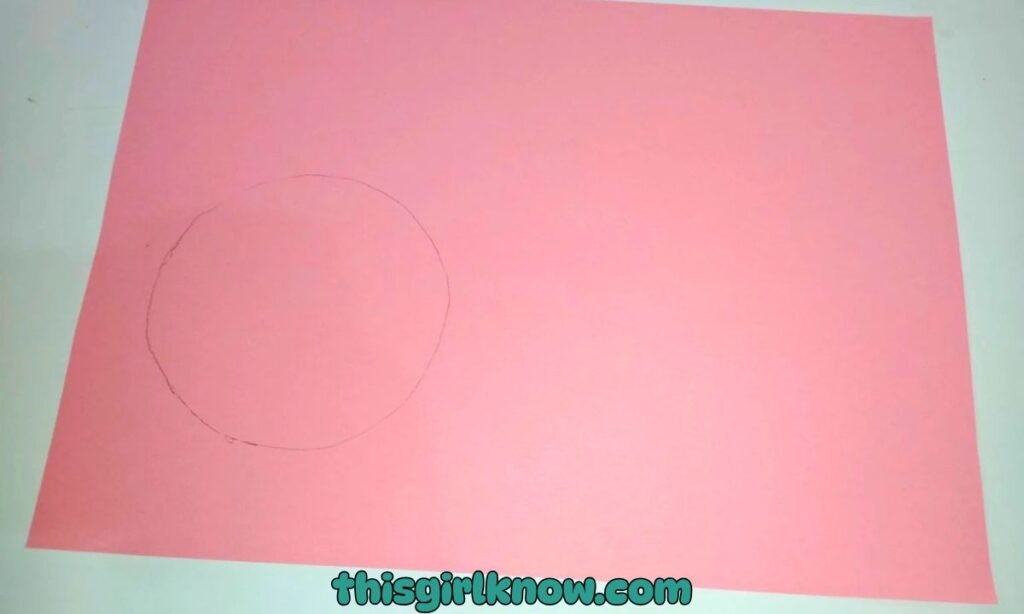
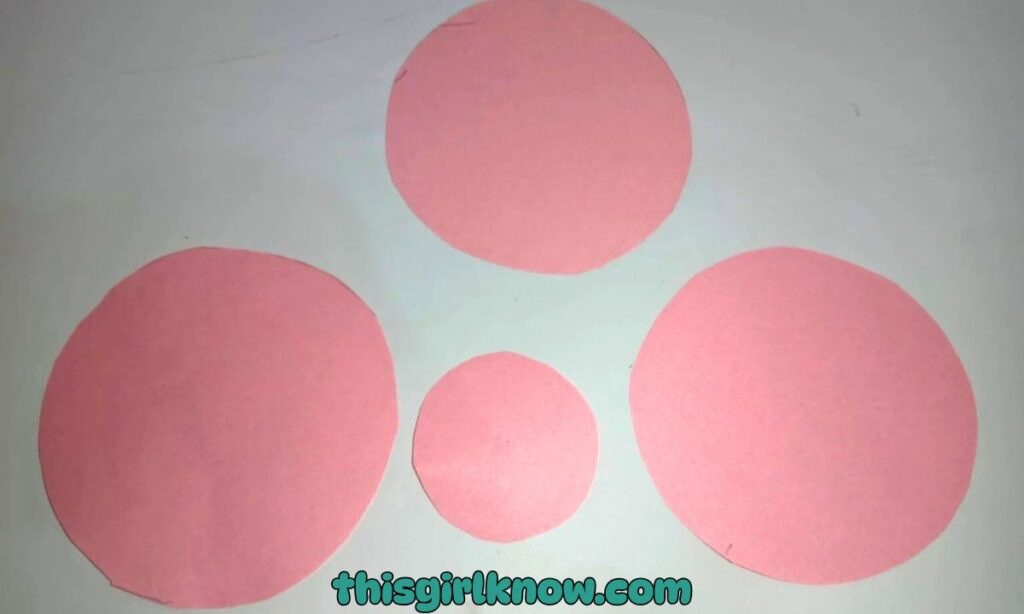
2. Draw circles in a few different sizes
Use your pencil to create circles on the paper. You’ll need a variety of sizes because they will assist make different aspects of the bird.
Such as the body, wings, and extra layers of detail. You can use the biggest circle for the main body and the smaller ones to provide shape and depth.
Don’t worry about getting every circle quite right. This craft still looks great and has a homemade feel to it.
To be honest, that small bit of imperfection frequently makes it more charming.
If it helps, you can trace around things in your house, especially if you want the circles to look a little more nice and even.
3. Cut out all the circles carefully
Cut out each of your circles one at a time after you draw them. Take your time with this step since cutting neatly.
Makes the finished bird look cleaner and makes it easier to put together. This may be the point.
Where younger kids need a little additional support if you’re making something with them.
I normally put the cut pieces on the table in order from biggest to smallest so I can readily see what I have to work with.
That also makes it seem like the next stages are much more planned out. Keep the edges as smooth as.
You can, but don’t worry if they aren’t perfect. They’ll still look cute when they’re put together.
4. Fold and shape the circles to create the bird parts
This is the phase where the craft really starts to appear like a bird. To make shape and movement, carefully fold or bend the circles.
You can bend or stack smaller circles to make wings or feathers, and you can slightly fold a bigger circle to make the body.
Before you glue anything down, move everything around a bit to see what looks best.
This phase is actually incredibly forgiving, which is one reason I love this hobby. Even tiny folds.
May make flat paper look much more interesting, and those little nuances make the finished bird feel more special.
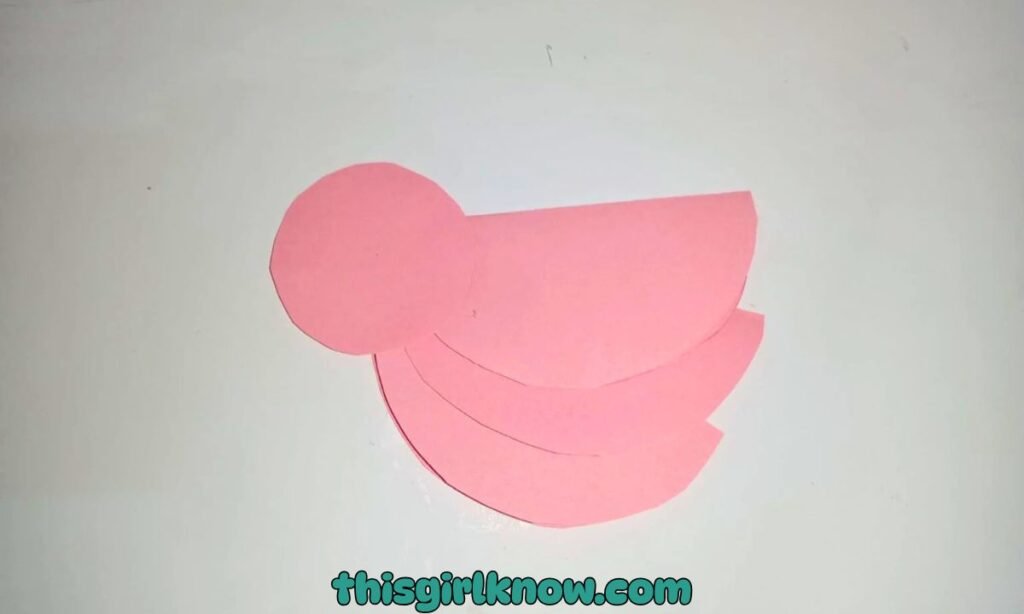
5. Arrange the pieces and glue them together
Put all the pieces on the table and test your layout before you paste them together. Put the bigger body part in the middle.
Then add the wings and any smaller circles where they look nice and balanced. Start gluing the pieces down one at a time.
When you’re happy with how they appear. Gently press down on each piece so that it attaches well without ripping the paper.
This is the phase where the bird really comes together, and it’s always my favorite section since you can really see the design take shape.
Add glue slowly instead than all at once, because too much adhesive might make the paper wrinkle.

How Do I Turn a Simple Paper Bird Into a Decoration or Display Piece?
Once your paper bird is ready, turning it into a decoration is actually the fun part. You don’t need anything fancy just a little creativity.
One easy way is to attach a string at the top and hang it near a window or in a kid’s room.
You can also stick it onto a card, notebook, or even a wall for a cute handmade touch. I’ve even taped a few onto twigs.
To make a little “bird branch” centerpiece, and it looked surprisingly pretty on the table. If you’re crafting with kids.
Let them decide where to display their birds it makes them feel proud of what they created.
What Type of Paper Works Best for Bird Paper Crafts?
I learnt the hard way that picking the appropriate paper can dramatically change how your bird turns out.
Regular printer paper can work in a pinch, although it can be too thin and not maintain its shape properly.
I like to use construction paper or craft paper because it’s a little thicker and simpler to fold without ripping.
When everything is cemented together, it also makes the bird feel stronger. Textured or colored cardstock can give your project a more finished look.
Just don’t choose paper that is too thick, as it could be hard to cut and shape, especially for minor details.
FAQs
Can I make this paper bird craft without using glue?
You can! You can use folding techniques or even little strips of tape to hold some elements together.
If you don’t want to use glue particularly if you have kids. But adhesive does help the bird stay in place.
How long does it take to make a paper bird craft?
This craft is easy to do and doesn’t take long. It usually takes 15 to 25 minutes, depending on how much detail you want to include.
It could take a little longer if you’re making with kids, and that’s fine! It’s better to appreciate the process than to rush to finish.